Follow Me On Social Media!

Carving a turkey looks harder than it is. The bird comes apart at its joints, and once you know the order, legs first, then wings, then the breasts off the bone in one piece, the whole job takes about ten minutes. Stop sawing at a whole bird on the platter: take it apart on a large cutting board in the kitchen, after the bird has rested, with a sharp knife, and every slice will have skin on it and the white and dark meat will be separated. Thanksgiving is Thursday, November 26, 2026, and the carving is the last ten minutes of the day, not the part to rush.
The Short Answer: Rest, Take It Apart, Then Slice
Let the cooked turkey rest for 20 to 30 minutes before carving, loosely tented with foil, so the juices settle and the meat firms up for clean slices. The USDA Food Safety and Inspection Service says to let the turkey stand for 20 minutes before carving, and the National Turkey Federation suggests at least 30 minutes and up to an hour for a large bird. Confirm first that the turkey reached 165°F in the thickest part of the breast, the innermost part of the thigh, and the innermost part of the wing. Then set the bird breast-side up on a large board with the legs pointing toward you, cut off any twine, and work in this order: remove each leg and thigh at the hip joint, separate the drumsticks from the thighs, remove the wings, lift each breast half off the bone in one piece, and slice the breast across the grain into slices about 1/4 to 1/2 inch thick. Slice the thigh meat off the bone, arrange everything on a warm platter with white and dark meat together, and serve. Work in the kitchen, not at the table, and keep a clean fork in your non-cutting hand to steady the bird.
What You Need to Carve a Turkey

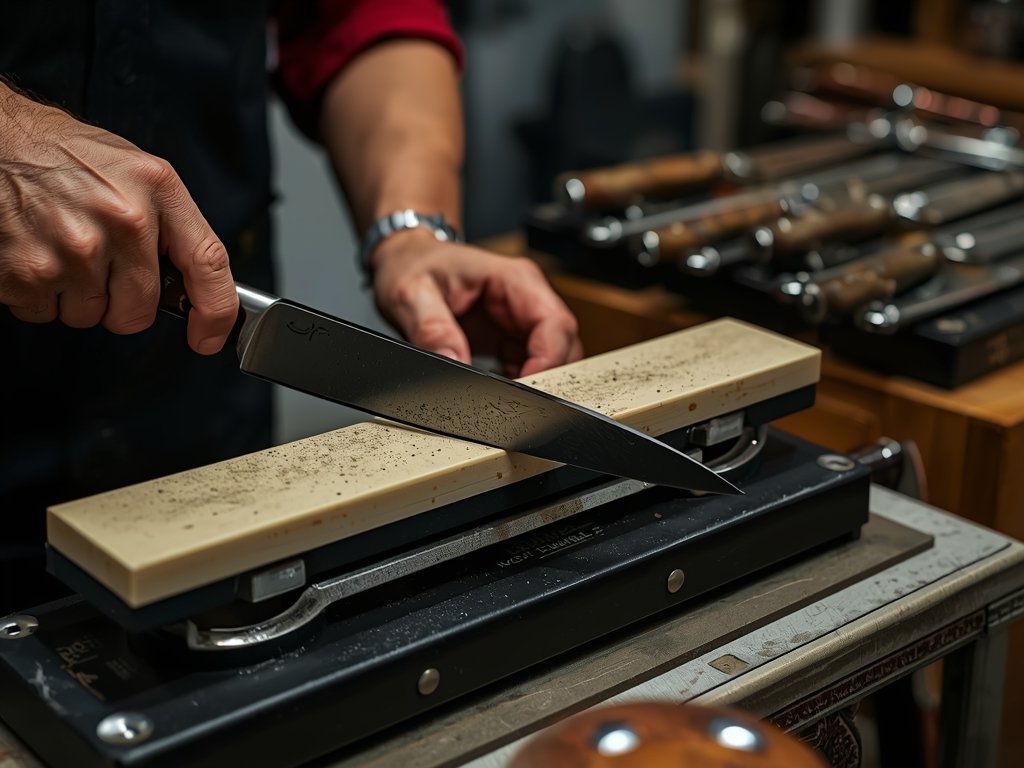
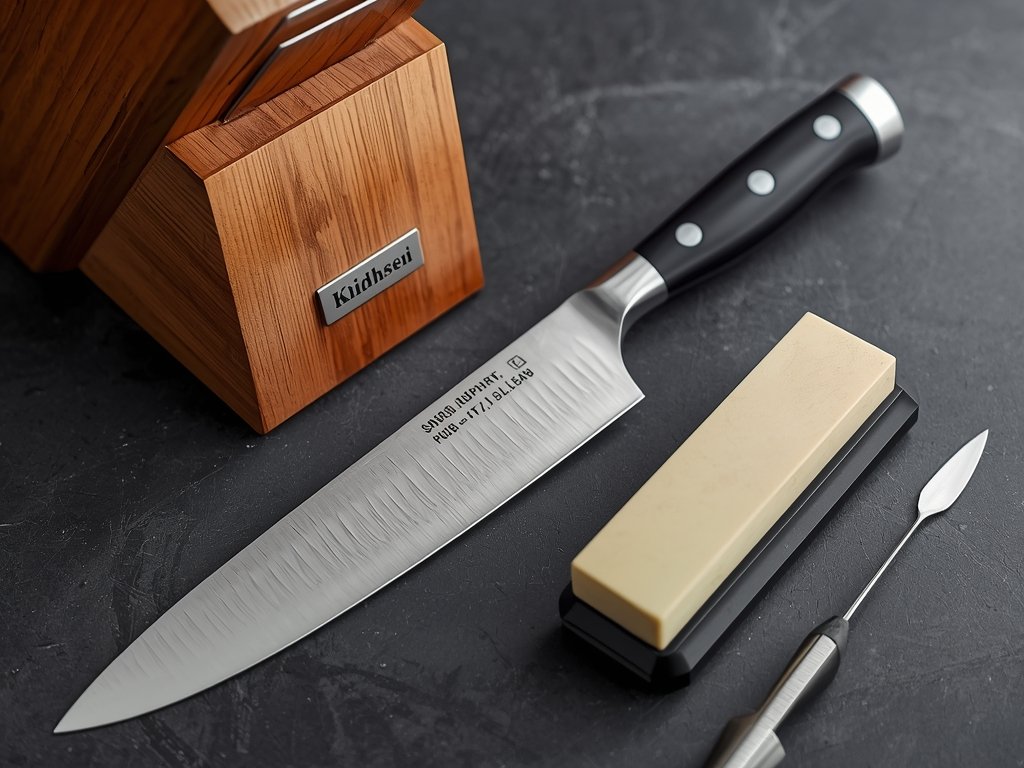
You need fewer tools than most people think, but the knife matters more than anything else. Use a long, sharp carving knife or a sharp chef’s knife with a straight edge, at least 8 inches long and ideally 10 inches, so each breast slice takes one or two long strokes instead of a sawing motion. A short knife forces you to saw, and sawing shreds the meat. The National Turkey Federation advises against serrated and electric knives for carving, because they tear the meat rather than cutting it. Sharpen the knife before you start, and hone it again if it starts to drag. A dull knife is the single most common reason a carved turkey looks ragged.
You also need a large cutting board with a groove around the edge to catch the juices, or a board set inside a rimmed baking sheet. A small board is dangerous: the bird slides, the knife runs out of room, and the juices run onto the counter. A carving fork with two long tines holds the bird steady while you cut. Have a warm serving platter ready, a small bowl for the juices that collect on the board, and paper towels nearby. Warm the platter in a low oven or with hot water, because cold platters cool sliced turkey fast. Keep a separate clean plate for the bones and the carcass. Wash your hands before you start, and wash the knife and board after you finish.
Let the Turkey Rest First
The rest is not optional, and it is the step most often skipped by a hungry table. A turkey straight out of the oven is too hot to carve cleanly, and its juices have not settled. Cut into it immediately and the juices run out onto the board, leaving dry slices behind. Let it stand for 20 to 30 minutes, loosely tented with foil, and the juices redistribute through the meat, the temperature evens out, and the flesh firms up enough to slice neatly. The USDA says to let the turkey stand for 20 minutes before carving. The National Turkey Federation suggests at least 30 minutes and up to an hour for a large bird, so 20 minutes is the minimum and 30 minutes is a good target for a typical 14 to 18 pound turkey.
Do not wrap the bird tightly in foil while it rests: a loose tent keeps the skin from steaming and going soft. Do not leave it for more than about an hour before serving, because cooked turkey should not sit at room temperature for more than two hours in total. Use the rest to finish the gravy, warm the plates, and get the sides to the table. Check the temperature once more after the rest if you are unsure: the breast, thigh, and wing should all still read 165°F or above. If you pulled the bird at 160°F in the breast expecting carryover to finish the job, confirm 165°F after the rest before you carve.
Step 1: Remove the Legs and Thighs
Set the rested turkey breast-side up on the board with the legs pointing toward you, and cut off any twine. Steady the bird with the carving fork in your non-cutting hand. Pull one leg away from the body and cut through the skin in the fold between the leg and the breast. Keep pulling the leg outward and down, and the hip joint will pop out of its socket. You will feel it give. Once the joint has popped, cut through the joint and any remaining skin to remove the whole leg quarter in one piece. Cut through the joint, not through the bone: the knife should find the gap where the ball of the thigh bone meets the socket, and a sharp knife will pass through it easily. If you are cutting bone, you are in the wrong place.
Repeat on the other side so both leg quarters are off. Take your time with the first one; the second goes faster once you know where the joint sits. If a leg resists, pull it further outward and press down on the thigh while you cut, which opens the joint wider. Do not force the knife through the hip bone, and do not twist the leg hard enough to tear the skin on the breast. Set the leg quarters aside on the board, skin-side up.
Step 2: Separate the Drumsticks and Slice the Thigh Meat
Take one leg quarter and find the joint where the drumstick meets the thigh. Wiggle the drumstick back and forth and you will feel the joint flex; it sits at the narrow, slightly bent point between the thick thigh and the thinner drumstick. Cut through the skin and meat down to the joint, then bend the joint until it pops, and cut through it with the tip of the knife. The drumstick comes away cleanly, with its bone and a neat cap of skin. Repeat with the other leg quarter. The drumsticks can go straight to the platter as they are, and they are the pieces children and dark-meat fans reach for first.
The thigh meat is best sliced off the bone. Place a thigh skin-side down on the board and cut along both sides of the thigh bone with the tip of the knife, keeping the blade close to the bone. Lift the bone out, turn the meat skin-side up, and slice it across the grain into pieces about 1/2 inch thick. Thigh meat is darker and juicier than breast meat, and it slices best with long, smooth strokes. Do not saw: one long pull of the knife per slice gives a clean edge, and short back-and-forth strokes shred the meat. Set the sliced thigh meat on the platter next to the drumsticks, and save the thigh bones with the carcass for stock.
Step 3: Remove the Wings

With the legs off, the wings are easy. Pull one wing away from the body and find the joint where it meets the breast, near the top of the bird. Cut through the skin at the joint, then bend the wing back until the joint pops, and cut through it with the tip of the knife. The wing comes off in one piece. Repeat on the other side. The wings are mostly skin, bone, and a small amount of very flavourful meat, and they are best served whole rather than sliced. If the wing tips look dark or dry, trim them off and add them to the stock pot with the carcass.
Removing the wings before the breast matters, because the wings block the knife’s path when you lift the breast halves off the bone. With the wings off, the sides of the breast are clear, and the knife can follow the rib cage without obstruction. If you want to carve at the table in the traditional style, with the breast sliced while still on the bird, you can leave the wings on until after the breast is sliced, but the kitchen method gives neater slices and is faster for a large table. The wishbone sits above the neck at the front of the breast; you can remove it before carving by cutting a slit along both branches of the Y-shaped bone and lifting it out, but it is not required.
Step 4: Lift Off the Breasts and Slice Across the Grain

This is the step that makes the difference between a carved turkey and a shredded one. Find the breastbone, also called the keel bone, running down the centre of the breast from the neck end to the tail. Make a long cut down one side of it, from the neck to the tail, keeping the blade tight to the bone. Then, angling the knife toward the ribs, use long, gentle strokes to follow the rib cage down, peeling the breast meat away from the bone with your other hand as you go. Keep the blade against the bone and let the knife do the work; short, choppy strokes leave meat on the ribs and tear the slices. Cut across the bottom where the breast meets the wing joint, and the whole breast half comes away in one piece, skin intact. Repeat on the other side.
Lay each breast half skin-side up on the board. Look at the direction of the muscle fibres, which run lengthwise along the breast, and slice across them, not along them. Cutting across the grain shortens the fibres and makes the meat tender to chew; cutting along the grain leaves long, stringy fibres that feel tough no matter how well the bird was cooked. Use long, smooth strokes and cut slices about 1/4 to 1/2 inch thick, adjusting to the portions you want. A thinner slice, about 1/4 inch, is elegant and suits a buffet, while a thicker slice, about 1/2 inch, suits a plated dinner. Each slice should carry a strip of skin. If the skin slides off a slice, lay it back on top; it will stay put on the platter. Transfer the slices to the warm platter as you cut them, overlapping them slightly like shingles, with white meat on one side and dark meat on the other.
How to Arrange the Platter and Store the Leftovers
Put the sliced breast on one side, overlapping the slices in rows, and the drumsticks, sliced thigh meat, and wings on the other side, so white meat and dark meat are both visible. Pour the juices that collected on the cutting board over the sliced meat, or save them for the gravy. Serve the platter while it is still warm, and do not leave carved turkey sitting out for more than two hours in total, counting the rest time and the time on the table.
When dinner is over, get the leftovers into the fridge quickly. Divide the carved meat into shallow containers and refrigerate within two hours of cooking. Cooked turkey keeps for three to four days in the refrigerator, and that window counts from the day the bird was cooked. Reheat leftover turkey to 165°F all the way through, and do not reheat it more than once. The CDC’s holiday turkey guidance gives the same storage and reheating rules. The carcass, the bones, and the wing tips should not go in the bin: they make the best stock of the year. Our guide to making turkey stock from the carcass covers the method, and the stock freezes well for soups all winter. For the meat itself, our guide to leftover turkey pot pie and our guide to leftover turkey soup are the two best next meals, and our ideas for what to do with leftover turkey cover the rest of the week.
The Bottom Line
Carving a turkey is a sequence, not a skill you are born with. Rest the bird for 20 to 30 minutes after confirming 165°F in the breast, thigh, and wing, and work in the kitchen on a large board with a sharp, straight-edged carving knife at least 8 inches long. Remove the legs and thighs first, cutting through the hip joint and not the bone. Separate the drumsticks from the thighs, bone the thighs, and slice the thigh meat across the grain. Remove the wings, then lift each breast half off the bone in one piece by cutting along the breastbone and down the rib cage. Slice the breast across the grain into slices about 1/4 to 1/2 inch thick, each with its skin, and arrange white and dark meat together on a warm platter. Do not use a serrated or electric knife, do not saw, and do not carve a bird that has not rested. Store leftovers within two hours, use them within three to four days, reheat to 165°F, and turn the carcass into stock. The carving takes ten minutes. The turkey took days of planning, and it deserves those ten minutes done well.

Ghani is the founder of TwiceTasty and a passionate home cook who believes no meal should go to waste. What started as a personal mission to transform leftovers into exciting new dishes has grown into a community of food lovers who share the same philosophy.
