Follow Me On Social Media!

Yes, you can make gravy ahead of time, and if you have ever cooked Thanksgiving dinner, you already know why you would want to. Gravy is the last thing made on the big day, in a roasting pan full of hot fat, while the turkey rests, the potatoes need mashing, and the table needs setting. It is the dish most likely to go wrong at the exact moment you have no time to fix it. Making it ahead solves all of that. You cook it calmly, two days early or even weeks early, taste it properly, fix the seasoning while you still have time, and on the day you simply reheat it, whisk in the pan drippings, and pour.
The Short Answer: Yes, and It Tastes Better the Next Day
Yes, you can make gravy ahead of time, and it genuinely tastes better the next day. Make it one to two days ahead and keep it in the fridge, or freeze it for weeks or months. The numbers vary a little by source, so here is the honest range. Most recipe sources say finished gravy keeps two to four days in the fridge, with two days the most common recommendation for a gravy served to guests. The USDA, in its Thanksgiving leftovers guidance, suggests using gravy within one to two days, the more cautious end. The general rule for cooked leftovers is three to four days in the fridge.
For further ahead, the freezer is the answer. Sources disagree on the exact window, some saying six weeks, others up to four months, a few stretching it to three or even six months. The safest way to state it is that gravy freezes well for up to four months for best quality, with six weeks the more conservative figure some cooks prefer. Gravy improves overnight for the same reason soups and stews do: the flavours in the stock, the browned flour, the herbs, and the drippings need time to marry. The same gravy, reheated the next day, tastes rounder and more complete.
The Best Gravy to Make Ahead (Drippings vs Broth-Based)

The best gravy to make ahead is a broth-based gravy, because the turkey has not been roasted yet. A classic drippings gravy depends on the fat and browned bits left in the roasting pan after the turkey comes out of the oven, and those drippings do not exist until the turkey is done. A make-ahead gravy starts from a good stock instead. There are two ways to build it. The first is a rich turkey stock from wings, necks, and backs, roasted with onion, carrot, and celery until deeply browned, then simmered for several hours.
On the day, stir in the real drippings from the roasting pan, and the gravy tastes as if it was made from scratch in the moment. After the turkey comes out, the pan holds golden fat over dark, sticky, caramelised juices, and the browned bits stuck to the bottom are the fond, the most flavourful part of the whole roast. A roasting pan with roasted peppers is a good picture of that pan at work: browned, sticky, and full of flavour waiting to be scraped up. The base gravy does the heavy lifting and keeps perfectly in the fridge or freezer. The drippings, stirred in at the last minute, supply the fresh-roasted flavour no stock can fully imitate. One more choice: flour or cornstarch. A flour roux gives body and a nutty flavour and freezes well. For make-ahead, flour is safer.
How to Make Gravy Two Days Ahead

Start with the stock. For your own, roast two turkey wings and a neck with a halved onion, a carrot, and a celery stalk at 425°F until deeply browned, about 45 minutes. Move everything to a pot, add cold water to cover, a few peppercorns, a bay leaf, and a sprig of thyme, and simmer gently for three to four hours, skimming occasionally. Strain it for about four cups of rich, golden stock. For bought stock, pour four cups into a pot, add a halved onion, a carrot in chunks, a bay leaf, and thyme, and simmer for 30 minutes.
Next, make the roux. Melt four tablespoons of butter in a medium saucepan over medium heat, whisk in four tablespoons of flour, and cook, whisking constantly, until the mixture turns the colour of light peanut butter and smells nutty, about three to four minutes. Slowly pour in the warm stock, a ladle at a time, whisking hard after each addition until smooth. A whisk blending a pale yellow sauce with herbs is the image to hold in mind: steady, smooth, no lumps, the sauce turning glossy. Once all the stock is in, simmer gently for 10 to 15 minutes, stirring often, until it coats the back of a spoon. Cool it fast: pour it into a wide, shallow container, or set the pan in cold water and stir, and get it into the fridge within two hours.
How to Store Gravy in the Fridge
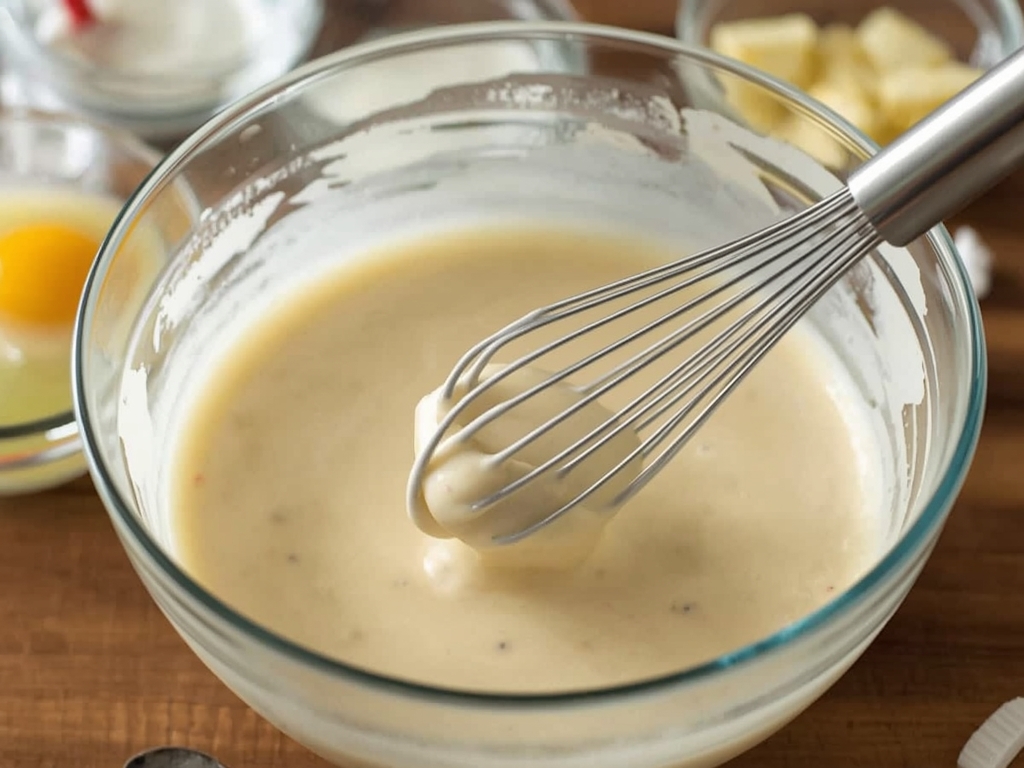
Pour the cooled gravy into an airtight container, press plastic wrap directly onto the surface before the lid goes on, and refrigerate at 40°F or below. The wrap stops a skin from forming, and that skin is not just a texture problem: it dries out, traps air, and makes the gravy harder to reheat smoothly. A whisk dipping into a bowl of pale sauce is what you want when you open the container: smooth, glossy, and pourable, not a solid block with a dry crust.
The fridge window for gravy is two to four days, depending on the source, with the USDA suggesting one to two days at the cautious end. The general rule for cooked leftovers is three to four days, and the FoodSafety.gov cold food storage chart gives the same three-to-four-day figure for cooked meat and poultry. For a gravy served to guests, two days ahead is the plan, and anything beyond four days should be thrown out. Portion before you refrigerate: split a double batch into two containers, one for Thanksgiving and one for the freezer, so you only reheat what you need. Our guide on how long leftovers last in the fridge covers the turkey, the sides, and the desserts together.
Can You Freeze Gravy?
Yes, you can freeze gravy, and it freezes well, which is what makes it such a good make-ahead dish. A flour-thickened gravy, cooled and packed properly, keeps in the freezer for up to four months for best quality, with some sources giving a more conservative six weeks and others stretching the window to three or even six months. The honest way to state it is up to four months, with six weeks the figure some cooks prefer for the best flavour. Food kept continuously frozen at 0°F stays safe indefinitely, so the window is a quality question, not a safety deadline.
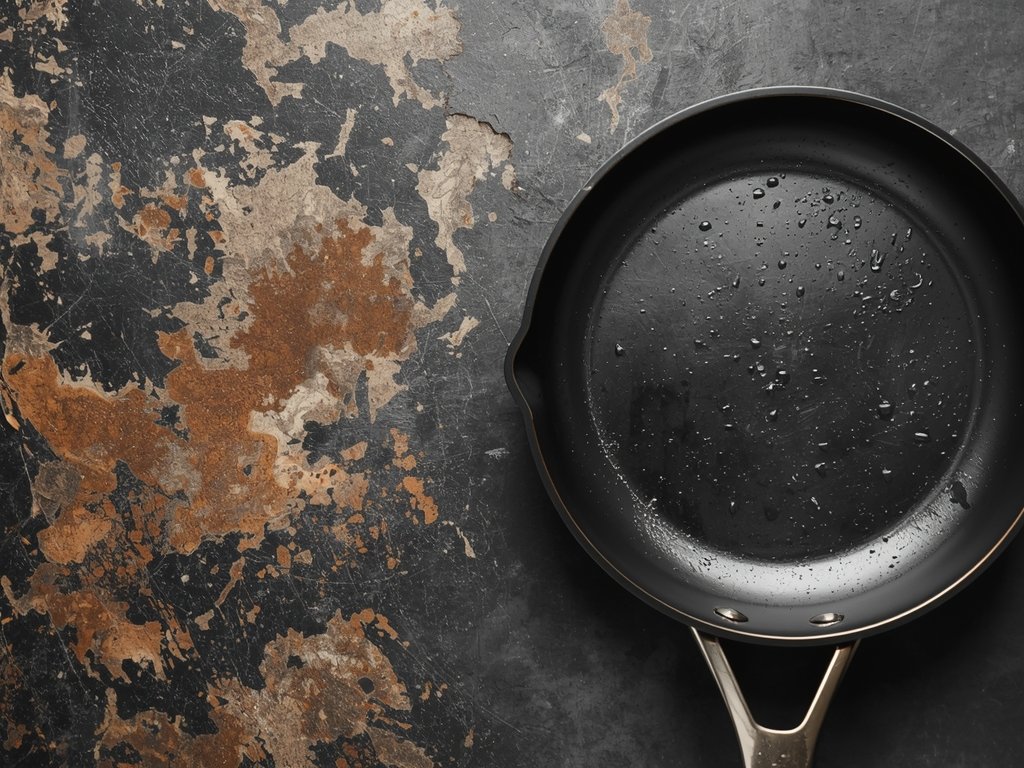
Freeze gravy in portions, in bags laid flat. Pour the cooled gravy into heavy-duty freezer bags, press out the air, seal them, and lay them flat until solid. Two-cup portions are the most useful size, because two cups covers a family dinner and you only thaw what you need. If you prefer rigid containers, leave at least half an inch of headspace, because gravy expands as it freezes. The browned bits left in a pan after roasting are called the fond, and they are the most flavourful part of the roast, but they do not freeze well on their own. A non-stick pan with browned bits is the picture of the fond itself: dark, sticky, and worth every scrape. Freeze the base gravy, and add the fresh drippings on the day. A flour-based gravy with a little butter is the most freezer-friendly version.
How to Reheat Gravy Without Lumps
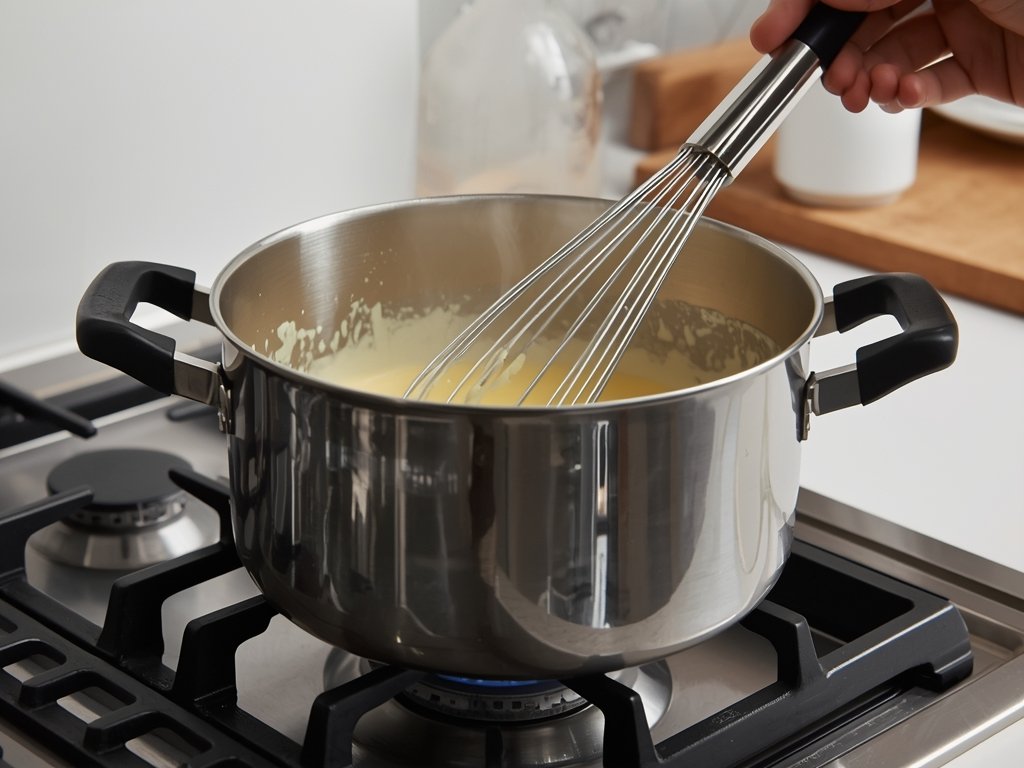
The best reheating method is the stove. Pour the cold gravy into a saucepan, set it over medium-low heat, and whisk constantly as it warms. Do not turn the heat up to speed things along, because high heat scorches the bottom, creates lumps, and gives a burnt taste no whisking will remove. Medium-low heat, a whisk, and five minutes is all it takes. A hand whisking a saucepan on a gas stove is the picture to hold in mind: steady circles, the gravy loosening slowly, the surface turning glossy. Once hot and smooth, bring it to a full boil. The USDA Food Safety and Inspection Service says to reheat sauces, soups, and gravies by bringing them to a rolling boil, and to reheat leftovers to 165°F measured with a food thermometer.
If the gravy is too thick after reheating, add liquid a splash at a time. If you are adding the turkey drippings, do it now, while the gravy is hot and smooth. Pour in the defatted drippings, whisk them in, and taste. The same care applies to the rest of the meal. Our guide on how to reheat mashed potatoes so they stay creamy uses the same principles: low heat, a little extra liquid, and patience.
How to Fix Lumpy, Salty, or Thin Gravy
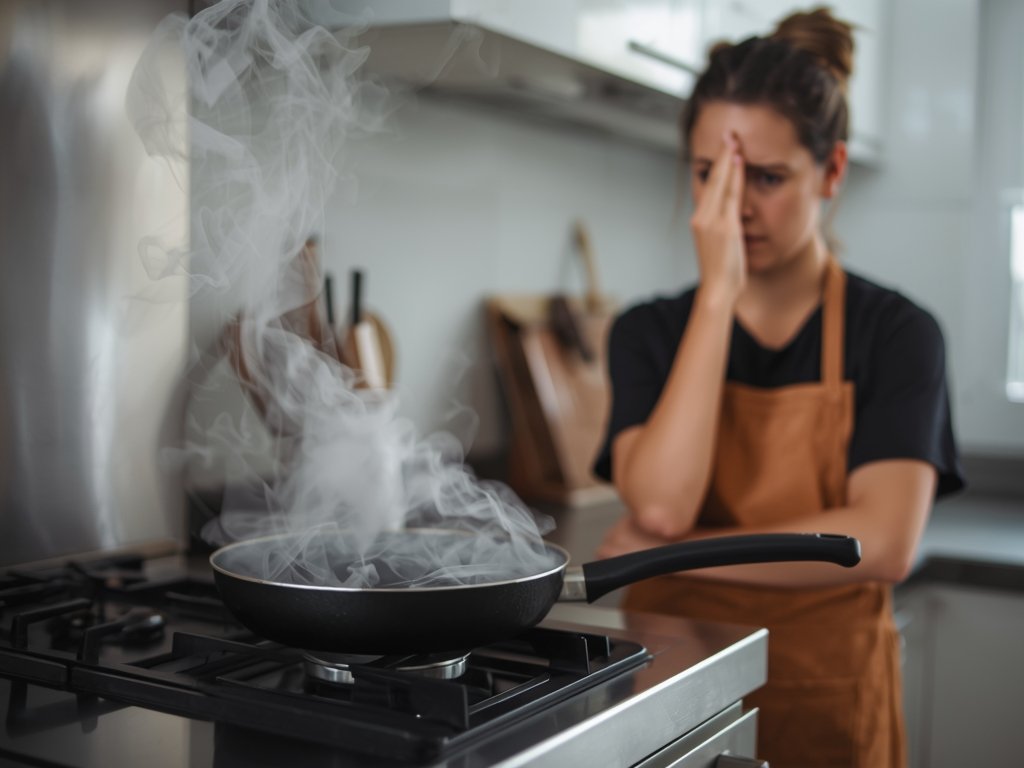
Lumpy gravy is the most common rescue job on Thanksgiving, and it is almost always possible. Take the pan off the heat, whisk hard for 30 seconds, and most small lumps will disappear. If they do not, pour the gravy through a fine-mesh strainer into a clean pan and reheat gently. A cook looking frustrated at a steaming pan is a familiar Thanksgiving sight, and it is almost always a gravy that was rushed. The gravy will forgive you.
Salty gravy is harder, but not hopeless. Stop adding salt, and add the drippings carefully, because drippings are salty and often the culprit. If the gravy is already too salty, add more unsalted stock, a splash at a time, until the salt level comes down. Thin gravy is the easiest fix of the three. Simmer it gently for a few more minutes, stirring often, and it will reduce and thicken on its own. If it needs more help, whisk a tablespoon of flour into a tablespoon of soft butter to make a beurre manié, whisk small pieces into the simmering gravy, and cook for two to three minutes. If the gravy is too thick, add warm stock a splash at a time. A gravy should coat the back of a spoon and fall off in a slow ribbon.
What to Serve Make-Ahead Gravy With
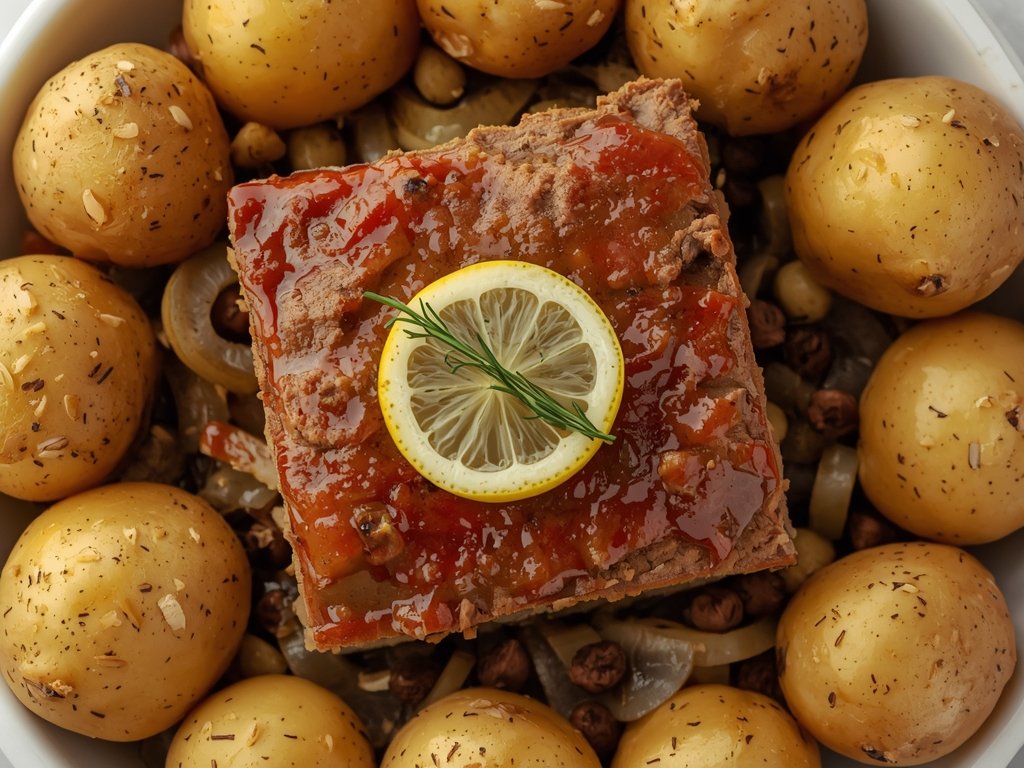
Make-ahead gravy belongs on the Thanksgiving table, and on more than just the turkey. The obvious pairing is the turkey itself, sliced on a platter with the gravy boat beside it, and the mashed potatoes, which are the second reason gravy exists. Beyond the holiday, the same gravy works all week. It is the sauce for a leftover turkey pot pie, where it becomes the filling, and for a leftover turkey shepherd’s pie, where it binds the meat and vegetables under the mashed potato topping. A slow-cooked roast with baby potatoes and lemon is another natural home for it. It is a sauce for any roast, any mashed potato, and any leftover that needs moisture and flavour.
There is also a case for making more gravy than you think you need, because of the week after Thanksgiving. A quart of frozen gravy, thawed and reheated, turns a plain weeknight meal into something that tastes like a Sunday roast. Plan on about a third of a cup of gravy per person, and make a little more, because gravy is the dish people ask for seconds of. A double batch, one for the table and one for the freezer, is right for eight to ten people.
The Bottom Line
Yes, you can make gravy ahead of time, and you should, because it tastes better the next day and it removes the most stressful job from Thanksgiving Day. Make it one to two days ahead and keep it in the fridge, where it will hold for two to four days, with the USDA suggesting one to two days at the cautious end. Or freeze it for up to four months for best quality, with six weeks the more conservative figure some sources prefer. Reheat it gently on the stove over medium-low heat, whisking constantly, and bring it to a rolling boil, because the USDA says to reheat sauces, soups, and gravies to a rolling boil and leftovers to 165°F. Serve it with turkey, mashed potatoes, and stuffing, and freeze the extra for a weeknight in December.

Ghani is the founder of TwiceTasty and a passionate home cook who believes no meal should go to waste. What started as a personal mission to transform leftovers into exciting new dishes has grown into a community of food lovers who share the same philosophy.
