Follow Me On Social Media!

A rotisserie chicken is the easiest dinner in the supermarket — and the easiest leftover to ruin. It comes home hot, crisp-skinned, and juicy, and by the next day the fridge holds a bird that looks the same and tastes like it has been wrung out. The problem is not the chicken: it has already been cooked all the way through, so reheating it is a second cooking, and every extra minute of heat drives more moisture out of meat that has none to spare.
The fix is the same for every method in this guide: gentle heat, a cover, and a little added liquid — then, if you want the skin back, a short blast of dry heat at the end. This guide covers the oven for a whole bird and for carved pieces, the microwave for a single serving, the air fryer for crisp skin, and the skillet for sliced meat, plus storage and how to tell when it is done. Rotisserie chicken is an everyday leftover, not a holiday centrepiece, and these methods are sized for a weeknight plate.
The Short Answer: Low Heat, a Cover, and a Crisp Finish
For a whole rotisserie chicken, heat the oven to 350°F, set the bird in a baking dish with half a cup of chicken stock or water in the bottom, cover it tightly with foil, and bake for 20 to 25 minutes until the thickest part of the thigh reads 165°F. Then take the foil off and give it five more minutes to re-crisp the skin. For carved pieces, the same covered oven at 350°F takes 10 to 15 minutes. The USDA gives 165°F as the temperature reheated leftovers should reach, and a thermometer is the only reliable way to know you are there.
Three things matter more than which method you pick. Low, gentle heat warms the meat without squeezing more water out of it. A cover — foil, a lid, or a damp paper towel — traps steam around the meat instead of letting it escape. A splash of liquid replaces some of what the first cooking drove out. Break one of the three and the chicken dries out; keep all three and almost any method works. The crisp skin is a separate job, handled at the end, because the cover that keeps the meat moist steams the skin soft.
Why Rotisserie Chicken Dries Out When You Reheat It
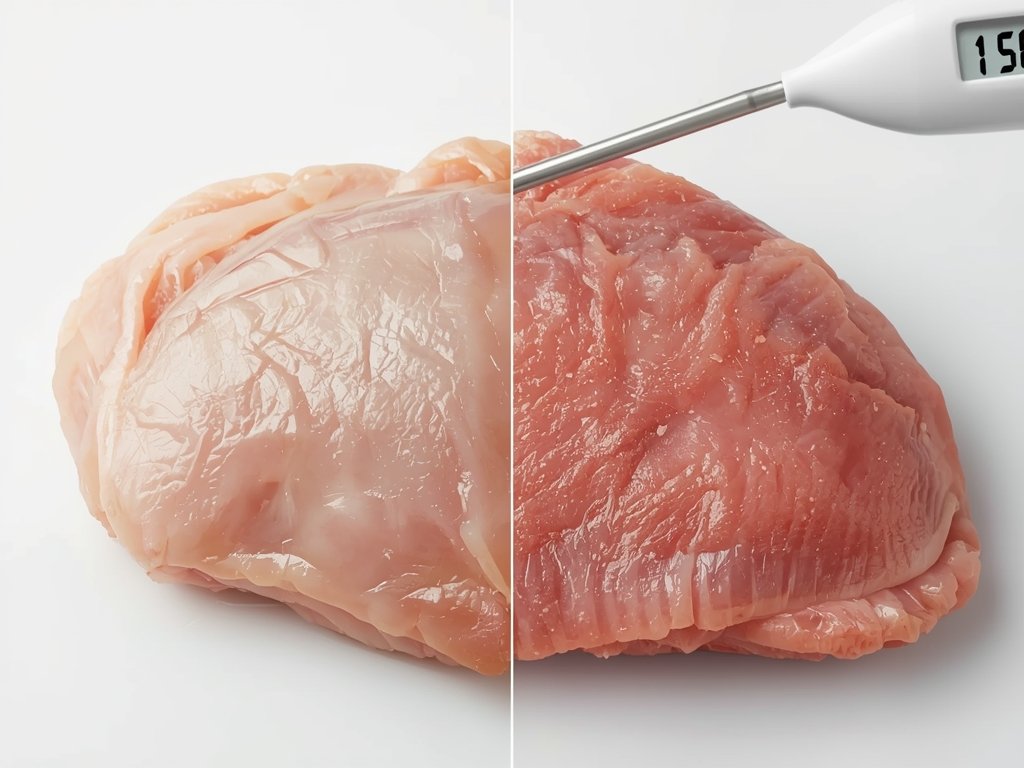
A rotisserie chicken dries out on reheat for one reason: it is already fully cooked. The rotisserie already took the meat to its safe temperature, and the skin was crisped in dry heat. Every minute of reheating is extra heat on meat that has already given up much of its moisture, and muscle fibres tighten as they heat, squeezing out more. The breast is the first casualty — lean, with little fat to protect it, it goes from juicy to chalky in a few minutes. The dark meat in the thighs and legs holds up better, because its fat and connective tissue keep it moist for longer.
The second problem is the skin. Crisp skin is dry by definition, and the steam that keeps the meat moist is exactly what softens it. Reheat a whole bird uncovered and the skin stays crisp while the breast dries out; reheat it covered and the meat stays juicy while the skin turns rubbery. That trade-off is why this guide treats the meat and the skin as two jobs: warm the meat gently under cover, then crisp the skin separately. Our guide to reheating steak covers the same low-and-slow, covered logic for beef.
The Oven Method: A Whole Rotisserie Chicken
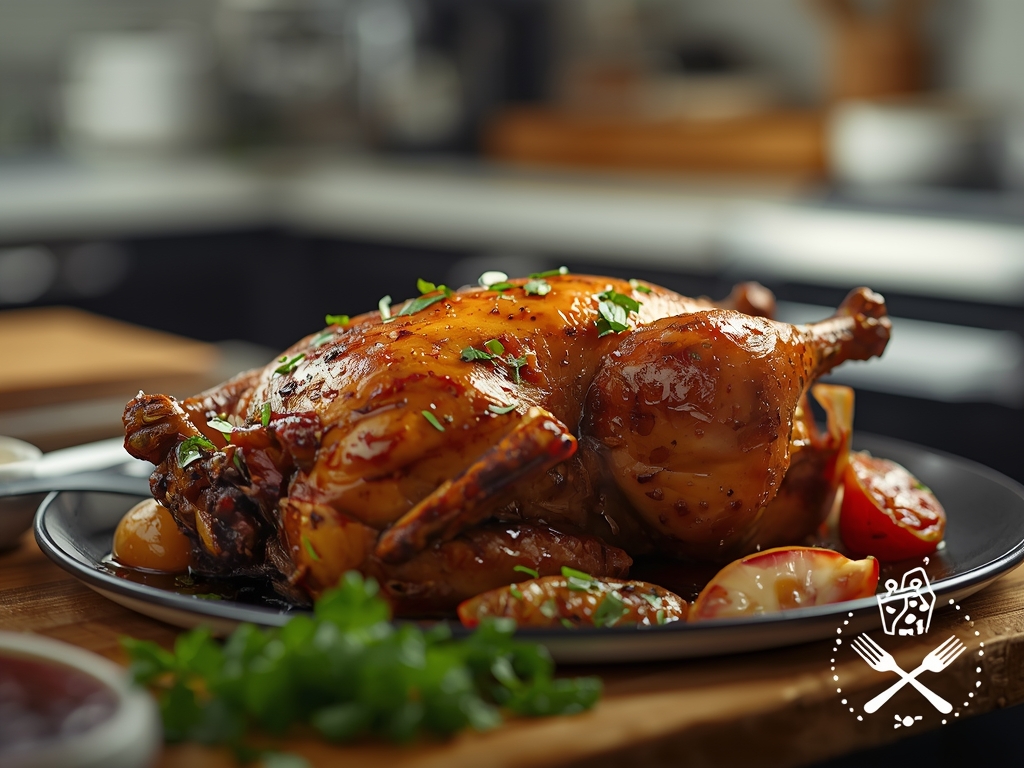
The oven is the best method for a whole bird, because it heats evenly and the foil does the moisture work for you. Heat the oven to 350°F — The Kitchn’s tested method uses 350°F, with half a cup to a cup of water or broth in the pan and the bird covered in foil for 20 to 25 minutes. Set the chicken in a roasting pan or baking dish and pour the stock or water into the bottom; stock adds flavour, water works fine. Cover the dish tightly with foil, sealing the edges so the steam stays in, and bake for 20 to 25 minutes. Check the temperature in the thickest part of the thigh, away from the bone: 165°F means it is done.
Then take the foil off and put the bird back in for about five minutes, so the dry oven heat can re-crisp the skin — five minutes is enough to dry the skin out again without drying the meat underneath. Let the chicken rest for five minutes before carving, so the juices settle and the temperature evens out. If the bird is very large, or it went into the oven straight from the fridge, allow a few extra minutes and trust the thermometer, not the clock. If you only need part of the bird, carve off what you need and reheat that instead — reheating the whole bird twice is how leftovers get ruined.
The Oven Method: Carved Pieces and Breasts
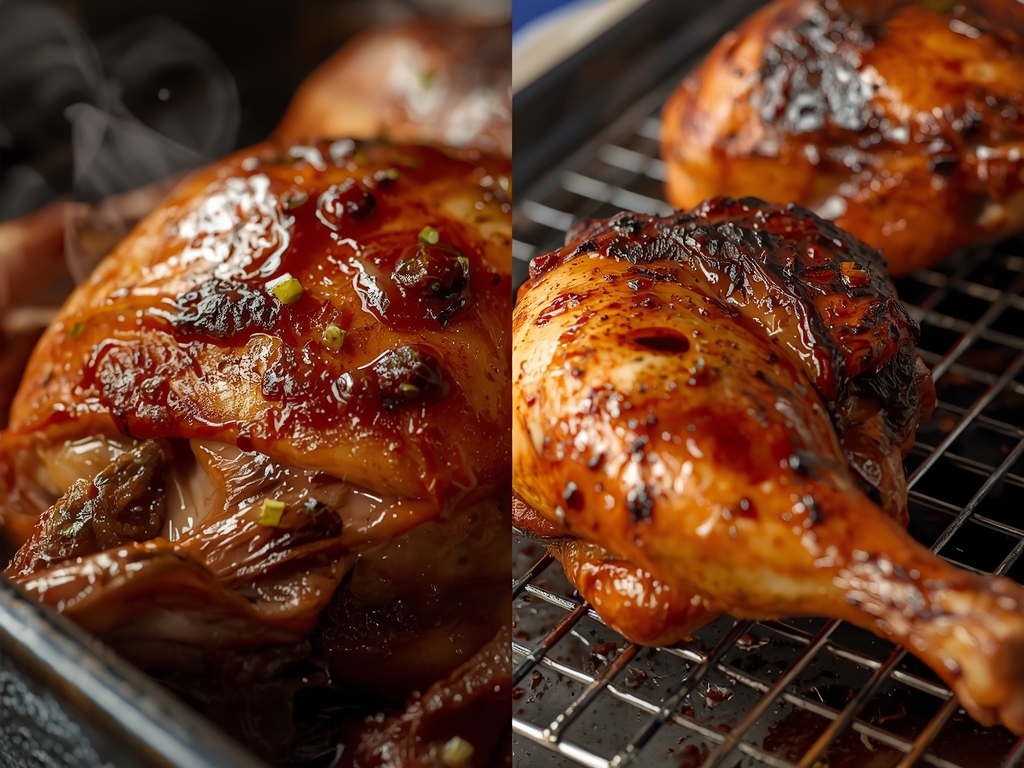
Carved pieces reheat faster than a whole bird, with the same treatment at a smaller scale. Heat the oven to 350°F. Lay the pieces in a single layer in a baking dish — overlapping is fine, but keep it to one layer, since a stack heats unevenly and the pieces in the middle stay cold while the ones on top dry out. Spoon two to three tablespoons of stock or water over each serving and cover tightly with foil.
Bake for 10 to 15 minutes, then check the thickest piece: 165°F means it is done. Breasts need the most care, since they are the leanest cut — check them at 10 minutes, because a thin breast can overshoot fast. Thighs and drumsticks are more forgiving and can take the full 15. Serve straight from the foil, spooning the liquid in the bottom of the dish over the pieces — it is the difference between chicken that tastes reheated and chicken that tastes freshly carved.
The Microwave Method: Single Servings, Fast

The microwave is the fastest way to reheat rotisserie chicken and the easiest way to ruin it, so it is a method for a single serving, not for the whole bird. Carve off the meat you need and cut it into even pieces — bones heat faster than meat, so a bone-in piece heats unevenly. Arrange the pieces in a single layer on a microwave-safe plate, spoon a tablespoon or two of stock or water over them, and cover with a damp paper towel.
Heat at 50 percent power in 30-second bursts until the pieces are hot through — usually 2 to 3 minutes for a single serving. Full power is the mistake: at full power the edges cook before the middle is warm, and by the time the middle catches up the edges are tough. The damp paper towel matters more than it looks — it creates a small steam pocket around the chicken, the microwave version of the foil packet. Do not reheat the same pieces twice; a second round dries out whatever moisture the first one left.
The Air Fryer Method: Crisp Skin, Small Portions
The air fryer is the best choice when you want the skin back — for a plate of wings, thighs, or drumsticks — and it is fast enough to be worth it for a single serving. Heat the air fryer to 350°F. Lay the pieces in a single layer in the basket, skin-side up, leaving space between them so the hot air can reach all sides. Brush the pieces lightly with stock and heat for 3 to 5 minutes, checking at 3. The moving hot air reheats the pieces evenly and crisps the skin, but bare pieces dry out fast, so a light brush of liquid and a short cooking time are what keep the method working.
Our air fryer reheat times chart lists the same 350°F, 3-to-5-minute window for chicken pieces. The air fryer is not the method for a whole bird: it does not fit, and even if it did, the outside would be done long before the centre. For larger portions, wrap the pieces in a loose foil packet with a spoonful of liquid — about 10 minutes, the same as the oven method — then open the packet for the last two minutes so the skin can crisp.
The Stovetop Skillet Method: Sliced Meat in Minutes

The skillet is the method for sliced meat — the chicken going into a sandwich, a wrap, a salad, or a pasta sauce — because it warms the meat and gives it a little colour at the same time. Slice the meat off the bone and cut it into even strips. Put the strips in a cold skillet in a single layer, add about a quarter cup of chicken stock or water, and set the pan over medium heat with the lid on. The liquid simmers in a minute or two and steams the strips from below; three to four minutes is usually enough.
Take the lid off for the last minute so the remaining liquid reduces and coats the strips, turning them once so both sides catch the heat. The skillet is a watching method, not a walk-away method: a quarter cup of liquid evaporates quickly, and a dry skillet at medium heat will scorch the meat in under a minute. If the pan goes dry before the chicken is hot, add another splash of stock rather than turning the heat up. It is also the best method for chicken going straight into a cooked dish, because the strips come out of the pan already hot.
Keeping the Skin Crisp: Separate It and Re-Crisp It
The skin is the hardest part of a rotisserie chicken to save, because the steam that keeps the meat moist is exactly what makes skin soft. The most reliable fix is to treat the skin as a separate ingredient. Before you reheat the meat, peel the skin off in the largest pieces you can manage and set it aside. Reheat the meat covered, using any method above, and while it warms, re-crisp the skin on its own: lay it flat on a baking sheet and roast it at 400°F for 3 to 5 minutes, or crisp it in the air fryer at 375°F for 2 to 3 minutes, until it is dry and crackling. Lay the crisped skin back over the meat to serve.
If you would rather keep the skin on the bird, the oven method’s last five uncovered minutes are the compromise, though the skin will never be as crisp as on the day the chicken was cooked. The microwave cannot crisp skin at all, so if you reheat in the microwave, take the skin off first and crisp it separately, or accept that it will be soft. Either way, do not expect the skin to survive a second covered reheat: once steamed soft twice, no amount of dry heat brings it back.
Storage, Freezing, and Frequently Asked Questions

The fridge clock starts the day the chicken was cooked, not the day it went into the fridge. The FoodSafety.gov cold food storage chart gives cooked chicken three to four days in the fridge, and our guide to how long cooked chicken is actually safe in the fridge covers the same window in detail, including how to spot the signs that it has turned. Keep the chicken sealed or wrapped tightly, and refrigerate it within two hours of buying it. For longer storage, freezing cooked chicken keeps it safe for months; that guide covers wrapping, thawing, and the freezer window.
What temperature should reheated chicken reach? 165°F in the thickest part, away from the bone. The USDA gives 165°F for reheated leftovers, and chicken is no exception — it is the figure to trust, not the clock.
Can I reheat rotisserie chicken more than once? It is safe if the chicken was stored properly and reheated to 165°F each time, but the texture suffers with every round. Reheat only the portion you will eat, and keep the rest cold.
Why is my reheated chicken rubbery? It was almost certainly heated too hot or too long, or it went in uncovered — lean breast meat is the first to turn rubbery. Next time, use a lower temperature, cover the dish, add a splash of stock, and check the temperature earlier.
What should I do with chicken that is too dry to serve on its own? Do not throw it away: shred it into soup, a curry, or a casserole, where the sauce does the moisturising, or use it in our five genius recipes for leftover rotisserie chicken.

Ghani is the founder of TwiceTasty and a passionate home cook who believes no meal should go to waste. What started as a personal mission to transform leftovers into exciting new dishes has grown into a community of food lovers who share the same philosophy.
