Follow Me On Social Media!

How to Reheat Quiche Without Making the Crust Mushy.
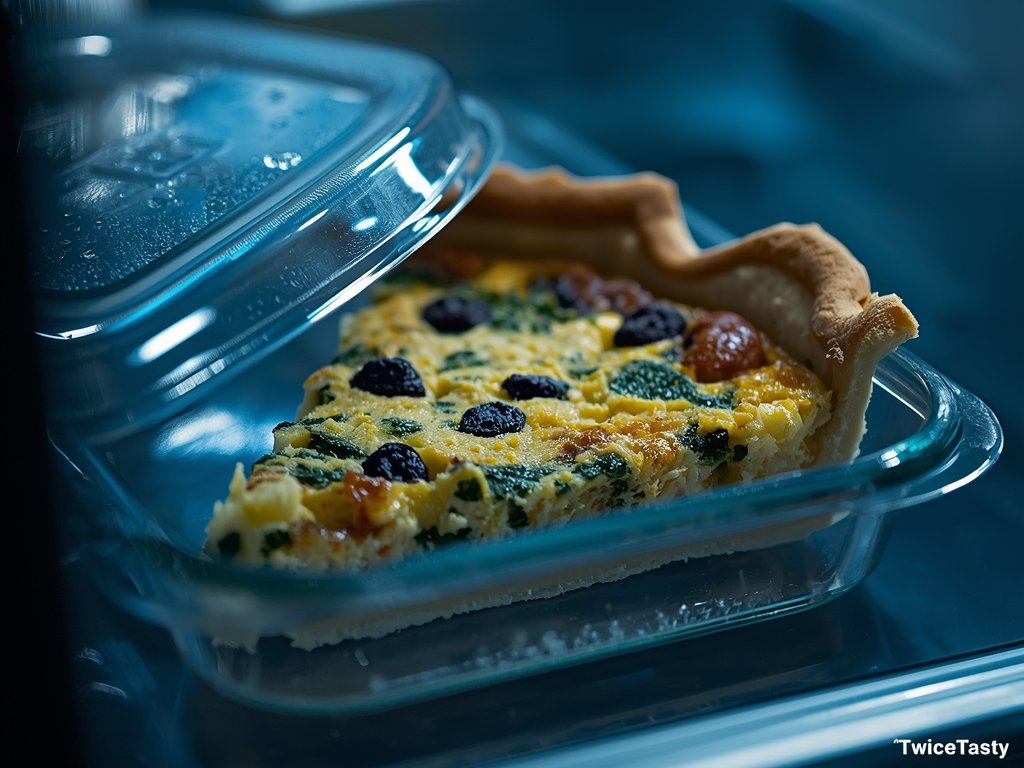
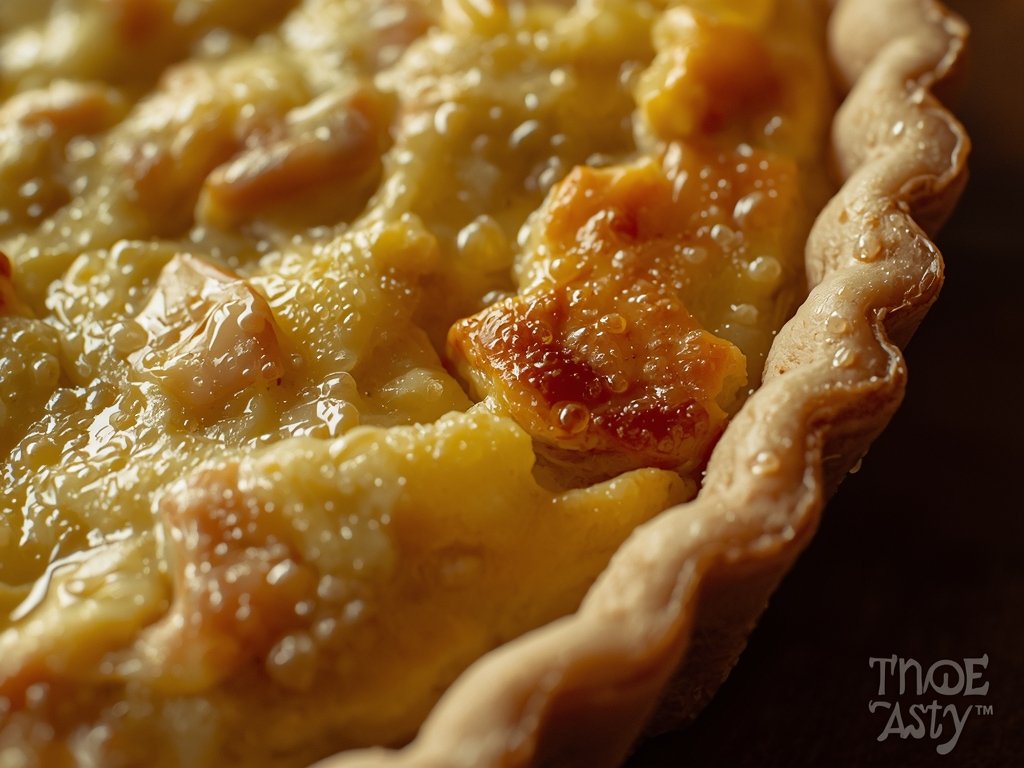
There is a specific kind of quiet desperation that involves standing in front of the open refrigerator at noon, staring down a Tupperware container of leftover quiche. It looked like a masterpiece yesterday—tall, golden, and wobbling slightly like a proper French custard should. But after a night in the cold, the reality is different. The pastry, once shatteringly crisp and buttery, looks damp and tired. It’s translucent at the edges where it touched the plastic. You know what happens if you throw this in the microwave. You’ve lived it. You end up with a rubbery, eggy hockey puck and a crust that has the structural integrity of wet cardboard.
Most people just accept that leftover quiche is a textural compromise. They figure the crust is doomed, so they might as well just nuke it and get it over with. But I’m here to tell you that the crust can be saved. In fact, you can make the crust taste better than it did on the first day. You just have to understand that a quiche is essentially a battle between two opposing forces: a wet, heavy custard and a dry, delicate pastry. When you reheat it, you aren’t just warming up food; you’re managing a war over moisture. If you let the custard win, you get mush. If you fight for the crust, you get lunch worth savoring.
The Science of the Weeping Custard
To fix the problem, we have to look at why the crust failed in the first place. A quiche is a custard pie. It’s a matrix of eggs and cream (or milk) that sets when baked. The science of baking sets the protein structure of the eggs, trapping water inside that soft, silky filling. It’s delicious. But it’s also heavy with moisture.
The pastry, on the other hand, is a baked good. Its entire purpose is to be dry and flaky. It relies on layers of fat and flour that you want to stay separate. When you put these two in the fridge, the laws of thermodynamics start working against you. The water molecules in the custard are constantly moving. Over time, they migrate from the wet filling into the dry crust. The flour in the pastry acts like a sponge. It soaks up that escaping moisture.
This is why the bottom crust gets soggy. It’s literally drinking the filling. Plus, the fridge is a humid environment. The moisture in the air clings to the surface of the crust. By the time you go to reheat it, the pastry is hydrated. It’s swollen. If you wrap it in plastic and microwave it, you add even more water in the form of steam. The starches in the flour gelatinize, turning the flaky layers into a gummy paste. We need to reverse this. We need to drive that excess moisture out of the crust and re-solidify the fats before the eggs turn to rubber.
The “Naked” Baking Sheet Strategy
The oven is your only true friend here. The air fryer is tempting because it’s fast, but it’s too aggressive. The violent, concentrated heat of an air fryer fan will scorch the top of your quiche and puff up the crust before the center has a chance to thaw, leading to a burnt exterior and an icy middle. We need the gentle, encompassing dry heat of a conventional oven.
But here is the mistake everyone makes: they put the quiche on a cold baking sheet, or worse, on a piece of parchment paper. You want direct contact with metal. Preheat your oven to 350°F (175°C). While it’s heating up, take your baking sheet and put it in the oven empty. Let that sheet get hot. This is a pro technique called “preheating the vessel.”
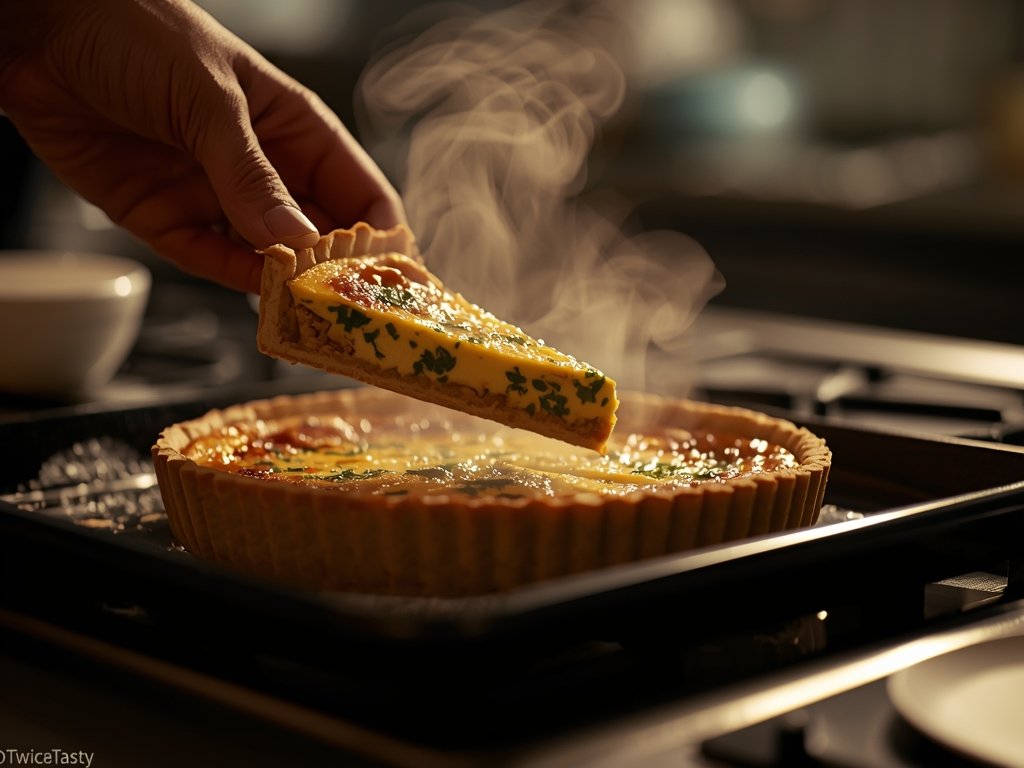
When the oven is ready, take the hot sheet out (carefully!) and place your quiche slice directly onto the metal. No parchment. No foil. Just naked quiche on hot metal. Why? Because the metal acts as a heat conductor. It immediately attacks the bottom crust, which is the wettest part. It transfers that heat directly into the dough, evaporating the moisture that soaked in overnight. It effectively re-fries the bottom of the crust.
Slide the sheet back into the oven. We’re going for a low-and-slow approach here. You want the quiche to warm through gently. If the heat is too high, the eggs will tighten up and squeeze out their remaining water, making the filling grainy and tough. At 350°F, you’re looking at about 15 to 20 minutes. It feels like a long time for leftovers, but texture takes time.
Listening for the Sizzle
While it’s in there, trust your nose. You’ll start to smell the butter in the crust waking up. That rich, nutty aroma is the signal that the fats are melting and re-solidifying into flaky layers again. The edges of the crust should start to turn a deeper golden brown.
If you have a convection oven, use it. The fan helps circulate the dry air, wicking away the moisture as it evaporates from the surface of the custard. If you don’t have convection, just leave the door slightly ajar for the last five minutes. This sounds crazy, but it lets the steam escape. You don’t want the quiche steaming in its own juices; you want it drying out slightly, concentrating the flavors of the cheese and spinach or bacon.
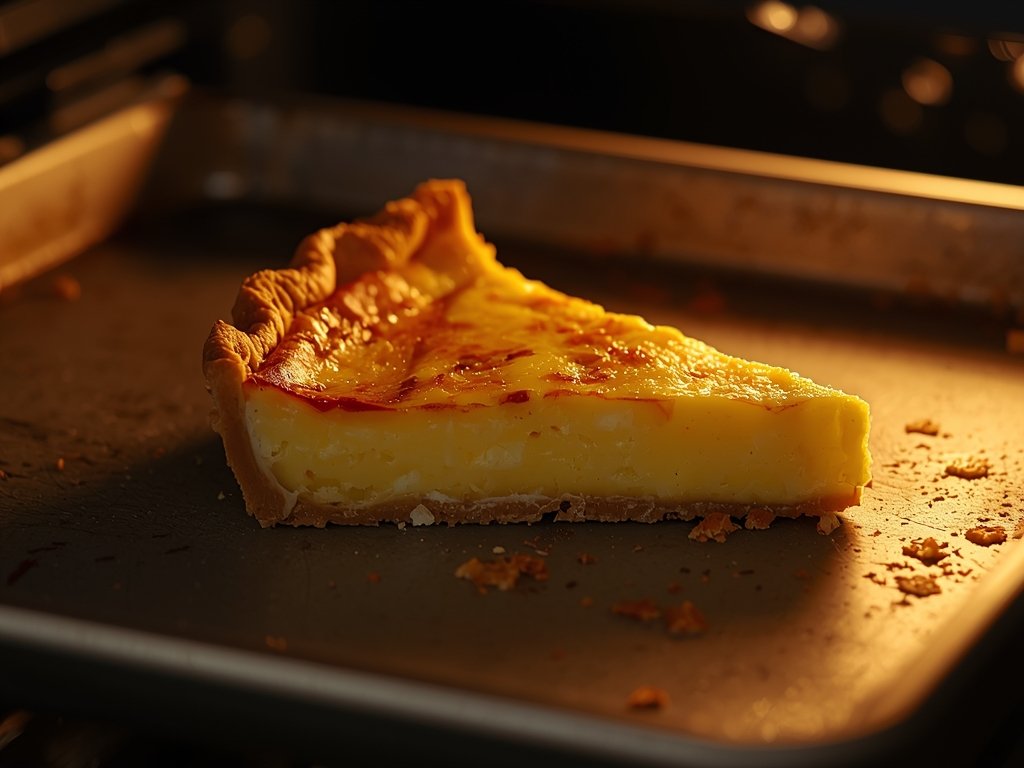
How do you know it’s done? The center should be warm to the touch, not scalding hot. You can give the pan a gentle shake; the filling shouldn’t jiggle like liquid Jell-O, but it shouldn’t be solid as a rock either. It should have that soft, silken wobble. The crust, however, should be audibly crisp. If you tap the pan, you should hear a hollow, dull thud rather than a wet slap. That sound is the victory cry of a rescued crust.
The Protective Cheese Crust Upgrade
Now that we’ve fixed the texture, let’s address the flavor. Reheated eggs can sometimes taste a little… well, like reheated eggs. They can sulfurous or flat. We need to wake up the palate. Here is the upgrade that makes this slice sing.
About 5 minutes before you pull the quiche out, open the oven door. Grab a handful of grated Parmesan cheese or maybe some sharp cheddar. Sprinkle it generously over the top of the quiche, focusing on the crust edges.
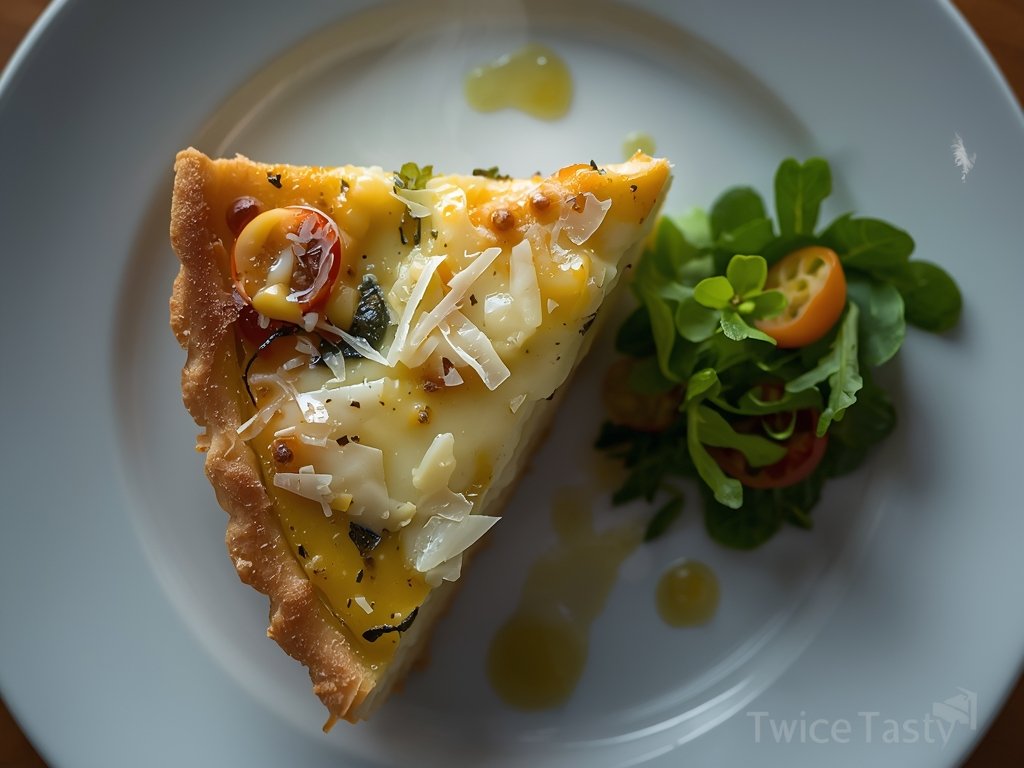
Why add more cheese? Because we are creating a new, protective barrier. The cheese will melt and bubble, forming a crispy, savory lace over the top of the custard and fusing with the crust edges. It adds a second layer of texture—a salty, crunchy hat that protects the soft eggs underneath. As the cheese browns, the milk solids caramelize, adding a nutty flavor that masks any “fridge” taste.
When you pull it out, let it rest for a solid five minutes. I know it smells amazing, but the custard needs to set. If you cut into it right away, the texture will be runny. Patience pays off. Slice it and lift it onto your plate. You should hear the crust crunch against the knife. The bottom should be firm and baked, not soggy. The cheese on top should be shattered and golden. It’s a reinvention. You took a soggy leftover and turned it back into a rustic, French-country lunch. It’s not just edible; it’s dignified.
Frequently Asked Questions
Can I reheat a whole quiche or just slices?
You can reheat a whole quiche, but it takes much longer—closer to 30 to 40 minutes. The danger is that the crust will burn before the center is warm. If reheating a whole pie, tent the top loosely with foil for the first 20 minutes to protect it, then remove the foil to let the crust crisp up for the last 10. Slices are much easier to manage.
Is it safe to eat leftover quiche cold? Yes, absolutely. Quiche is often eaten cold in picnics or lunchboxes. The texture will be softer and the fat in the crust will be solid and waxy, which some people actually prefer. But if you want that bakery texture, reheating is necessary.
Why does my quiche crust get soggy even when I bake it fresh? That’s usually a “blind baking” issue. If you don’t bake the crust empty for a few minutes before adding the wet egg mixture, the moisture from the custard seeps into the raw flour dough and prevents it from ever getting crisp. For leftovers, the “naked baking sheet” method helps fix this, but next time, try baking your empty crust with pie weights (or dried beans) for 15 minutes before adding the filling.

The Twice Tasty Team is a collective of culinary researchers and kitchen gear experts dedicated to the art of food revival. We test every technique in our “Flavor Lab” to help you reduce food waste and transform yesterday’s meals into gourmet experiences. Professional quality, tested results.