Follow Me On Social Media!

The roast chicken is eaten, the plates are cleared, and the carcass sits on the board looking like waste. It is not waste — it is the second meal the chicken was always going to give you. A carcass simmered in water with an onion, two carrots, and a few peppercorns turns into two to three litres of stock: clean, golden, faintly gelatinous when cold, and better than any carton in the shop. It costs nothing but time, and the time is mostly waiting — twenty minutes of active work, and three to four hours in which the pot looks after itself.
The Short Answer: Carcass, Water, Vegetables, 3 to 4 Hours
Put the picked-over carcass in a large stockpot, add one halved onion, two chunked carrots, two chunked celery stalks, three halved garlic cloves, a tablespoon of apple cider vinegar, a teaspoon of black peppercorns, two bay leaves, and a handful of parsley stems. Cover with ten to twelve cups of cold water, bring it slowly to a gentle simmer, skim the foam for the first half hour, and simmer — never boil — for three to four hours. Strain through a fine-mesh strainer, coo fast, and store: three to four days in the fridge, four to six months in the freezer.
Three rules govern the whole pot. First, start cold: cold water draws the flavour and the collagen out of the bones slowly, and hot water seals the surface and clouds the stock. Second, simmer, never boil: a rolling boil churns fat and particles into the liquid and makes it cloudy, while a bare simmer — a bubble breaking the surface every second or two — keeps it clear. Third, do not salt it: salt concentrates as the stock is used, and a stock salted now will be too salty in the soup it becomes.
What You Need: The Carcass and the Pot

The carcass is one chicken carcass — the bones and skin from a four-to-five-pound roast chicken, picked as clean as you can get it, with the wing and leg bones included if you have them. Break it into pieces small enough to fit the pot: pull the leg and wing bones away, and use kitchen scissors to cut the breastbone and the back into two or three pieces. A carcass that fits flat in the pot gives up more flavour than one folded and cramped, because the water can reach every surface. If the carcass is from a rotisserie chicken, it works exactly the same way — and a rotisserie carcass is often the best one, because the skin is well browned and the bones are already deeply roasted.
The pot should be a large stockpot, six quarts or bigger, with the bones sitting snugly inside and the water covering them by about an inch. Too much water makes a thin stock, and too little leaves the bones poking out and drying. The vegetables are one onion, halved (unpeeled is fine — the skin adds colour), two carrots and two celery stalks cut into chunks, three garlic cloves halved, a tablespoon of apple cider vinegar, a teaspoon of black peppercorns, two bay leaves, and a handful of parsley stems. The vinegar is not for flavour: the acid helps draw minerals and collagen out of the bones. Lemon juice does the same job.
The Method, Step by Step
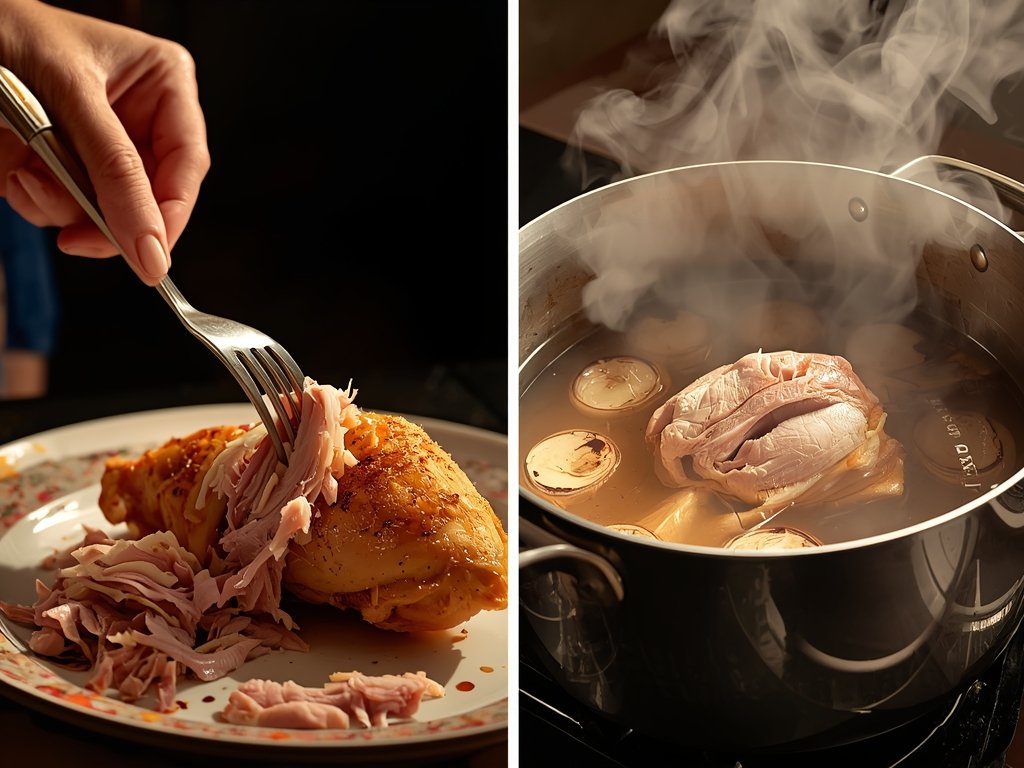
Step one: load the pot. Rinse the bones under cold water and put them in the pot with all the vegetables, the herbs, and the peppercorns. Pour in ten to twelve cups of cold water — cold, not hot — until it covers everything by about an inch. Add the tablespoon of apple cider vinegar.
Step two: bring it up slowly. Set the pot over medium heat, uncovered, and let it come up to temperature for twenty to thirty minutes, without stirring.
Step three: skim the foam. Use a wide spoon or a ladle to lift the foam off and drop it into a bowl. Do this during the first twenty to thirty minutes of the simmer, and again whenever a new layer builds up. The foam is coagulated protein — removing it gives a cleaner, clearer stock.
Step four: hold a bare simmer. Lower the heat until only a bubble or two breaks the surface every second or two — about 180 to 200°F — and partially cover the pot with the lid ajar. Simmer for three to four hours. Top up with hot water if the level drops and the bones poke out. Do not stir: stirring clouds the stock.
Step five: strain. Turn off the heat and let the pot sit for thirty minutes. Lift out the large bones and vegetables with tongs, then pour the stock through a fine-mesh strainer into a large bowl, in batches. If you want it clearer still, strain it a second time through a cheesecloth-lined strainer — the cloth catches the fine particles the mesh misses. Do not press the solids: pressing squeezes cloudiness back into the stock. Step six: cool it fast. Pour the stock into shallow containers, or set the bowl in a sink of ice water and stir every few minutes for thirty to forty-five minutes, until it stops steaming and feels cool. Refrigerate it within two hours of the end of cooking.
Roasted vs Raw Bones: Why the Carcass Wins

A roasted carcass makes a better stock than raw bones, and the reason is the roasting: the heat caramelised the skin and the surface of the bones, and those browned flavours dissolve into the water as the stock simmers. A stock from raw bones is cleaner and paler, and it is the right choice for a delicate soup — but a stock from a roasted carcass has a depth and a toastiness that raw bones cannot match, and it is the stock you want for a hearty soup, a risotto, or a pan sauce. Entirely Elizabeth’s homemade chicken stock uses the same carcass-first method, with the same three-to-four-hour simmer and the same apple cider vinegar.
You can improve a carcass stock further, and the cheapest improvement is wings: chicken wings have a high skin-to-bone ratio and carry a lot of collagen, so a pot made with a carcass plus a few wings sets more firmly when cold — and a stock that gels lightly in the fridge is a stock with body, which is the sign of a good one. And the bones themselves tell you when the stock is done: after three to four hours they feel brittle and the cartilage is soft, and the stock tastes savoury and rounded, not watery.
The Simmer: Low, Slow, Never Boiling
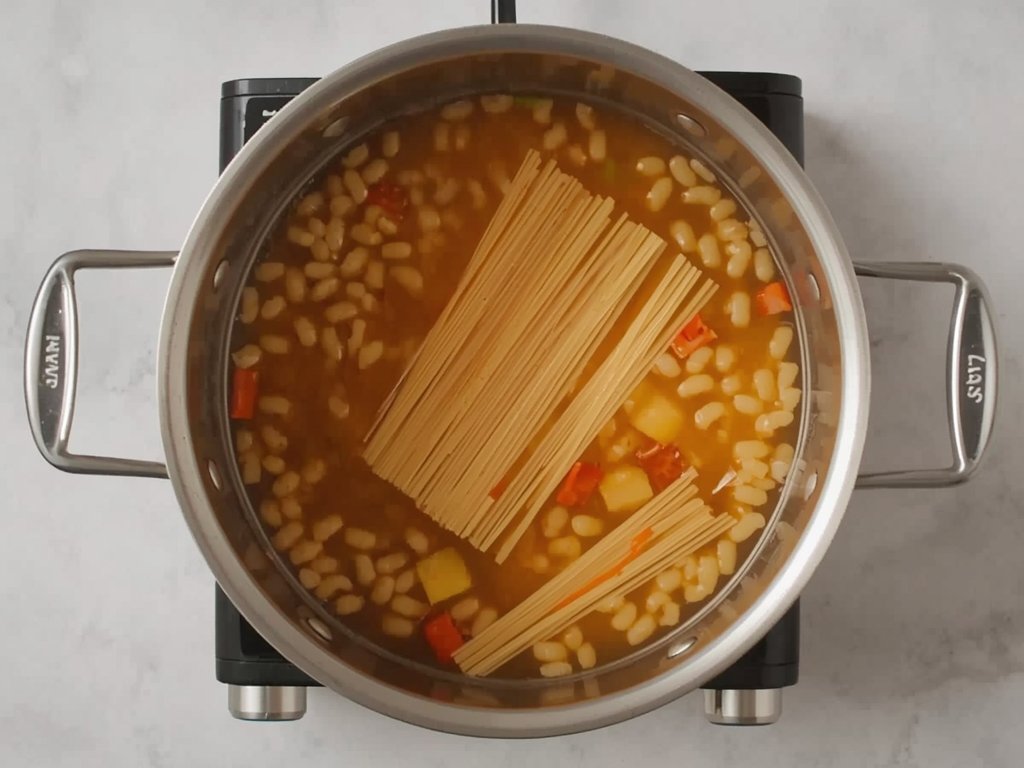
The simmer is the whole skill, and it is a narrow band: hot enough that a bubble breaks the surface every second or two, cool enough that the surface barely moves. Below that band, the stock does not extract — the flavour stays in the bones. Above it, the stock boils, and boiling does three kinds of damage at once: it churns fat and fine particles into the liquid and clouds it, it emulsifies the fat so the stock tastes greasy, and it breaks the long collagen molecules that give the stock its body. A boiled stock is not ruined, but it is cloudy and thin where a simmered stock is clear and full.
The timing has a sweet spot too. Three to four hours is the range, and longer is not better: beyond four hours, chicken stock can turn slightly bitter as the bones give up compounds you do not want, and the flavour does not improve. Two hours is the minimum for a carcass stock — less than that and the stock tastes of vegetables rather than chicken. And do not stir it, at any point: stirring is the quietest way to cloud a stock, and a stock that is never stirred is a stock that strains clear.
Straining and Cooling: The Two Steps Cooks Rush
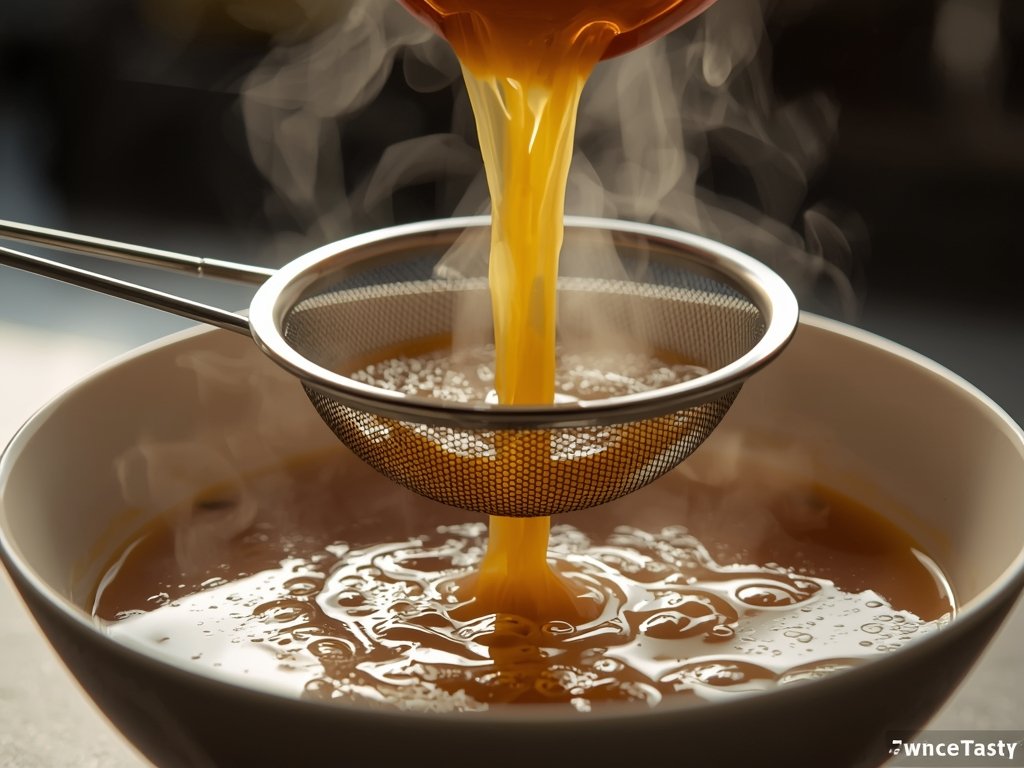
Straining is where a good stock becomes a clear one, and the mistake is pressing. Pour the stock through the strainer in batches, let it drain on its own, and throw the solids away — the vegetables have given everything they have, and the bones are spent. A second strain through cheesecloth is worth five minutes: the cloth catches the fine sediment the mesh misses, and the stock comes out golden and clear.
Cooling is where a good stock becomes a safe one, and the mistake is leaving the pot on the counter. A full pot of hot stock cools slowly — the centre holds heat for hours — and those hours are spent in the danger zone, between 40°F and 140°F, where bacteria multiply. Pour the stock into shallow containers, or set the bowl in a sink of ice water and stir it, and get it cold within two hours of the end of cooking. The stock will set to a light jelly in the fridge overnight: that is gelatin from the collagen in the bones, and it is the sign of a good stock, not a fault. The fat will solidify on the surface as a white or pale yellow layer — skim it off before using the stock, or stir it in if the dish wants the richness.
Storing and Freezing: The Week the Stock Pays For

Stock keeps three to four days in the refrigerator, in airtight containers, and four to six months in the freezer. Freeze it in the portions you will use: a pint is a soup for two, a quart is a soup for four, and an ice-cube tray of stock — frozen, then tipped into a bag — is the portion for a pan sauce, one cube at a time. Thaw overnight in the fridge, or straight from frozen in the pot — frozen stock goes into a hot pan without thawing, and it melts in minutes.
The stock’s week starts the day it is made. Monday’s soup is the obvious use, and our guide to rotisserie chicken pho soup is built on a stock exactly like this one. Tuesday’s risotto takes two cups, and Wednesday’s pan sauce takes one cube, deglazed with stock instead of water. And the stock itself can be frozen in the same routine as our guide to freezing soup — portioned, labelled, and flat — because the freezing rules are the same for every leftover: cool fast, pack airtight, label, and use within the window. Our guide to storing leftover soup covers the same containers and the same two-hour cooling rule.
What to Cook With It: Soup, Risotto, Sauce, and Grains
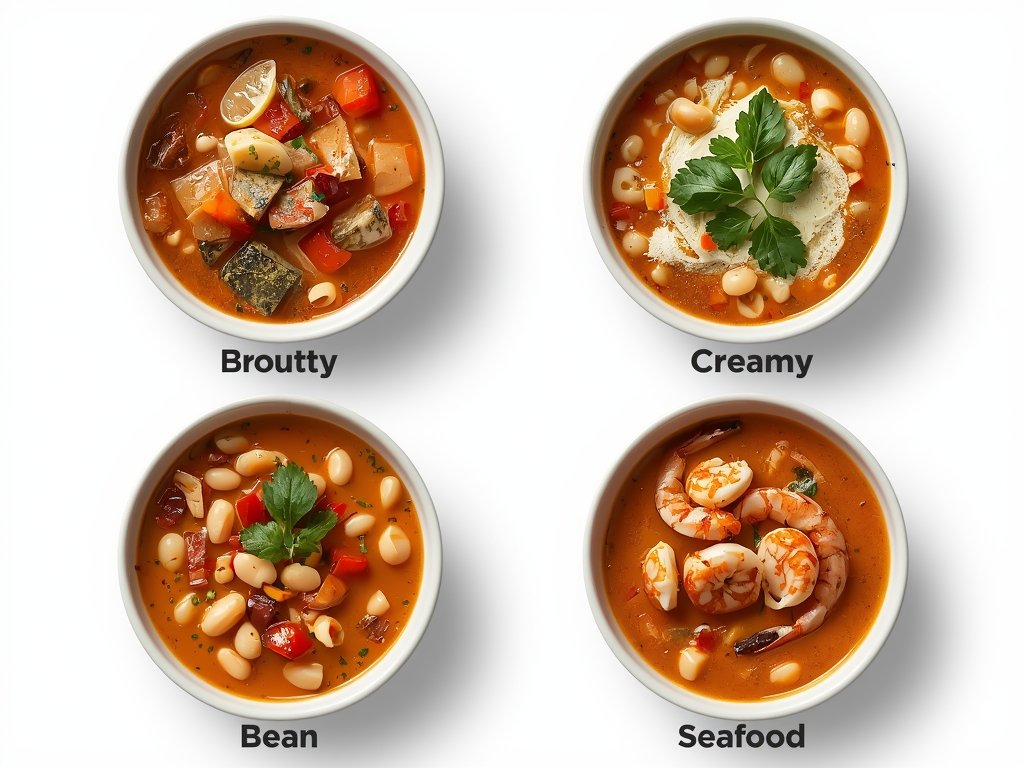
Soup is the first use and the most obvious, but it is not the best use — the best use is the dish where the stock is the difference between good and memorable. Risotto is that dish: a risotto made with water is a rice dish, and a risotto made with stock is a restaurant dish, because the stock carries flavour into every grain as the rice absorbs it. Pan sauces are the second: a spoonful of stock deglazed into the pan after searing chicken or steak lifts the browned bits and turns them into a sauce in a minute, and a stock cube from the freezer is the fastest version of it.
Grains are the third use: rice, quinoa, and couscous cooked in stock come out seasoned all the way through. And the stock is the base for the next carcass’s soup — our guide to roast chicken masterclass ends with a soup made from the same bird, and the stock here is the bridge between the two: the roast that fed six on Sunday becomes the stock that feeds six again across the week, and nothing of the bird is wasted.
Frequently Asked Questions
How long does homemade chicken stock last? Three to four days in the fridge, four to six months in the freezer. A stock that gels lightly when cold is a good stock — that is gelatin from the bones, not a fault.
Can I use a rotisserie chicken carcass? Yes — it works exactly the same way, and it is often the best carcass, because the skin is well browned and the bones are already deeply roasted.
Why is my stock cloudy? It boiled, it was stirred, or the solids were pressed during straining. Keep a bare simmer, never stir, and strain twice.
Should I salt the stock? No. Salt concentrates as the stock reduces and as it is used in cooking — season the dish the stock goes into, not the stock itself.

How to Make Stock from a Leftover Chicken Carcass
Ingredients
- 1 chicken carcass bones and skin, from a 4–5 lb roast chicken
- 10–12 cups cold water
- 1 onion halved
- 2 carrots cut into chunks
- 2 celery stalks cut into chunks
- 3 garlic cloves halved
- 1 tbsp apple cider vinegar
- 1 tsp black peppercorns
- 2 bay leaves
- parsley stems a small handful
Instructions
- Load the pot: Rinse the bones under cold water and put them in the pot with the vegetables, herbs, and peppercorns. Pour in 10–12 cups of cold water until it covers everything by about an inch, then add the apple cider vinegar.
- Bring it up slowly: Set the pot over medium heat, uncovered, and let it come up to temperature for 20–30 minutes, without stirring.
- Skim the foam: Use a wide spoon or ladle to lift the foam off during the first 20–30 minutes of the simmer, and again whenever a new layer builds up.
- Hold a bare simmer: Lower the heat until only a bubble or two breaks the surface every second or two (about 180–200°F) and partially cover the pot with the lid ajar. Simmer for 3–4 hours, topping up with hot water if the bones poke out. Do not stir.
- Strain: Turn off the heat and let the pot sit for 30 minutes. Lift out the large bones and vegetables, then pour the stock through a fine-mesh strainer into a large bowl, in batches. Strain a second time through a cheesecloth-lined strainer if you want it clearer. Do not press the solids.
- Cool it fast: Pour the stock into shallow containers, or set the bowl in a sink of ice water and stir every few minutes for 30–45 minutes, until it stops steaming and feels cool. Refrigerate within 2 hours of the end of cooking.
Notes
Keeps 3–4 days in the fridge; freeze for 4–6 months.

Ghani is the founder of TwiceTasty and a passionate home cook who believes no meal should go to waste. What started as a personal mission to transform leftovers into exciting new dishes has grown into a community of food lovers who share the same philosophy.

Rate This Recipe
Tried this recipe? Share your experience and help others!