Follow Me On Social Media!

The Art of Reviving Leftover Subs: A Toasty Twist
We’ve all been there – you order a footlong from Subway, take a few bites, and realize you’ve overestimated your appetite. The question then becomes, how do you transform yesterday’s sub into today’s crave-worthy meal? Enter the “Open-Face” Toaster Method, a game-changer for leftover sandwich enthusiasts across the United States.
Why the Traditional Reheat Falls Flat
Before we dive into the toasty technique, let’s address the elephant in the room – the microwave. While it’s a quick fix, microwaving often results in a sad, soggy sandwich. The bread loses its texture, and the fillings become a mushy mess. It’s a far cry from the crisp, flavorful experience you had when the sub was fresh.
The key to reviving leftovers lies in understanding the science of sandwiches. Each layer, from the bread to the veggies, has unique reheating requirements. A one-size-fits-all approach like microwaving simply won’t cut it.
The “Open-Face” Revelation
Unleashing the Layers
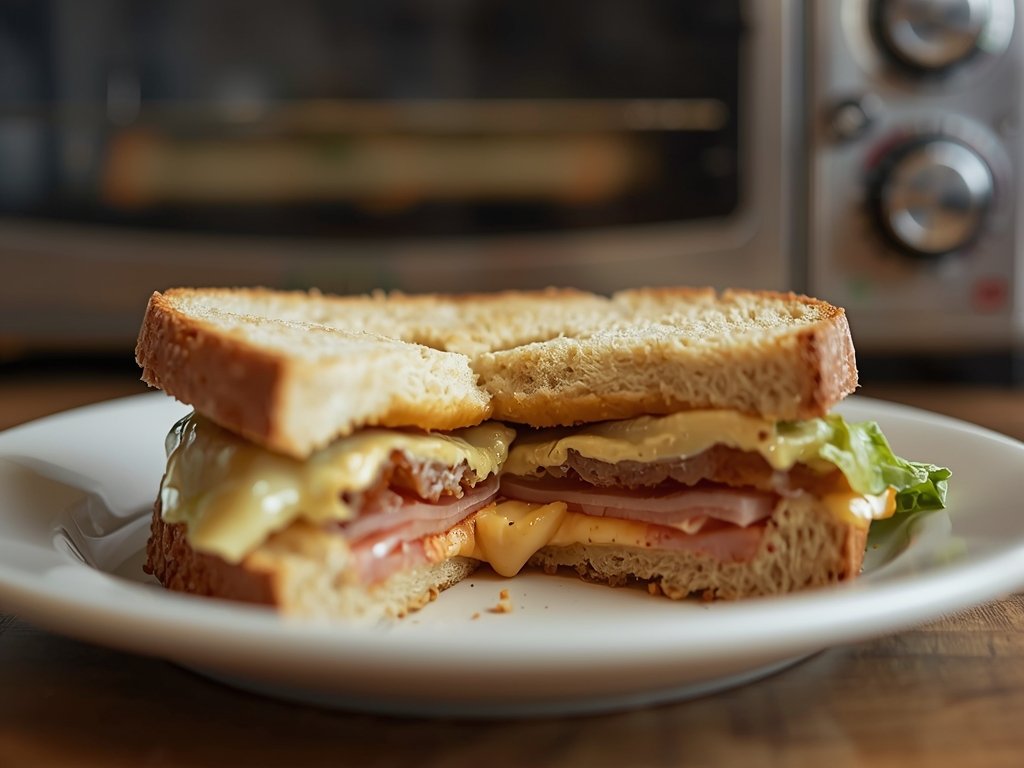
The “Open-Face” method is a simple yet brilliant concept. By carefully slicing your leftover sub in half, you unlock a world of possibilities. This technique allows you to address each component individually, ensuring a perfectly reheated sandwich.
Imagine your sub as a delicious, multi-layered cake. Each layer needs its own baking time and temperature. The bread requires a crisp exterior, while the meats and cheeses need gentle warming. Veggies, on the other hand, should retain their crunch.
Toaster Oven: The Unsung Hero
The toaster oven is the secret weapon in this strategy. Its compact size and precise temperature control make it ideal for targeted heating. Unlike a conventional oven, it won’t dry out your sandwich, and it’s more energy-efficient for small tasks.
Most American households have a toaster oven, often underutilized and relegated to the role of a mere bread-browning machine. It’s time to unleash its full potential and elevate your leftover game.
Step-by-Step: Toasting to Perfection
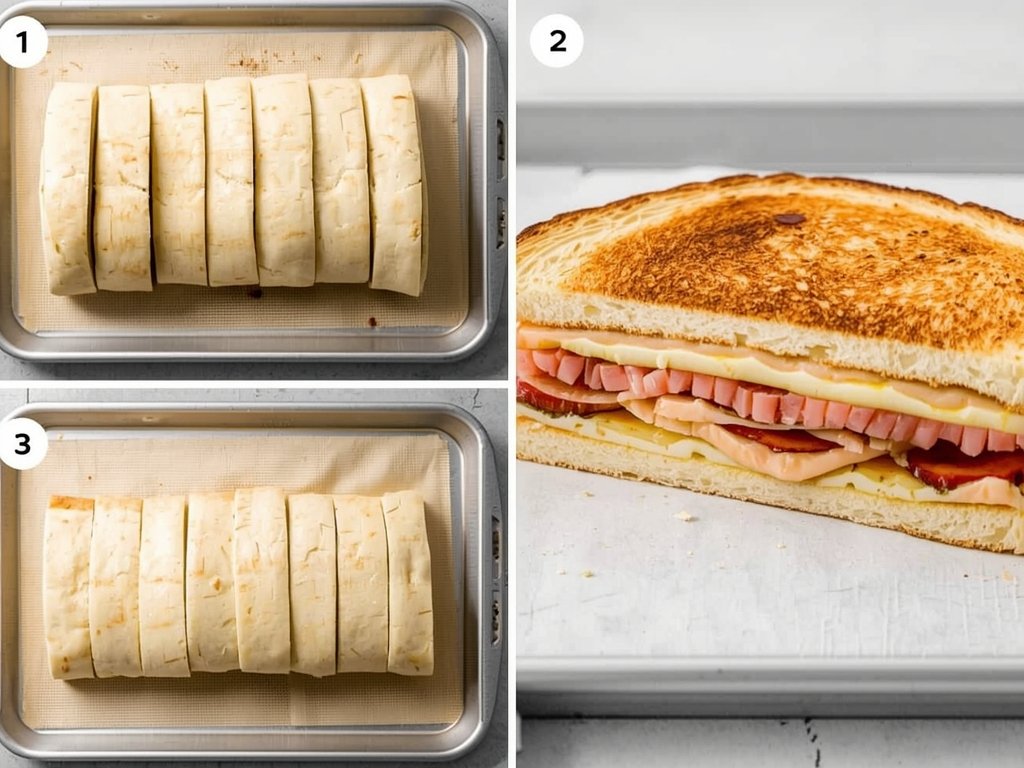
1. The Prep: Slicing and Arranging
Start by gently slicing your Subway sub in half, keeping the layers intact. Place the bottom half on a baking sheet, ensuring the cut side is facing up. This arrangement allows for even heating and prevents the toppings from sliding off.
For subs with multiple meat layers, consider separating them slightly to ensure even warming. This step is crucial for a well-balanced bite.
2. Toasting the Base
Set your toaster oven to a moderate temperature, around 350°F. Place the baking sheet with the bottom half of the sub inside. Toast for 3-5 minutes, keeping a close eye to avoid over-browning.
The goal here is to revive the bread’s texture, giving it a slight crunch without drying it out. This step is the foundation of your revived sub.
3. Melting the Goodness
Remove the toasted base and add the cheese layer. Return it to the toaster oven, this time at a lower temperature (around 300°F) to melt the cheese without burning the bread. Keep a watchful eye, as melting times vary.
This step is where the magic happens, transforming a cold sub into a warm, gooey delight. The aroma of melting cheese will transport you back to your local Subway store.
4. Veggie Revival
While the cheese melts, quickly refresh your veggies. A light toss in a bowl with a few drops of water and a paper towel cover can do wonders. This simple step ensures your veggies retain their crispness.
For a more intense flavor, consider a quick sauté of veggies like peppers and onions. This adds a new dimension to your sub, making it feel like a freshly made creation.
5. Assembly and Final Touches
Once the cheese is melted to perfection, remove the sub from the toaster oven. Add your refreshed veggies and any sauces. Top with the other half of the sub, and you’re almost there.
For an extra crispy exterior, give the entire sandwich a final toast, wrapped in foil to prevent drying. This optional step is for those who crave that just-baked texture.
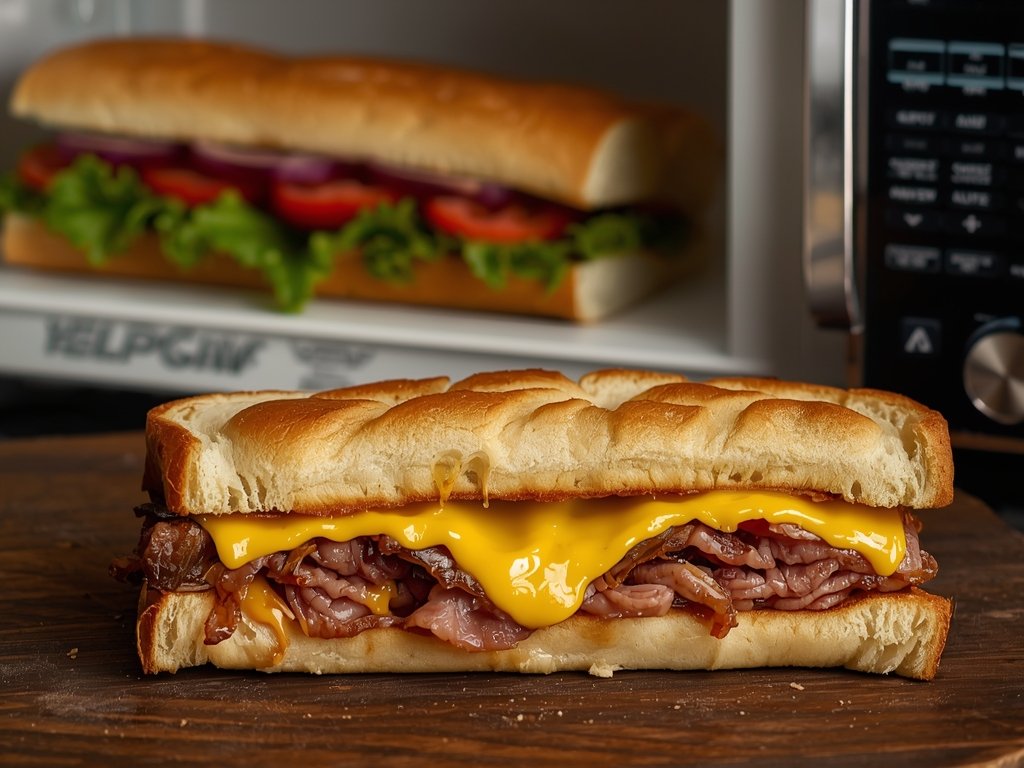
Regional Twists: Local Flavors Meet Leftovers

The beauty of this method is its adaptability to regional tastes. Across the United States, Subway fans have their own unique preferences, and this technique can accommodate them all.
In the South, a touch of Cajun spice and a drizzle of remoulade can transform a simple sub. Out West, a sprinkle of cilantro and a squeeze of lime add a fresh twist. The possibilities are as diverse as America itself.
Philly’s Cheesesteak Revival
For those in the City of Brotherly Love, reviving a cheesesteak sub is an art. The “Open-Face” method ensures the steak stays juicy, the cheese melts perfectly, and the onions retain their sweetness. A quick toast with some Love Park-inspired seasoning takes it to the next level.
New York’s Deli Delight
New Yorkers know their deli sandwiches. When reviving a pastrami on rye, the toaster oven becomes your trusted deli counter. A light toast with a smear of mustard and a pile of hot, crispy pastrami will have you feeling like you’re back on the streets of Manhattan.
FAQ: Your Leftover Sub Queries Answered
Can I use a regular oven for this method?
While a toaster oven is ideal, a regular oven can work. However, it may take longer to heat up and could dry out your sandwich. If using a conventional oven, keep temperatures lower and monitor closely.
How do I prevent my sub from getting soggy?
The key is in the layering and heating. By toasting the bread first and adding moisture-rich ingredients like veggies and sauces later, you create a barrier. This prevents sogginess and ensures each bite is as delicious as the last.
What’s the best way to store leftover subs?
Wrap your sub tightly in foil or plastic wrap to retain moisture. Store it in the refrigerator, and consume within 2-3 days for the best quality. For longer storage, consider freezing, but note that the texture may change slightly upon reheating.
Can I revive a sub with mayonnaise-based sauces?
Mayonnaise-based sauces can be tricky as they may separate when reheated. It’s best to add these sauces fresh after reheating the sub. Alternatively, opt for oil-based sauces or mustards that hold up better to heat.
Any tips for a crispy exterior without drying out the inside?
The foil wrap method is your friend. After assembling your revived sub, wrap it in foil and give it a final toast. This traps moisture inside while allowing the exterior to crisp up. It’s a delicate balance, so keep a close eye on the timing.
Marco covers the Reheat Pro category on TwiceTasty, focusing on reheating techniques and texture preservation. His articles help home cooks bring leftovers back to life with the right methods for every type of food — from crispy fried chicken to creamy pastas.