Follow Me On Social Media!

Sharpen Dull Knives at Home: Easy DIY Tips for Cooks
The Cutting Edge: Reviving Your Knife’s Sharpness at Home

Let’s face it—a dull knife is the arch-nemesis of any home cook. Whether you’re slicing through a ripe tomato for your BLT or chopping onions for grandma’s famous chili, a sharp blade is your best friend. But what if you don’t have a fancy whetstone or sharpening tool? Fear not! With a few household items and a bit of elbow grease, you can bring your knife back to life. Let’s dive into the art of sharpening a dull knife at home, no expensive gadgets required.
Why Sharp Knives Matter in the American Kitchen

In the heart of every American kitchen, the knife is the unsung hero. From Fourth of July barbecues to Thanksgiving feasts, a sharp blade ensures precision and safety. Dull knives, on the other hand, can turn meal prep into a frustrating (and dangerous) chore. They require more force, increasing the risk of slips and uneven cuts. Plus, who wants to mash their veggies instead of slicing them? A sharp knife isn’t just a tool—it’s the secret to culinary confidence.
Household Heroes: Unexpected Sharpening Tools
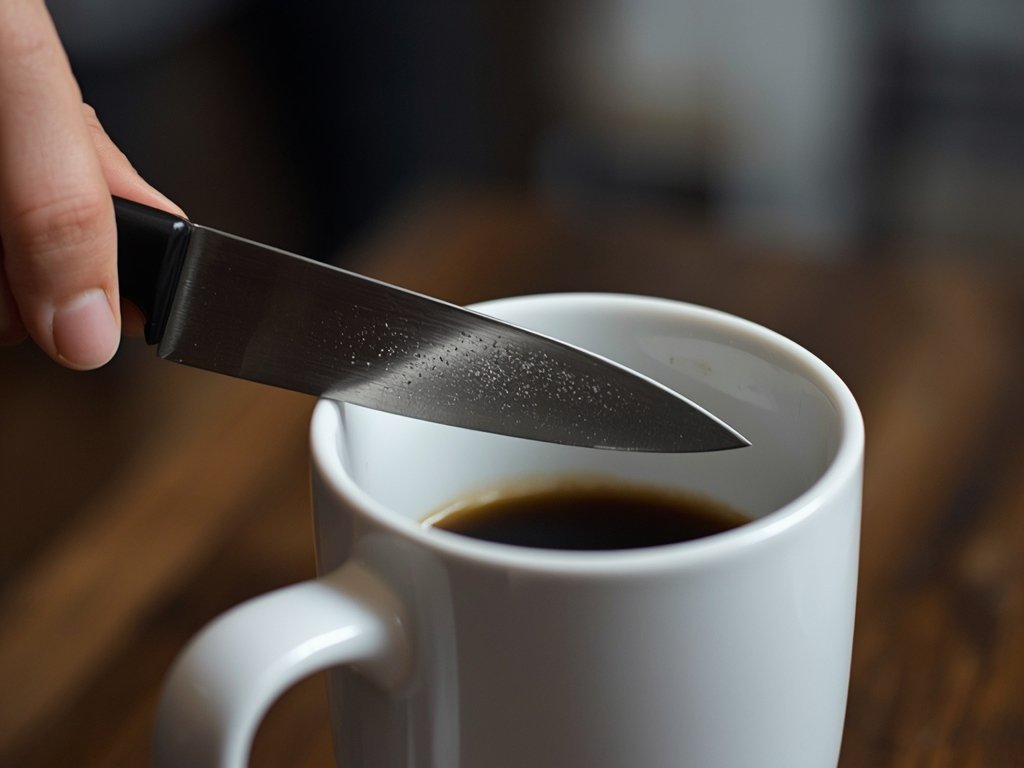
The Coffee Mug Method
Yes, your morning coffee mug can double as a sharpening tool! Flip it over, and you’ll find a rough, unglazed bottom perfect for honing your blade. Simply hold the knife at a 20-degree angle and glide it along the mug’s rim. Repeat 5-10 times on each side, and you’ll notice a difference.
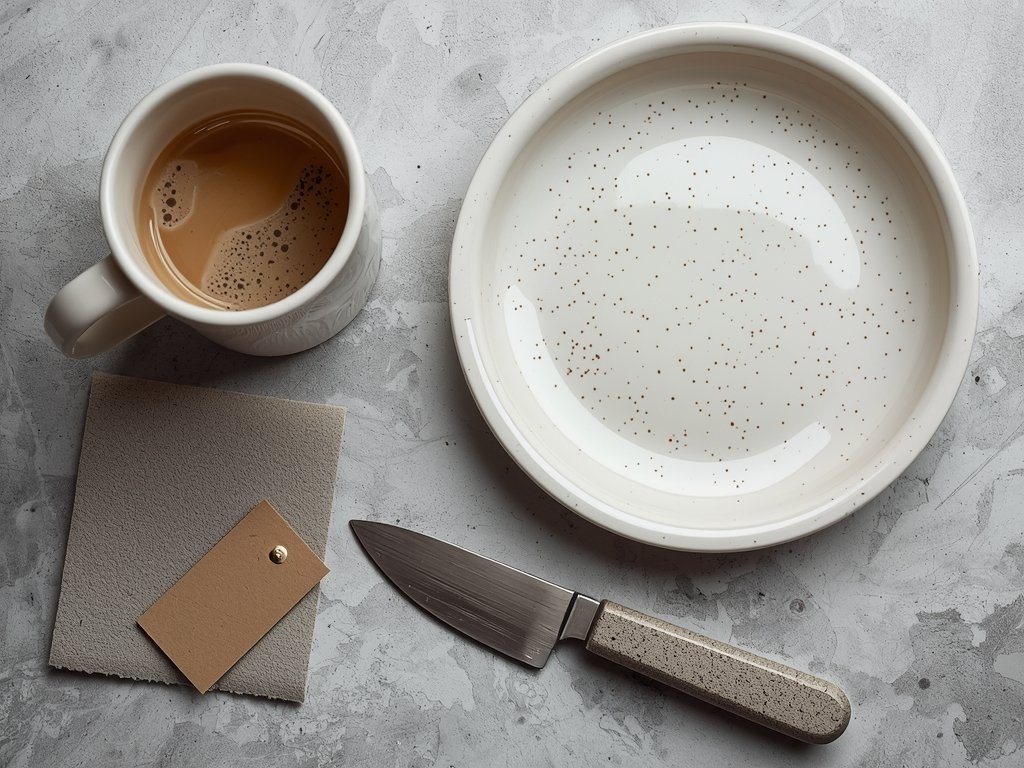
Ceramic Plates: Not Just for Dinner
That sturdy ceramic plate in your cabinet? It’s a hidden sharpening gem. The rough underside works wonders for dull knives. Just like with the mug, maintain a consistent angle and stroke the blade gently. This method is gentle on your knife, making it ideal for delicate blades.
Sandpaper: The Gritty Solution
If you’ve got sandpaper lying around (maybe from that DIY project you started last summer), it’s a fantastic sharpening tool. Use a medium-grit paper (around 400-600 grit) and lay it flat on a countertop. Run your knife across the paper, keeping the angle steady. This method is a bit more aggressive, so use it sparingly.
Step-by-Step: Sharpening Your Knife Like a Pro
1. Prep Your Workspace
Clear a stable surface and gather your chosen sharpening tool. Safety first—ensure your knife is dry and your grip is firm. Wet hands and slippery blades are a recipe for disaster.
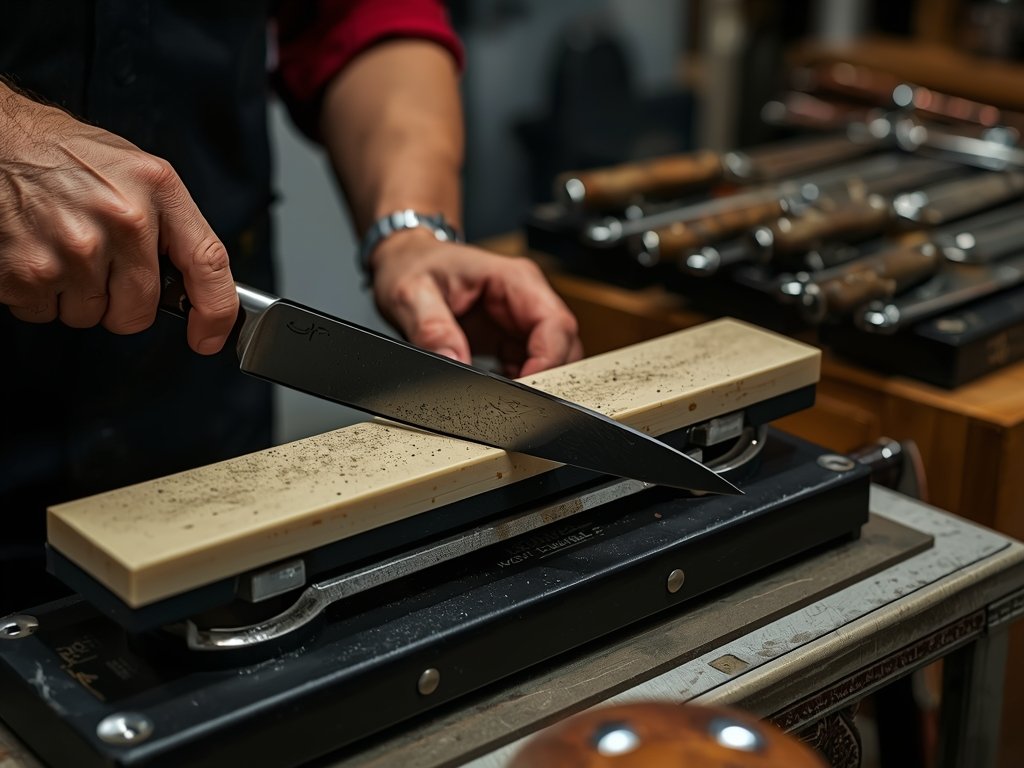
2. Master the Angle
The key to sharpening is consistency. Hold your knife at a 20-degree angle to the sharpening surface. Imagine you’re trying to slice off a thin layer of the material. Too steep, and you’ll damage the blade; too shallow, and you won’t sharpen effectively.
3. Stroke and Repeat
Start with the blade’s heel (the part closest to the handle) and glide it smoothly toward the tip. Apply gentle pressure and maintain the angle. Repeat on the other side, ensuring both edges get equal attention. Aim for 5-10 strokes per side.
4. Test Your Edge
After sharpening, test your knife on a piece of paper. If it slices through effortlessly, you’re golden. If not, give it a few more strokes. Remember, practice makes perfect—don’t expect professional results on your first try.
Maintenance Tips: Keeping Your Knife Sharp Longer
Sharpening is just one part of the equation. Proper care can extend your knife’s sharpness and save you from frequent touch-ups. Here’s how to keep your blade in top shape:
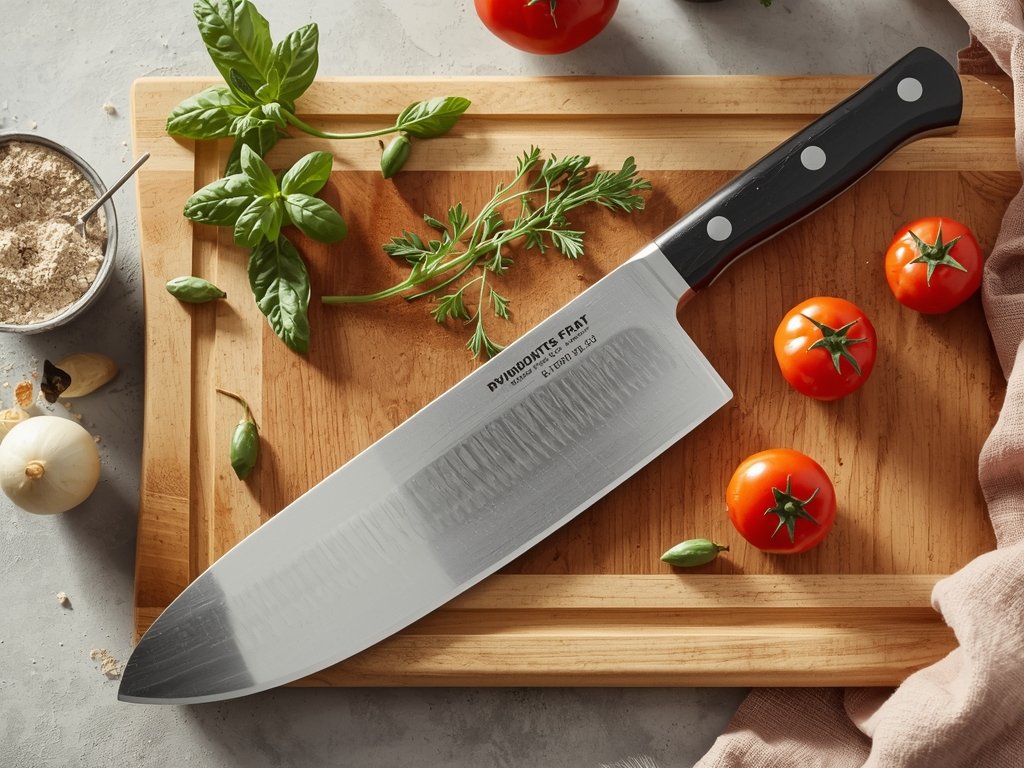
- Use a Cutting Board: Avoid chopping on hard surfaces like glass or marble, which dull knives faster than a wooden or plastic board.
- Hand Wash Only: Dishwashers are harsh on knives, causing them to lose their edge. Hand wash with mild soap and dry immediately.
- Store Properly: Keep your knives in a block, on a magnetic strip, or in blade guards to prevent dulling and accidents.
- Honing is Key: Invest in a honing steel to realign the blade’s edge between sharpenings. It’s not the same as sharpening but keeps your knife performing well.
When to Call in the Pros
While DIY sharpening works for minor dullness, some knives need professional attention. If your blade is chipped, severely damaged, or hasn’t been sharpened in years, it’s time to visit a pro. Many local kitchen supply stores or mobile sharpeners offer affordable services that’ll make your knife feel brand new.
FAQ: Sharpening Your Knife at Home
Can I use a glass plate to sharpen my knife?
Avoid glass plates—they’re too hard and can damage your blade. Stick to ceramic or the methods mentioned above.
How often should I sharpen my knife?
It depends on usage, but most home cooks benefit from sharpening every 3-6 months. Regular honing can extend this timeframe.
Will sharpening my knife make it thinner?
Yes, sharpening removes a small amount of metal. Over time, this can make your knife thinner, but proper technique minimizes material loss.
Can I sharpen serrated knives at home?
Serrated knives require specialized tools due to their unique edge. Consider professional sharpening or a serrated knife sharpener.
Is it safe to sharpen my knife without experience?
Absolutely, as long as you’re careful. Start with gentle methods like the coffee mug or ceramic plate, and always maintain a steady angle.