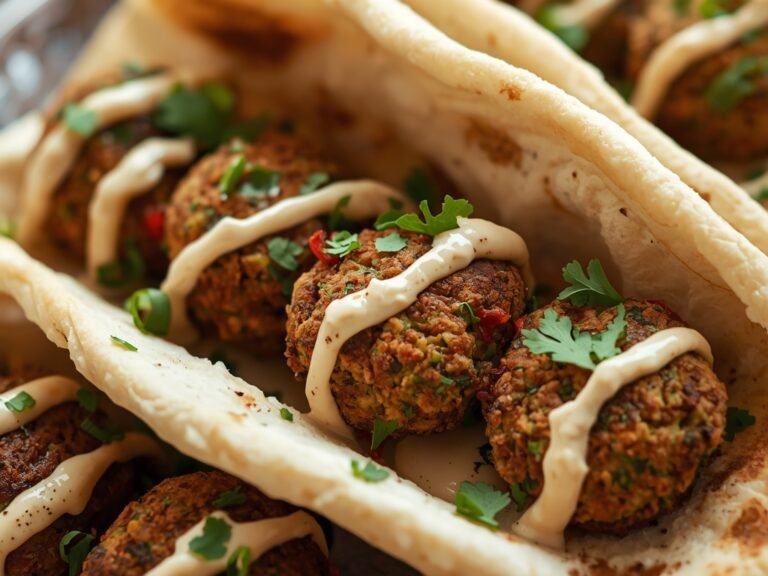

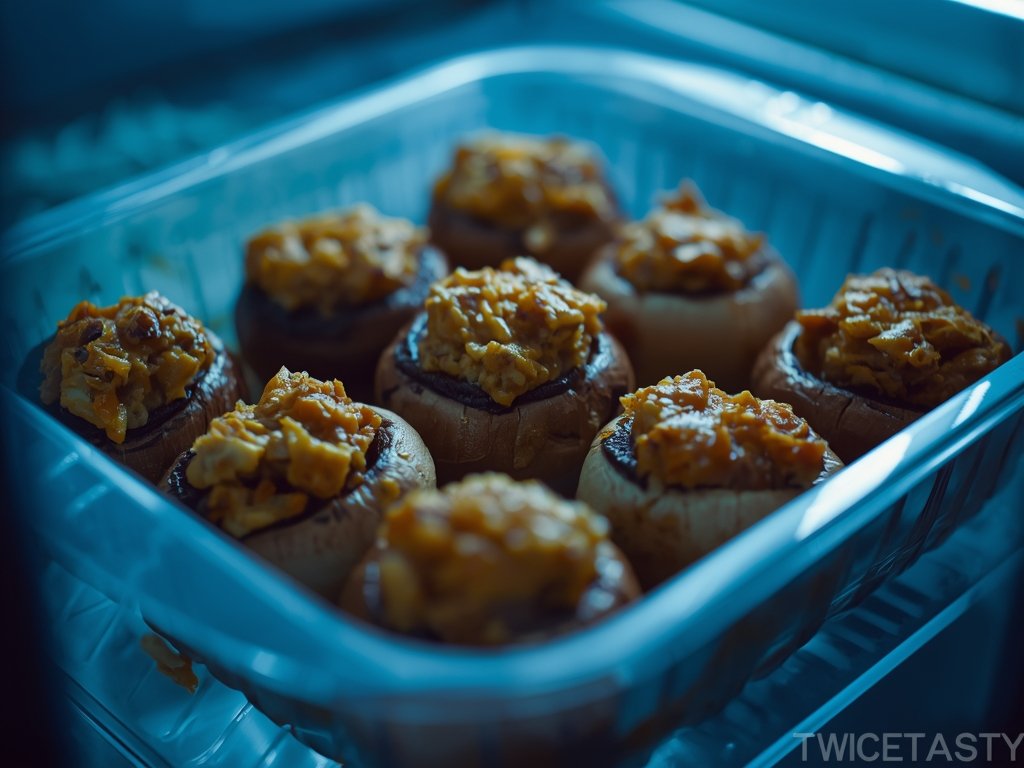
There is a specific kind of morning-after regret that doesn’t involve a headache, but rather a Tupperware container full of sad, shrunken mushrooms. You remember them from the party last night: plump, tender caps overflowing with a savory, golden mixture of cheese, herbs, and maybe some sausage or crab. They were the stars of the table. But after a night in the fridge, they look deflated. The mushrooms have released their water into the bottom of the container, turning into rubbery little cups. The filling, which was once molten and rich, has congealed into a dense, greasy puck. It’s a depressing sight, and if you’re not careful, a bite of one will feel like chewing on a wet eraser topped with sawdust.
Most people make the mistake of throwing these directly into the microwave to “warm them up.” It’s a disaster. The microwave agitates the water molecules inside the mushroom cap so violently that the mushroom essentially boils itself from the inside out. The cap turns to mush, the texture becomes slimy, and the filling gets scorching hot while the rest remains cold. The magic is gone. But we can fix it. We can bring back that earthy tenderness and that creamy, molten center. We just have to respect the biology of the mushroom and the chemistry of the cheese.
The Soggy Cap Conundrum

To understand how to save them, we have to look at what a mushroom actually is. It’s a fungus, which means it doesn’t have a skin like a tomato or a pepper to hold moisture in. It’s essentially a sponge. When you cook a mushroom the first time, you usually draw out that initial water and replace it with flavor—butter, oil, garlic. But when those mushrooms sit in the fridge, osmosis kicks back in. The filling is salty and dense; the cap is porous. The moisture from the cap tries to equalize with the filling, and vice versa.
The bigger issue, however, is the breadcrumbs and cheese in the filling. Bread is a dried product that wants to absorb water. In the fridge, the breadcrumbs suck up the moisture from the mushroom and the oils from the cheese. They swell up. They stop being crunchy and start being gummy. The cheese fats separate and harden. You end up with a dense, wet ball inside a wet rubber cup.
We need a method that drives off the excess moisture that has pooled on the surface and inside the cap, while simultaneously re-melting the fat in the filling so it becomes creamy again. Crucially, we need to do this without drying out the breadcrumbs completely. We need a two-phase approach: a steam phase to relax the structure, and a dry-heat phase to restore the texture.
The Foil Sauna Technique
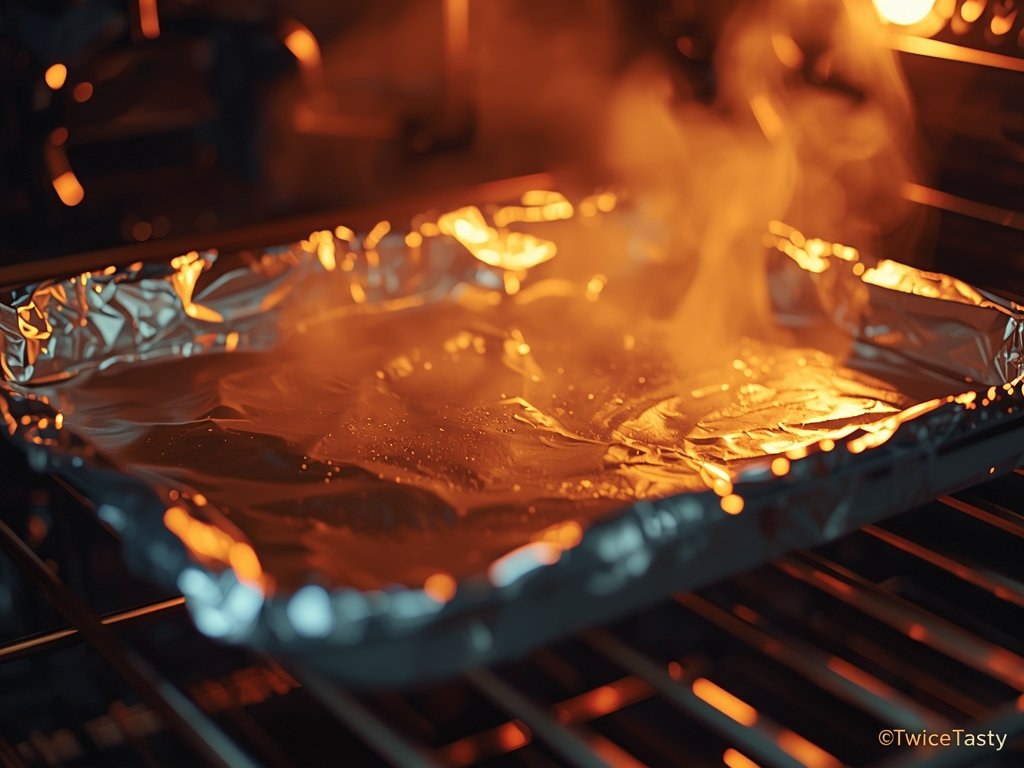
The air fryer is often my go-to for everything, but for stuffed mushrooms, it can be too aggressive. The fan blows the hot air right over the filling, drying out the breadcrumbs before the cheese in the middle has a chance to melt. You end up with a cap that’s cooked and a filling that’s hot but grainy. For this job, the oven is the superior tool because we can control the humidity.
Preheat your oven to 350°F (175°C). We want a moderate temperature—hot enough to melt cheese, but gentle enough not to roast the mushroom into a chip. Arrange your mushrooms on a baking sheet. Now, here is the step that changes everything: cover the baking sheet tightly with aluminum foil. Create a seal. You are building a little steam chamber.
What happens inside that foil is a reversal of the staling process. The heat turns the residual moisture in the mushrooms into steam. Because the steam is trapped, it rehydrates the mushroom cap slightly, softening that rubbery texture. At the same time, that hot steam penetrates the filling. It warms the breadcrumbs and begins to melt the hard cheese fats from the outside in. It creates a humid environment that prevents the filling from drying out while it heats through.
Let them bake like this, covered, for about 10 to 15 minutes. When you pull the foil off, you’ll see the mushrooms have released some water into the pan (that’s good, it left the mushroom) and the cheese on top is looking soft and glossy. They are warmed through, but they probably look a little pale and wet. They need one last push to be great.
The Final Unveil and Crisp
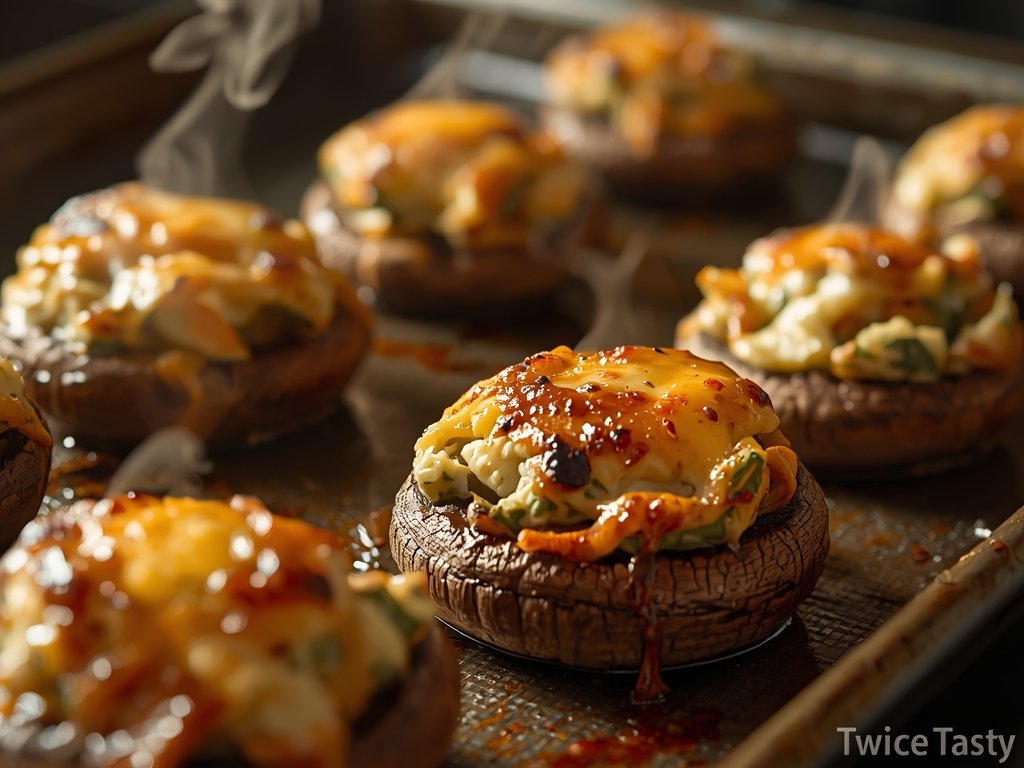
Now we reclaim the texture. Remove the foil. If there is a lot of pooled water at the bottom of the pan, carefully tilt the sheet and drain it off—you don’t want the mushrooms sitting in a swamp. Put the pan back in the oven, this time uncovered.
We’re going for another 5 to 10 minutes. This is the “dry-out” phase. The direct heat of the oven element now hits the cheese and the breadcrumbs. The water on the surface of the mushrooms evaporates, tightening the skin of the cap just enough so it’s not slimy. The cheese on top bubbles and browns. The breadcrumbs on top of the filling toast up, regaining that nutty crunch that provides the essential contrast to the soft mushroom beneath.
You have to watch this phase closely. Since the filling is already hot, it can go from “melty” to “burnt” very quickly, especially if there are a lot of breadcrumbs or parmesan in the mix. You want the cheese to be molten and moving, maybe with a few golden spots, but not dark brown. You want the mushrooms to be tender but still holding their shape.
When you pull them out, let them rest on the counter for just three minutes. This is important. The filling is essentially a molten core of lava right now. If you bite into it immediately, you will burn the roof of your mouth. Let the cheese set slightly so it clings to the mushroom rather than sliding off the moment you touch it.
The Fat Injection: The “Juicy” Upgrade
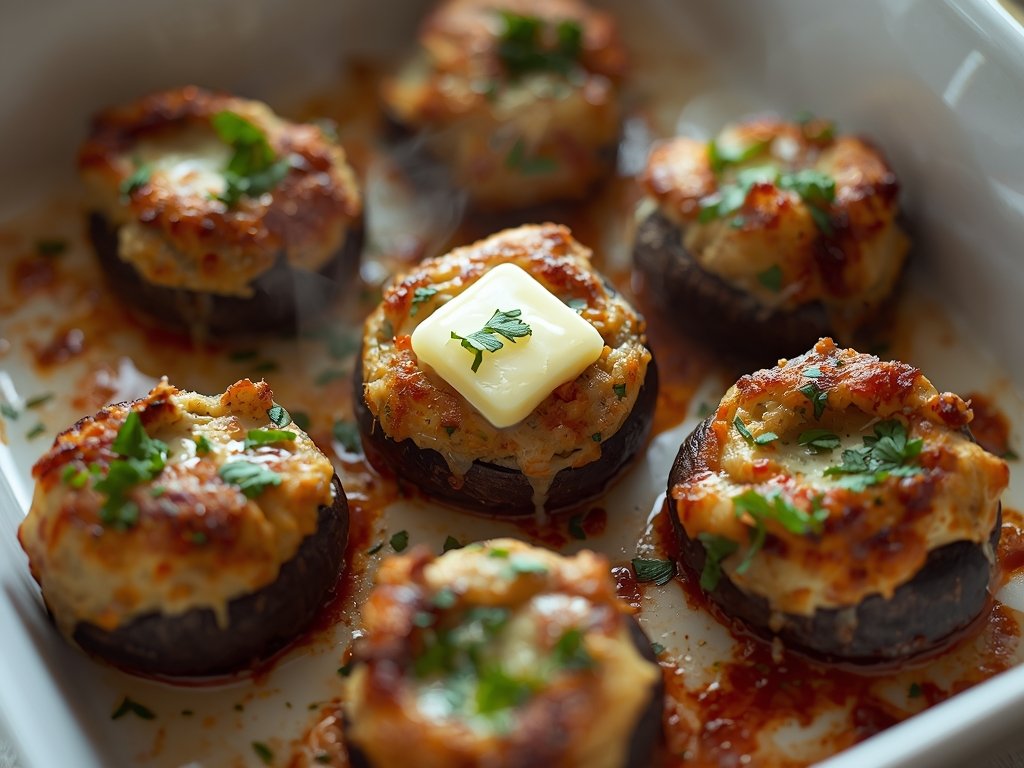
We have the texture back: a tender cap, a crunchy top, and a warm center. But if we’re honest, leftover fillings can sometimes taste a little tired. The herbs have lost their brightness, and the breadcrumbs can taste a bit stale. We need to inject a little life—and a little more fat—back into the center before they go in the oven.
Before you cover the mushrooms with foil for that initial steam phase, take a tiny pinch of cold butter. You can also use a drizzle of olive oil or even a teaspoon of cream if you want to be decadent. Put a little dab of that fat right on top of each cold mushroom.
As the mushrooms heat up, that butter melts. Instead of the breadcrumbs trying to find moisture in the mushroom, they soak up this fresh fat. It bastes the filling from the top down. It lubricates the dried-out breadcrumbs and makes the whole interior incredibly creamy again. It turns the “reheated” texture into something that tastes freshly assembled.
And for the final touch? Fresh parsley. Dried parsley is flavorless green dust. Finely chop some fresh parsley and sprinkle it over the mushrooms the second they come out of the oven. The heat will slightly wilt the herbs, releasing their aroma, but they’ll still look vibrant and green against the golden cheese. It cuts through the richness of the cheese and the earthiness of the mushroom, making the whole bite feel fresh and balanced. You didn’t just reheat a side dish; you rehabilitated the highlight of the meal.
Frequently Asked Questions
I strongly advise against it if you care about texture. The microwave turns mushrooms into rubbery sponges and makes the filling heavy and greasy. However, if you have absolutely no other choice, cover them loosely with a damp paper towel and microwave on 50% power in 30-second intervals. It won’t be crispy, but it prevents them from becoming a tough, chewy mess.
Can I freeze stuffed mushrooms before or after cooking them? You can, but the mushroom texture will suffer. Mushrooms have a high water content that expands when frozen, damaging the cell walls. When you thaw and reheat them, they can be slightly watery or spongy. If you do freeze them, freeze them before baking (uncooked) if possible, or vacuum seal cooked ones tightly to prevent freezer burn. Just know they won’t be quite as perfect as fresh.
How long do stuffed mushrooms last in the fridge? Because they contain cooked meat, cheese, and dairy, you should eat them within 3 to 4 days. After that, the risk of bacterial growth increases, and the mushrooms will continue to break down, becoming increasingly slimy and unpleasant.
My filling is made of crab or shrimp—how does that change things? Seafood fillings are even more delicate. They dry out faster and can get rubbery if overcooked. When reheating seafood-stuffed mushrooms, be extra vigilant during the final “uncovered” phase of the oven method. Check them after 3 minutes. You just want the filling hot; you don’t want to cook the seafood again.

The Twice Tasty Team is a collective of culinary researchers and kitchen gear experts dedicated to the art of food revival. We test every technique in our “Flavor Lab” to help you reduce food waste and transform yesterday’s meals into gourmet experiences. Professional quality, tested results.