Follow Me On Social Media!

How to Reheat Duck Breast So the Skin Stays Crispy.
There is a specific kind of anxiety that comes with storing leftover duck breast. This isn’t leftover chili or stew; this is a premium cut of meat that you likely spent a good twenty minutes searing and roasting to perfection just last night. You scored that skin, you rendered it down until it was golden and crisp, and you cooked the meat to a blushing, tender medium-rare. But now, looking at it in the fridge, it looks… wrong. The skin, which was once a shattering sheet of caramelized goodness, has turned into a pale, leathery layer of rubber. The fat underneath has congealed into a white, waxy paste.
If you throw this in the microwave, you are going to commit a culinary crime. You know what happens: the skin gets tough and chewy, the fat explodes out onto the plate, and the beautiful pink center turns a depressing, uniform grey. It’s a waste of good ingredients and a waste of your effort. Duck is tricky because it’s essentially two different foods in one package: a lean, tender steak of meat that needs gentle warming, and a fatty, crispy skin that needs aggressive, high-heat rendering. To save it, you have to treat those two parts as separate enemies. You have to stop thinking about “reheating the duck” and start thinking about “reviving the skin” while “waking the meat.”
Why Cold Duck is a Chemistry Nightmare
To understand the rescue mission, we have to look at what happened to your duck while it slept in the cold. Duck fat is unique. It has a lower melting point than beef fat, but it’s still heavy in saturated fats that solidify readily at refrigerator temperatures. When the duck cools down, that glorious liquid fat that you worked so hard to render turns into a solid block between the skin and the meat. It acts as an insulator.
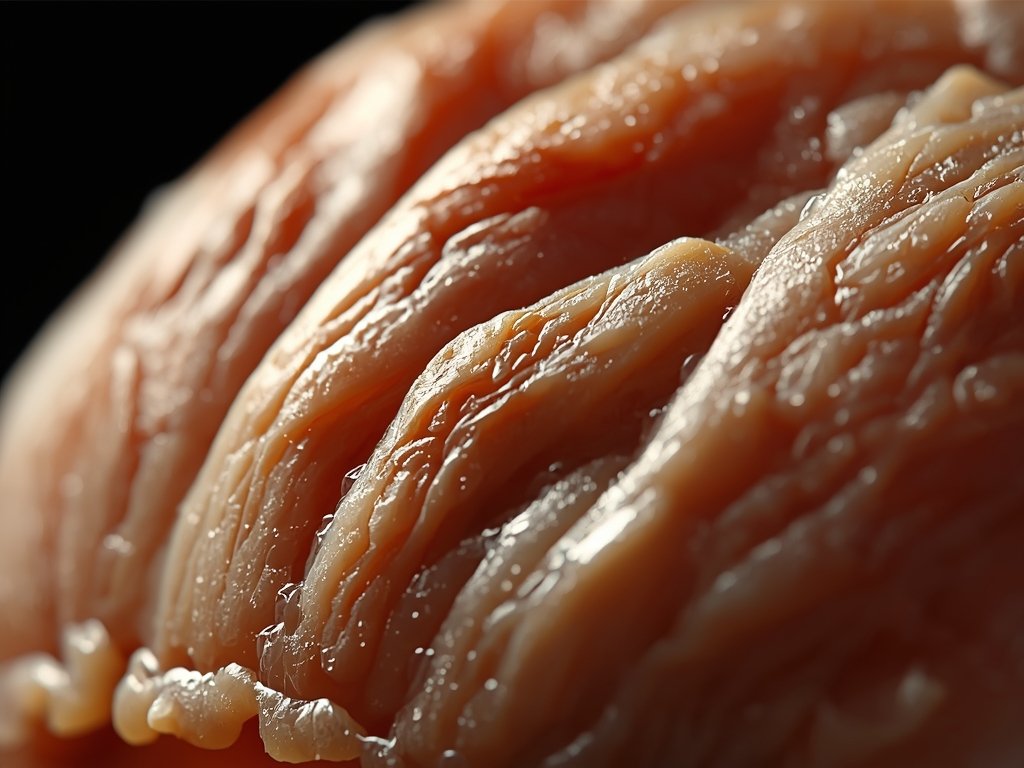
Meanwhile, the skin itself is protein and connective tissue. When it’s hot and fresh, the moisture has been driven out, and the proteins have set into a crisp matrix. In the fridge, the skin is hygroscopic—it pulls moisture from the air and the meat. It rehydrates just enough to become chewy and tough, losing that glass-like snap.
The challenge is that the meat is already cooked. If you try to heat the whole piece from cold in a hot pan, by the time the center is warm enough to be pleasant (about 110°F), the skin will have burnt to a black crisp, and the meat will be overcooked. We need to decouple the warming process. We need to gently raise the internal temperature of the meat without applying direct, harsh heat to the outside, and then—only then—apply the blowtorch to the skin. It’s a two-step dance that requires a little patience but pays off in a massive way.
The Gentle Warm-Up: Bringing the Meat Back
Start by taking the duck out of the fridge before you even turn on the stove. Let it sit on the counter for about 20 minutes. You want to take the chill off. If the center is ice-cold, it’s going to fight you every step of the way.
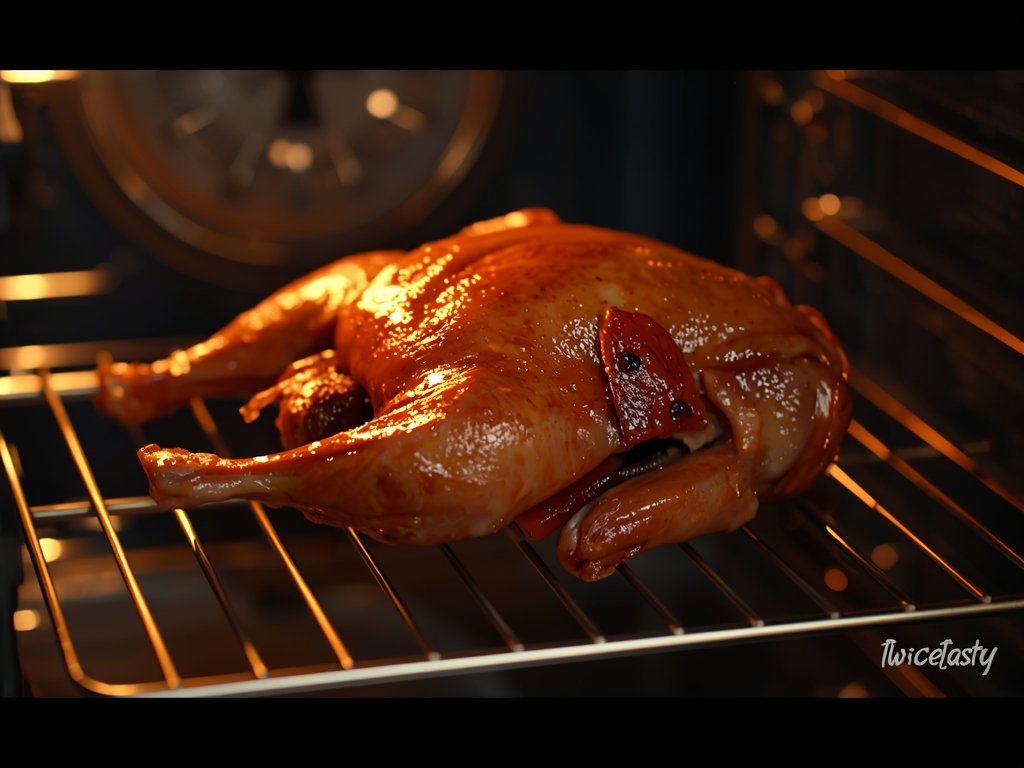
Here is the strategy that restaurant cooks use: the oven warm-up. Preheat your oven to a low temperature—around 250°F (120°C). We aren’t cooking here; we are just gently warming the molecular structure of the meat to bring it back to a palatable temperature without pushing it past medium-rare. Place the duck breast on a wire rack set over a baking sheet. This is important. If you put it directly on the sheet, the bottom will cook faster than the top, and the circulating hot air won’t be able to reach the underside of the fat.
Slide it into the oven. This is the “safety zone.” Let it hang out there for about 10 to 15 minutes. You aren’t looking for color; you’re just looking for warmth. While this is happening, the solidified fat between the skin and the meat will begin to soften. It won’t render completely—that’s for the pan—but it will loosen its grip. This low-heat bath also relaxes the muscle fibers in the meat, ensuring that when you eat it, it feels tender rather than tense and cold. It’s the difference between a warm handshake and a cold, dead fish.
The Resurrection Sear: Attacking the Skin
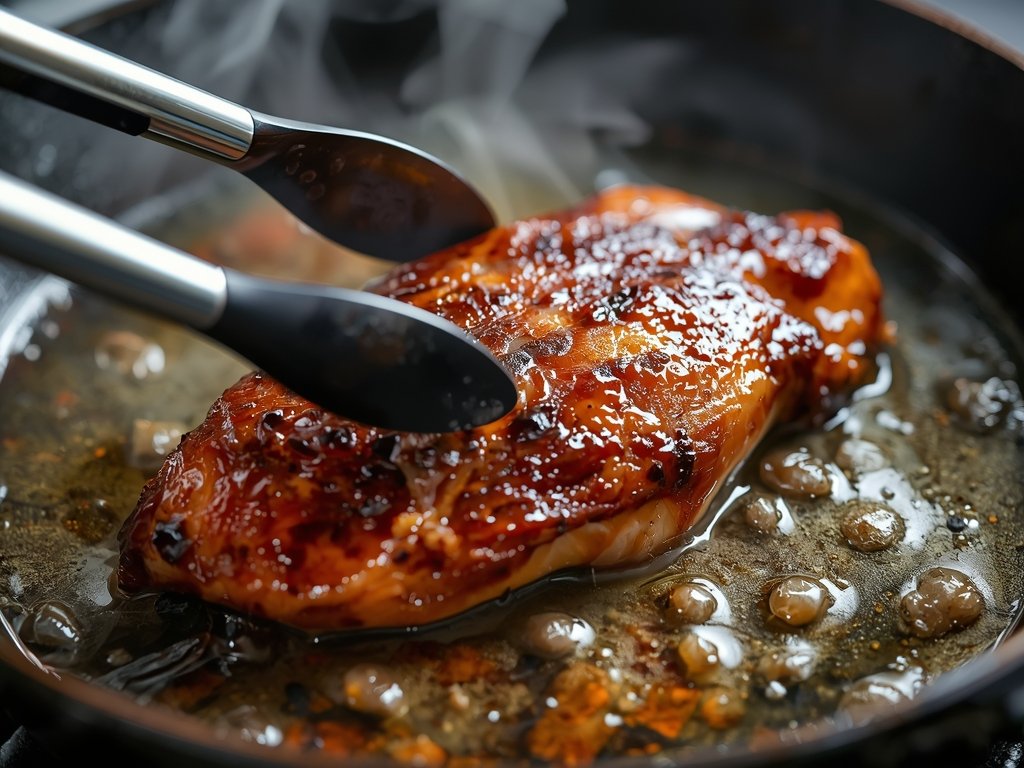
Once the meat is warm to the touch in the center, pull it out. Now, the magic happens. You need a heavy skillet—cast iron is best for this. Get it ripping hot over medium-high heat. You don’t need to add oil; there is plenty of fat already in and on that duck.
Lay the duck breast into the pan, skin-side down. Now, listen. That sound is the music. You want to hear a steady, vigorous sizzle, not a frantic popping. This is the second rendering. We are driving off the moisture that rehydrated the skin overnight and we are re-crisping the fat layer.
This only takes about two or three minutes. Don’t mess with it. Let the heat do the work. You will see the skin transform from pale and wrinkled to golden and tight. The fat will begin to melt out into the pan, turning into a beautiful, aromatic oil. Use a spoon to baste the top of the meat with that hot fat as it renders. It seasons the meat and helps it stay moist.
Watch the edges of the skin. You want a deep, golden brown color. As soon as it looks crisp and glassy again, flip it. Just for a second. Literally, ten or fifteen seconds on the flesh side just to warm the exterior and pick up a little color from the pan. Then, pull it. Let it rest on a cutting board for five minutes. This redistribution of juices is critical. If you cut into it immediately, the clear juices will run out onto the board, and the meat will dry out. You want that blushing pink center to glisten.
The Aromatic Fat Upgrade
We have the texture back—crispy skin, warm pink meat. But we can do one better. During that searing phase, when that pan is full of rendered duck fat, you have liquid gold at your disposal. This is where you inject a burst of fresh flavor that wasn’t there the first time.
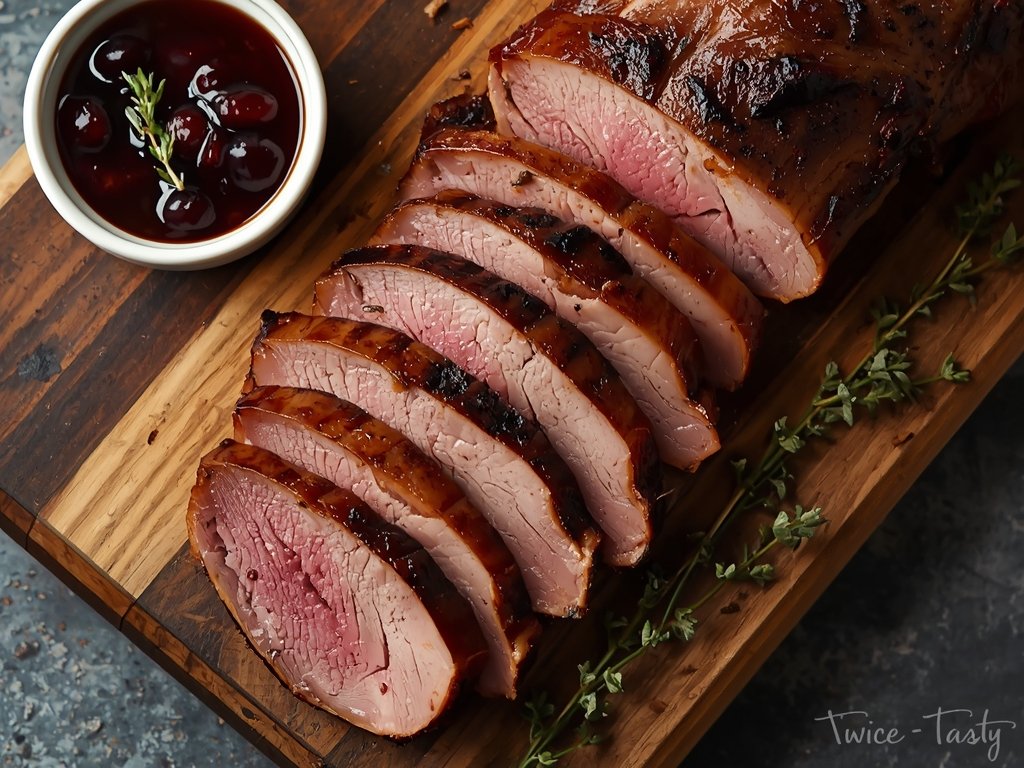
In the last minute of the sear, toss a few sprigs of fresh thyme, a smashed clove of garlic, and perhaps a strip of lemon peel into the pan. Let them sizzle in the fat. Then, tilt the pan and spoon that infused fat over the duck breast repeatedly. The thyme releases its piney oils, the garlic sweetens, and the lemon zest cuts through the richness. This baste coats the skin, making it taste incredibly savory and fragrant, and it seasons the meat without weighing it down.
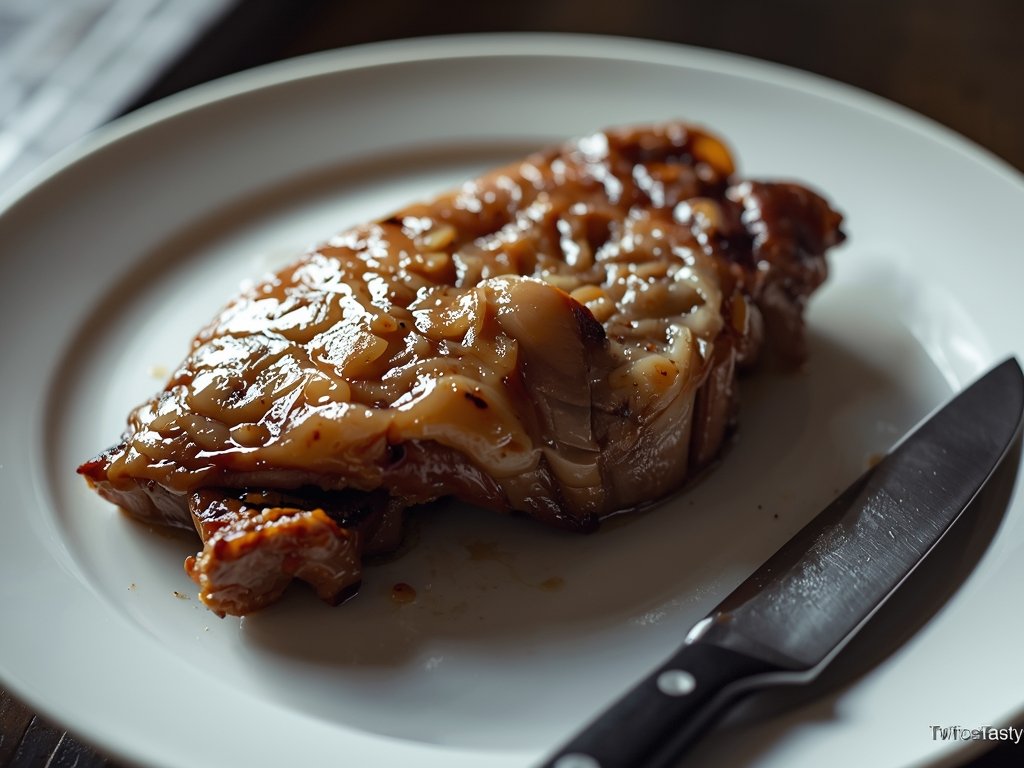
When you slice the duck, cut it on the bias. It looks nicer, but more importantly, it exposes more surface area of the meat to that seasoned fat. You should see a perfect gradient: the deep, crunchy crackle of the skin, the thin layer of warm fat, and that rosy, tender center. It’s better than the first night because you’ve concentrated the flavors and executed the texture with precision. It’s not a leftover; it’s a reimagined masterpiece.
Frequently Asked Questions
Can I use the air fryer for this?
You can, but be careful. The air fryer is great at making things crispy, but it’s also very efficient at heating meat through. If you put cold duck in a hot air fryer, the meat will be overcooked by the time the skin is crispy. If you go this route, use a lower temperature (around 300°F) for longer to warm it through, then bump it up to 400°F for just 2 minutes to crisp the skin. The pan method gives you more control over the skin texture.
Is it safe to eat reheated duck that is still pink in the middle? Absolutely. “Pink” poultry is scary to us because of chicken, but duck is red meat, similar to beef. As long as it was cooked safely to 135°F–140°F initially, and you are just reheating it gently (not letting it sit at room temperature for hours), that pink center is safe to eat and is actually the correct way to serve duck.
What if I don’t have a wire rack for the oven step? You can place the duck directly on a baking sheet, but try to prop it up on crumpled foil balls or even wooden skewers (if they are oven-safe) to keep the air circulating underneath. You just don’t want the bottom of the duck steaming against the hot metal, which can make the flesh mushy.

The Twice Tasty Team is a collective of culinary researchers and kitchen gear experts dedicated to the art of food revival. We test every technique in our “Flavor Lab” to help you reduce food waste and transform yesterday’s meals into gourmet experiences. Professional quality, tested results.