Follow Me On Social Media!

The Tragedy of the Cold Breadstick: How to Bring Olive Garden Back to Life
We’ve all been there. You’re at Olive Garden, the “Never-Ending” basket is flowing, and you decide to take a few home because, honestly, it’s a crime to leave them behind. But the next morning, you open that doggy bag and find a sad, cold, rubbery stick of dough that feels more like a chew toy than a premium appetizer.

Most people make the fatal mistake of tossing them into the microwave for 30 seconds. What happens? You get a breadstick that is scalding hot for exactly one minute before it turns into a literal brick. Or worse, it gets that weird, damp sogginess that ruins the garlic-salt-butter harmony we crave. This is the breadstick tragedy, and it ends today.
At TwiceTasty, we don’t just “warm up” food; we re-engineer it. To get that signature Olive Garden pillowy interior and slightly crisp, buttery exterior, you need a method that respects the dough’s hydration. I’ve tested every gadget in my kitchen, from the air fryer to the toaster oven, to find the gold standard. Here is the ultimate guide to reviving your leftovers so they taste arguably better than they did at the restaurant.
2. The Science of the “Stale” Breadstick
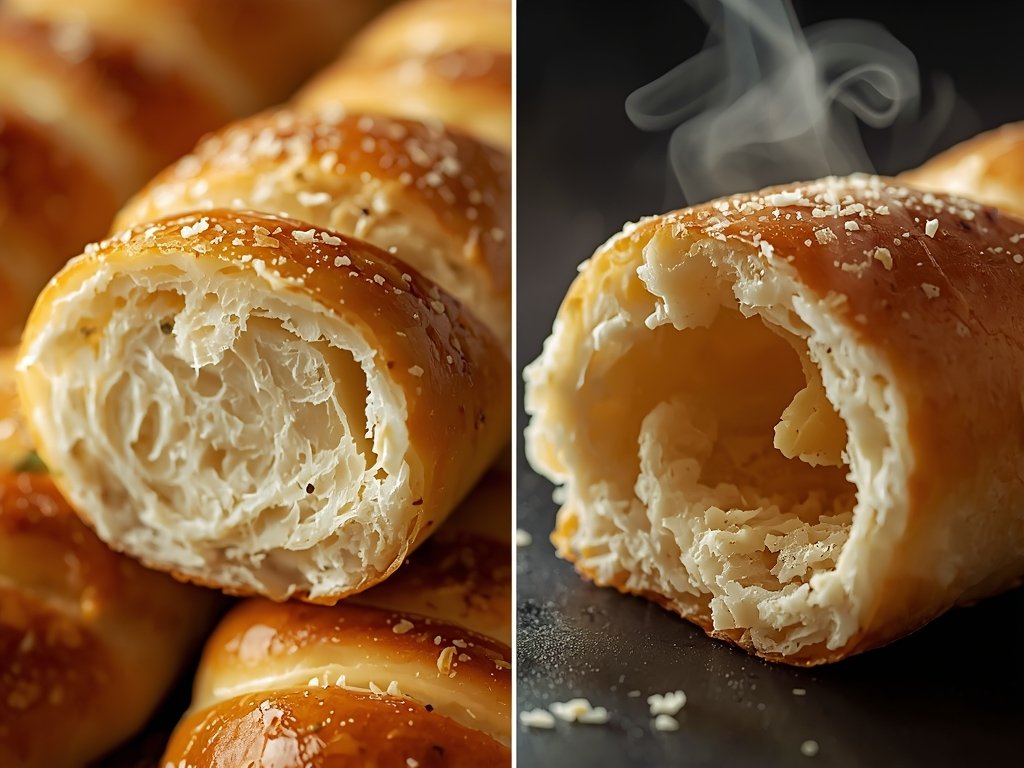
To fix the bread, we have to understand why it “died” in the first place. When bread sits out or goes into the fridge, a process called starch retrogradation begins. Essentially, the starch molecules in the flour crystallize, pushing water out and making the bread feel hard and dry.
Furthermore, the iconic Olive Garden coating is a mixture of margarine (or butter oil) and garlic salt. In the fridge, those fats solidify. If you hit them with high-intensity microwave radiation, the fats melt instantly and soak into the crumb, while the moisture in the bread evaporates too quickly, leaving the gluten strands tough and rubbery.
Why the Oven is King
The “TwiceTasty Secret” relies on gentle, ambient heat and controlled rehydration. By using a low-temperature bake wrapped in foil, we create a mini steam chamber. This allows the heat to penetrate to the center of the dough, melting those starch crystals back into a soft state without evaporating the internal moisture.
3. The TwiceTasty Step-by-Step Method: The Foil Wrap Technique
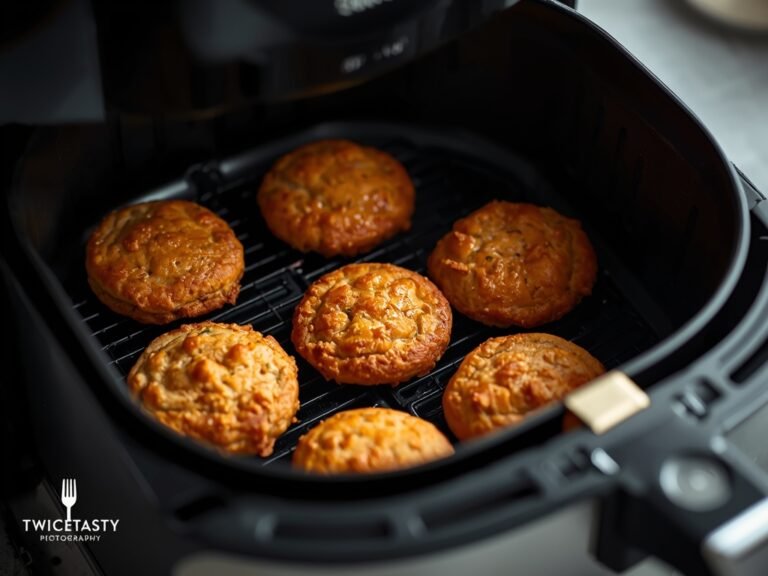
While the air fryer is great for some things, the traditional oven (or a good toaster oven) is the absolute best way to ensure even heating for these specific breadsticks.
- Preheat to $350^\circ\text{F}$ ($175^\circ\text{C}$): Don’t rush this. A fully stabilized oven temperature ensures the bread warms evenly from the outside in.
- Pro Tip: Place an empty baking sheet in the oven while it preheats so the bread hits a warm surface immediately.
- The “Mist” Factor: Lightly flick a few drops of water onto the breadsticks with your fingers. You aren’t soaking them; you’re just adding a tiny bit of surface moisture.
- Pro Tip: If the breadsticks feel particularly ancient/hard, wrap them in a slightly damp (not wet) paper towel for 60 seconds before the next step.
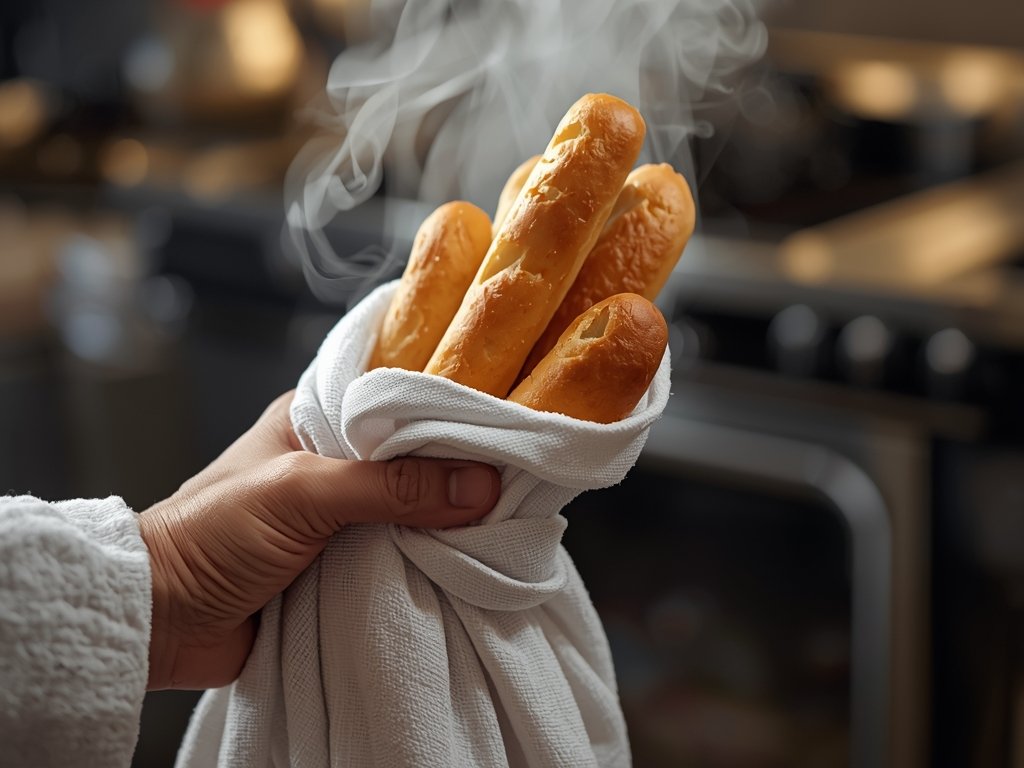
- The Foil Cocoon: Wrap your breadsticks tightly in aluminum foil. This traps the steam we’re about to create, forcing the moisture back into the bread’s core.
- Pro Tip: Don’t wrap more than 3-4 sticks in a single foil packet; overcrowding leads to uneven “cold spots.”
- The First Bake (5–7 Minutes): Place the foil packet directly on the middle rack or on your preheated baking sheet.
- Pro Tip: Set a timer for 5 minutes; because these contain a high sugar/fat content, they can go from “perfect” to “burnt” quickly.
- The Flash Finish (2 Minutes): Carefully open the foil (watch for steam!) and let the breadsticks sit in the oven uncovered for the final 120 seconds. This dries the exterior just enough to give it that slight “bite.”
- Pro Tip: This is the moment to brush on a tiny bit of fresh melted butter if the original coating has vanished.
4. Variations & Flavor Boosters
If you’re going to the trouble of reheating them, why not make them “Executive Chef” level? The original sticks are great, but they are a blank canvas for some serious flavor upgrades.
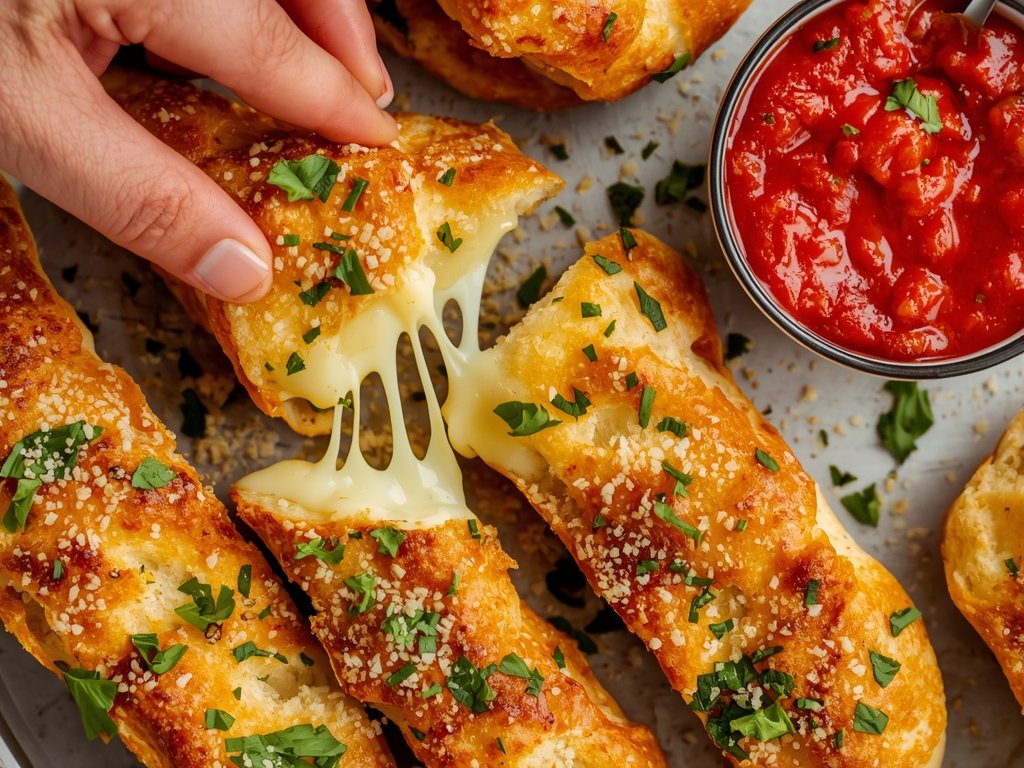
- The Truffle Parmesan Flip: After the final 2 minutes of baking, brush the sticks with a tiny bit of white truffle oil and a heavy dusting of freshly grated (not the green shaker can!) Parmigiano-Reggiano.
- The Spicy Calabrian Rub: Mix a teaspoon of honey with a pinch of red pepper flakes and a drop of lemon juice. Brush this on for a sweet-and-spicy “Hot Honey” breadstick that pairs perfectly with leftover marinara.
- The Loaded “Garlic Knot” Style: Slice the breadsticks lengthwise (but not all the way through) before reheating. Stuff them with a thin sliver of mozzarella cheese and a leaf of fresh basil. Follow the foil method—the cheese will melt into the crumb.
5. Food Safety & Storage: Keep the Magic Alive
You can’t keep breadsticks forever. Because of the high fat and moisture content in the “factory” glaze, they are actually quite prone to picking up fridge odors and losing their integrity.
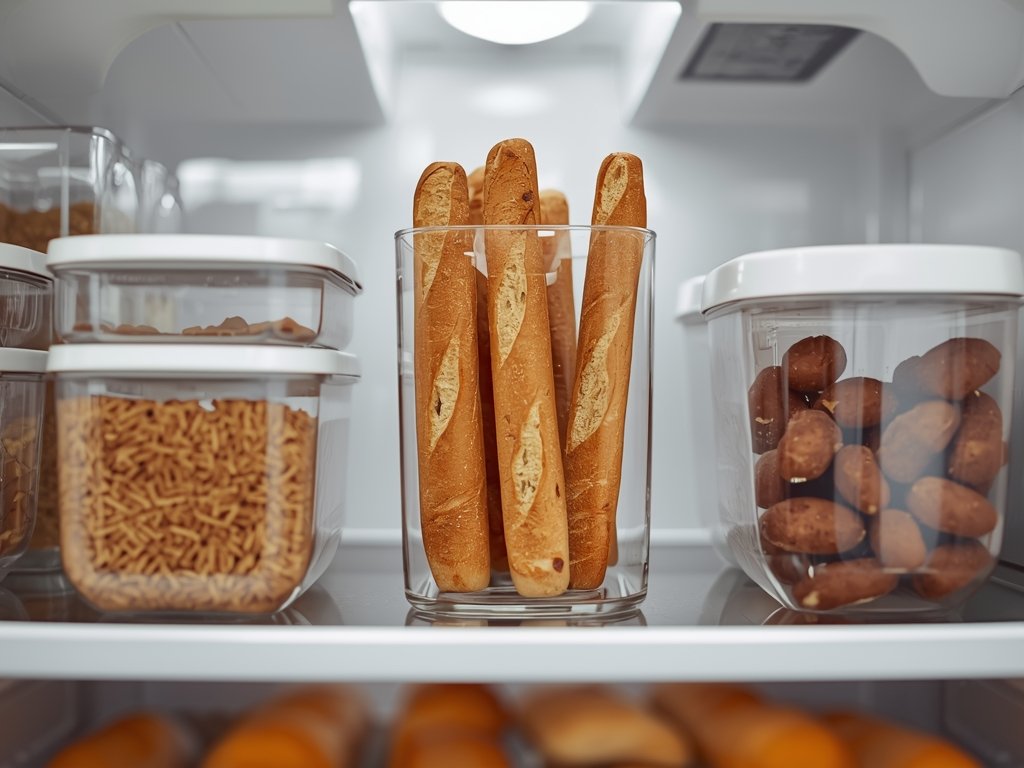
- Fridge Life: You have a 3-day window, tops. After 72 hours, the starches have crystallized to a point of no return, and the bread will likely remain crumbly even after reheating.
- Storage: Never store them in the paper bag they came in. Use a heavy-duty Ziploc bag and squeeze all the air out. Air is the enemy of freshness.
- The Safety Check: If the breadsticks feel “slimy” to the touch or have a sour, fermented smell, toss them. The butter/margarine coating can go rancid if left at room temperature for more than 4 hours.
The Do’s and Don’ts
- DO use a toaster oven if you’re only doing two sticks; it’s faster and more energy-efficient.
- DO use a light mist of water; it’s the secret to the “pillowy” texture.
- DON’T use the microwave unless you plan on eating the breadstick in under 45 seconds.
- DON’T stack them on top of each other while reheating; they’ll steam each other into mush.
6. FAQ – People Also Ask
Can I reheat Olive Garden breadsticks in the Air Fryer?
Yes, but be careful! The air fryer is a convection beast. Set it to $320^\circ\text{F}$ and cook for only 2–3 minutes. If you go too long, they will turn into giant croutons. Always wrap them in foil first if you want them soft.
Why are my breadsticks hard after reheating?
You likely lost too much moisture. This happens if the oven is too hot or if you didn’t wrap them in foil. Once the internal water evaporates, the gluten tightens up and creates that “rock-hard” texture.
Can I freeze Olive Garden breadsticks?
Absolutely. Wrap them individually in plastic wrap, then put them in a freezer bag. They’ll stay good for 2 months. To reheat from frozen, let them thaw on the counter for 20 minutes, then follow the foil-oven method.
How do I get the garlic salt to stick again?
The original salt often falls off during storage. To fix this, brush on a tiny amount of melted salted butter or olive oil after reheating, then sprinkle on a mix of garlic powder and sea salt.
The next time you find yourself staring at a bag of leftover breadsticks, don’t settle for “okay.” You’ve got the science, the technique, and the flavor boosters to turn those cold sticks into a five-star side dish. It only takes ten minutes, and your taste buds will definitely thank you for the extra effort.
I’d love to hear how your breadsticks turned out! Did you try the truffle oil upgrade or stick to the classic butter brush? Drop a comment below or tag us in your food photos—I want to see those perfectly soft, steamy results!