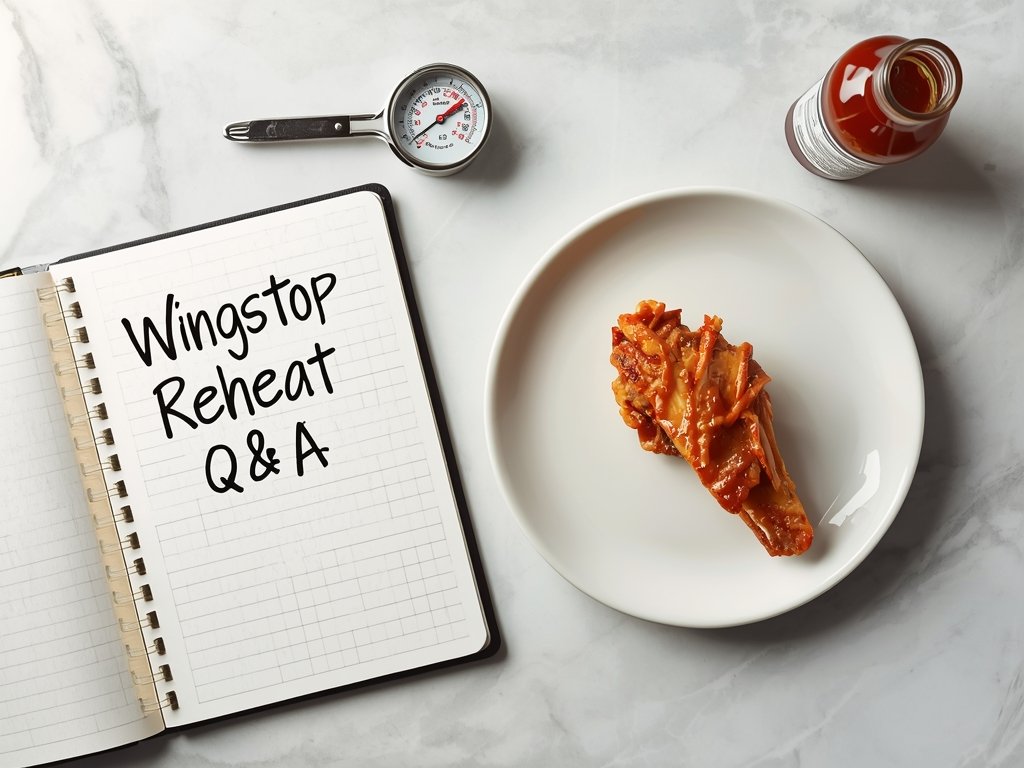
Follow Me On Social Media!

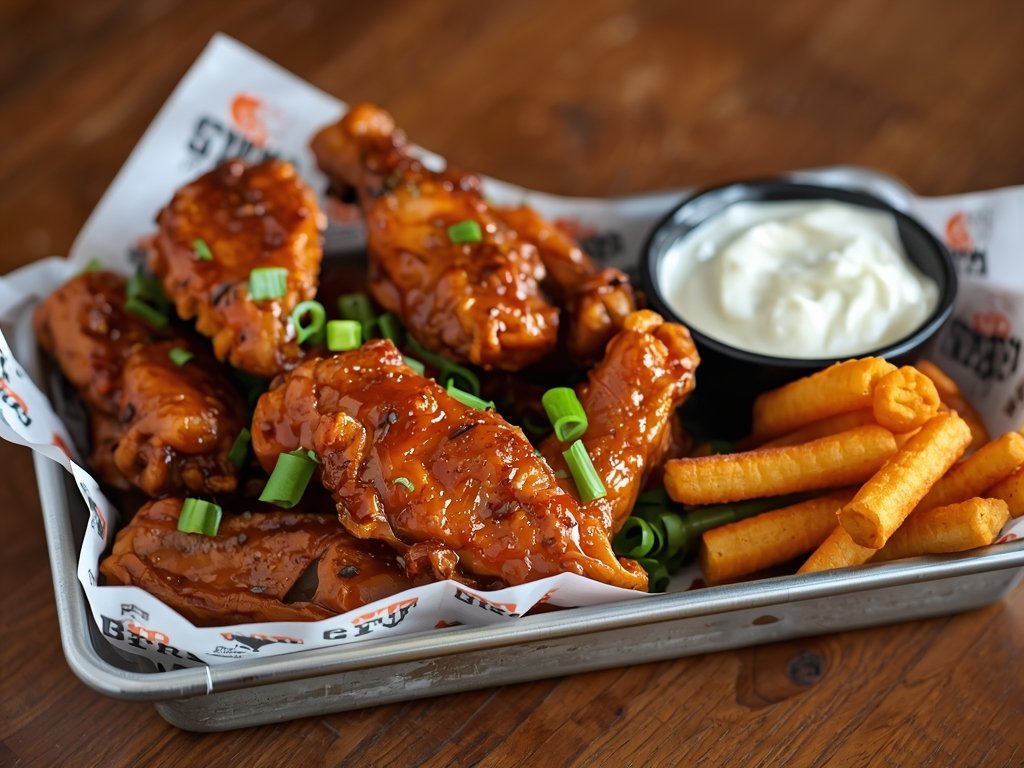
We’ve all been there. You order a feast from Wingstop—Louisiana Rub, Lemon Pepper, Original Hot, the whole crew. You crush a few, but reality (or your stomach) sets in, and you’re left with a glorious bounty of leftovers. Fast forward to the next day. You open the fridge, visions of crispy skin and flavorful meat dancing in your head. You nuke them for a minute, take a bite… and the tragedy unfolds. The once-crispy exterior is now a chewy, soggy leather. The sauce has separated into a greasy pool. The meat is somehow both dried out and lukewarm. It’s a culinary heartbreak.
Why does this happen to perfectly good wings? Most people fail because they treat reheating as a simple warming exercise. They default to the microwave, a device that excels at turning food into steaming, rubbery versions of its former self. The search intent behind “how to reheat Wingstop wings” isn’t just about safety—it’s a desperate plea to bring the magic back.
The good news? It’s absolutely possible. In fact, with the right method, you can get wings that are arguably better than they were fresh out of the takeout bag. The secret isn’t a fancy gadget; it’s understanding the science of crispiness and applying a bit of thermal strategy. Stick with me, and I’ll show you the TwiceTasty Secret to resurrecting your Wingstop wings with shatteringly crisp skin and juicy, piping-hot meat. Let’s make those leftovers the main event.
The Science of a Second Chance: Why Wings Go Wrong

To fix the problem, we need to understand the enemy. A perfectly cooked Wingstop wing is a masterpiece of contrasting textures: a shattering-crisp exterior (thanks to the fryer) clinging to juicy, tender meat. When it goes wrong in the reheat, three culprits are to blame: Moisture, Starch, and Fat.
First, moisture. That juicy meat is full of water. When you apply gentle, ambient heat (like a microwave or a low oven), that moisture turns to steam slowly. Instead of escaping, that steam gets trapped under the skin and breading, turning it from crisp to limp and soggy. It’s like giving your wing a sauna it never asked for.
Second, starch. The breading or seasoned coating on the wing contains starches. When initially fried, these starches set into a rigid, crispy structure. When they get wet from steam, they reabsorb water and become soft, gummy, and unpleasant—a process called “retrogradation.” You can’t just warm it up; you need to re-crisp it.
Finally, fat. The frying process leaves tiny pockets of oil in the breading matrix, which is good for flavor and texture. Incorrect reheating can cause that fat to weep out, leaving a greasy mouthfeel and separating from any sauced coatings.
So, what’s the solution? Dual-stage heat. The winning method attacks the problem from two angles. First, we need to gently and evenly bring the cold interior meat up to a safe temperature without aggressively steaming the exterior. Then, we need to apply high, direct, dry heat to violently evaporate any surface moisture and re-crisp the starch-and-fat structure. This is why methods like the microwave (all steam, no crisp) or a conventional oven (too slow, leads to overall drying) fail. The winning combo? The Oven + Air Fryer Method. The oven (or a toaster oven) acts as the gentle warming chamber, while the air fryer’s intense, circulating hot air acts as the crisping jet engine. It mimics the effect of the original fryer without needing a vat of oil.
The TwiceTasty Step-by-Step: Reheating Wingstop Wings to Perfection
This method is your gold standard. It works for any Wingstop flavor—dry rubs, sauced wings, even boneless. Gather your wings, a baking sheet, an air fryer (or toaster oven with convection), and a little patience.
Step 1: The Pre-Heat Stage
- Preheat your conventional oven or toaster oven to 275°F (135°C). Do not skip this. Starting with a cold oven extends the time your wings spend in the “danger zone” and promotes steaming.
- Pro Tip: If your wings are heavily sauced (like Mango Habanero or Atomic), place them on a wire rack set over a baking sheet. This allows air to circulate underneath and prevents the sauce from creating a “steam blanket” that causes sogginess.
Step 2: The Gentle Warm-Up
- Arrange your wings in a single layer on the baking sheet (or on the wire rack). Do not crowd them.
- Place them in the preheated 275°F oven for 10-15 minutes. This is not to crisp them. This is solely to slowly and evenly bring the internal temperature of the meat up towards 165°F without blasting the exterior.
- Pro Tip: Use a meat thermometer! Aim for an internal temp of around 150-160°F after this stage. This ensures the meat is safe and hot, allowing you to focus the next stage entirely on crisping.
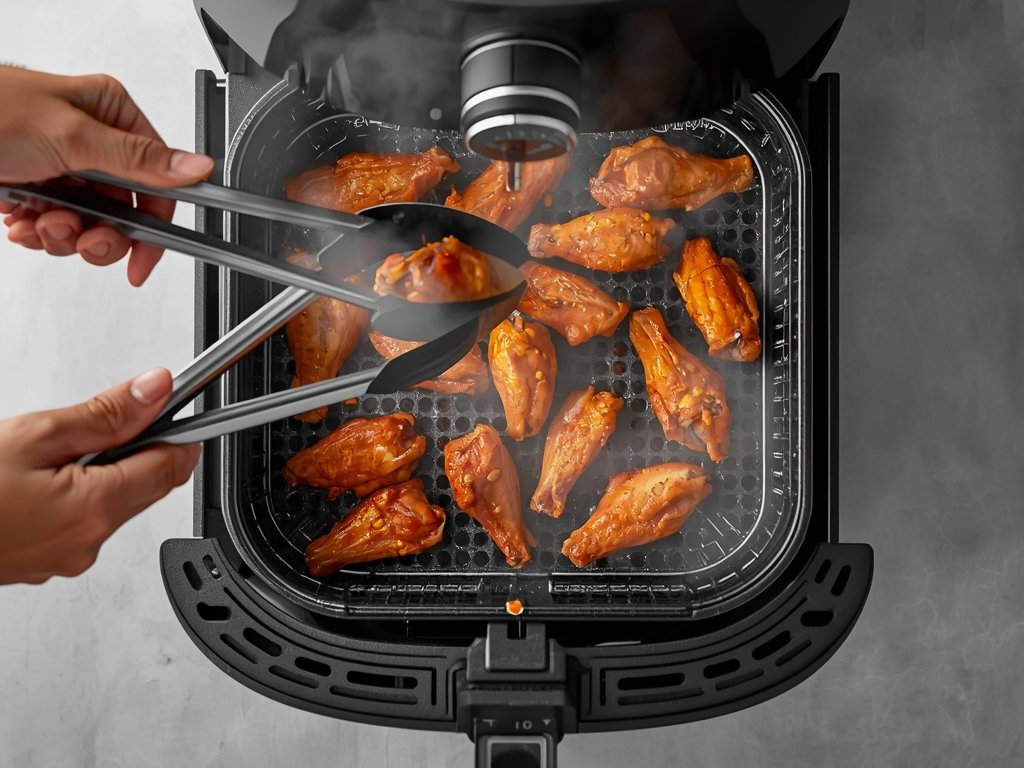
Step 3: The Crisp Blast
- While the wings are in the oven, preheat your air fryer to 400°F (200°C). High and hot is key.
- Once the wings are warmed through, carefully transfer them to the air fryer basket in a single layer. Again, no crowding. Work in batches if necessary.
- Air fry for 3-5 minutes. Watch them closely! The goal is to reactivate the crispiness, not to cook them further. The high-speed air will evaporate surface moisture and tighten up the skin and breading.
- Pro Tip: For dry rub wings (Lemon Pepper, Louisiana Rub), spritz them very lightly with oil or butter spray before the air fryer. This helps conduct heat and revitalizes the spices without making them greasy.
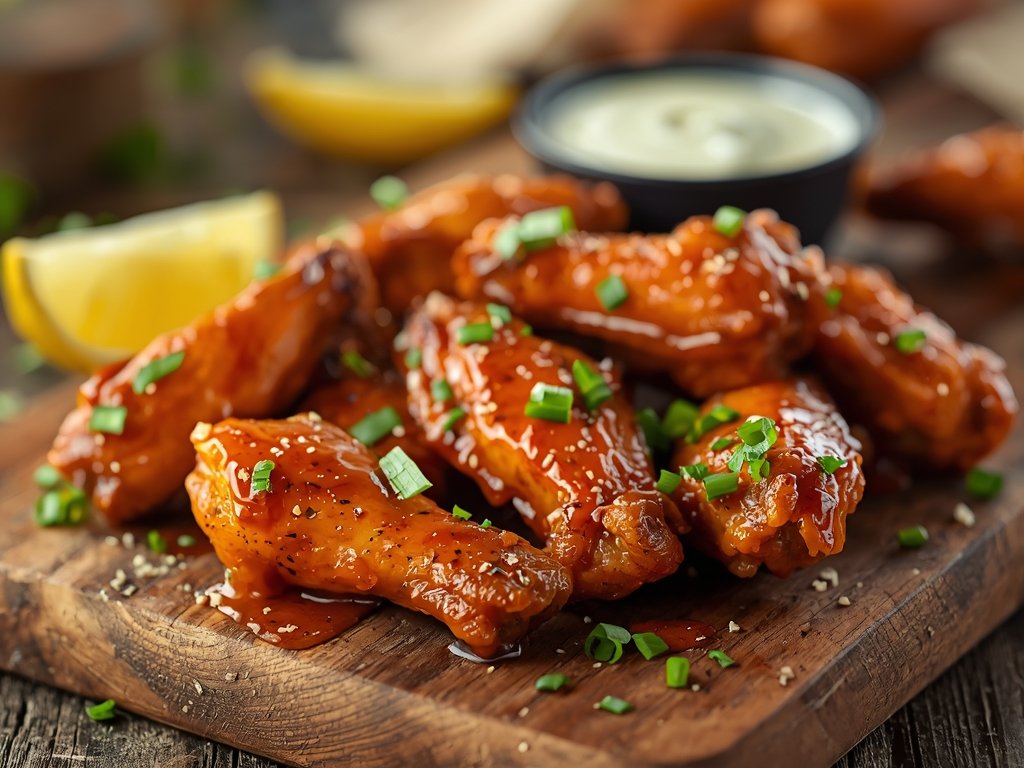
Step 4: The Final Touch
- Remove your wings immediately. They will be piping hot and crisp.
- If you are dealing with plain, unsauced wings that you want to sauce, now is the time. Toss them in a bowl with your desired Wingstop sauce (gently warmed sauce blends better). The crisp exterior will hold up to the sauce beautifully for a few minutes before softening.
- Pro Tip: Serve immediately on a warm plate. Crispiness waits for no one. Enjoy the crunch.
From Leftover to Gourmet Flavor Boosters & Variations
You’ve mastered the revival. Now, let’s talk evolution. Here’s how to take your reheated wings from “great save” to “did you make these?!”
1. The Garlic-Parmesan Refresh: This is a game-changer for any dry rub wing. Right after they come out of the air fryer, while they’re blistering hot, toss them in a mixture of melted butter, minced fresh garlic, grated Parmesan cheese, and a pinch of Italian herbs. The residual heat cooks the garlic slightly and creates an instant, restaurant-quality glaze. Finish with chopped parsley.
2. The Sweet Heat Glaze: Perfect for balancing savory or spicy rubs. In a small saucepan, warm equal parts honey (or maple syrup) and your favorite hot sauce (like Frank’s RedHot) with a small knob of butter until it forms a loose glaze. Drizzle over your crispy reheated wings for a sticky, sweet, and spicy finish.
3. The “Fully Loaded” Wing Dip: Turn your wings into a shareable appetizer. After reheating, arrange them on a platter. Drizzle with ranch or blue cheese dressing, then sprinkle with crumbled blue cheese, finely chopped celery, crispy fried onions, and freshly cracked black pepper. It’s a deconstructed buffalo dip experience.
Food Safety & Storage: The Non-Negotiables
Great flavor is pointless if it makes you sick. Let’s talk cold, hard facts.
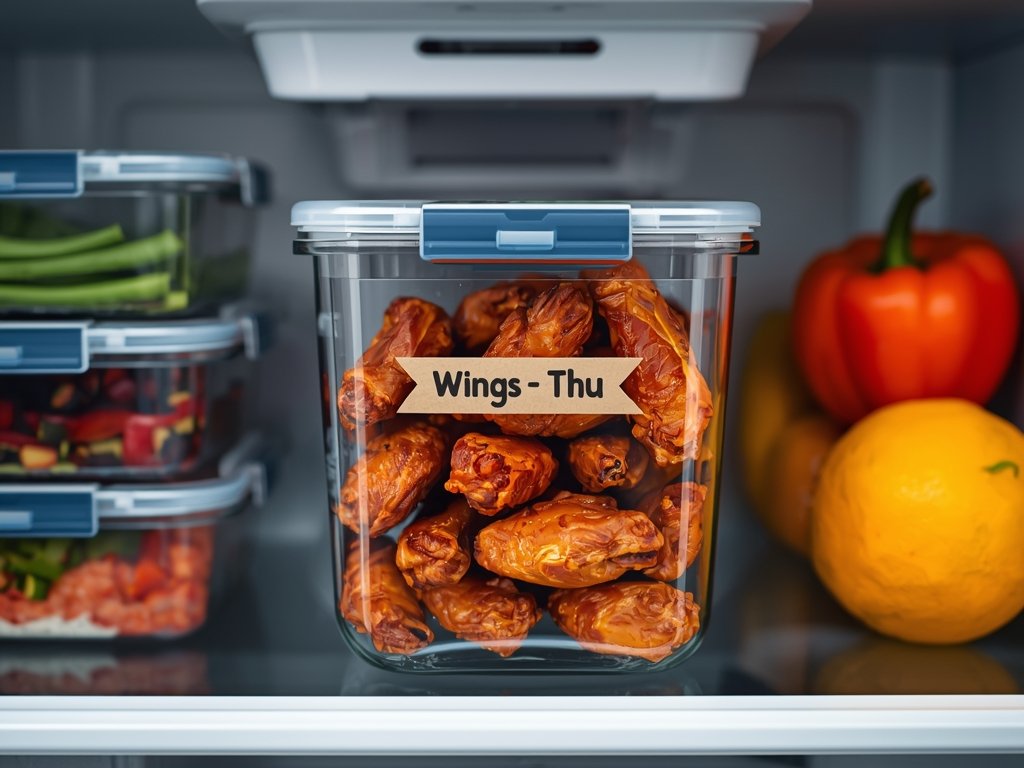
- Fridge Storage Time: Cooked chicken wings must be refrigerated within 2 hours of delivery/cooking. Once in the fridge, they are safe to eat for 3 to 4 days. This is the USDA guideline. After day 4, the risk of bacterial growth increases significantly, regardless of smell or look.
- The Reheating Point of No Return: You should only reheat wings once. Each cycle of heating and cooling gives bacteria more opportunity to grow. Reheat only the portion you plan to eat immediately.
- The Danger Zone: Bacteria multiply fastest between 40°F and 140°F. Your goal is to move wings through this zone as quickly as possible during both cooling and reheating.
Do’s & Don’ts of Wingstop Leftovers:
- DO let leftover wings cool to room temperature (for no more than 2 hours) before sealing and refrigerating.
- DO store them in a shallow, airtight container. A deep tub traps heat and slows cooling.
- DON’T store sauced and unsauced wings together if possible. Sauce can accelerate moisture transfer and sogginess.
- DO consider separating wings from sides like fries or ranch before storage.
- DON’T thaw frozen, cooked wings at room temperature. Thaw in the fridge overnight.
- DO ensure reheated wings reach an internal temperature of 165°F as verified by a meat thermometer.
FAQ: Your Wingstop Reheating Questions
Q: Can I just use the microwave?
A: You can, but you absolutely should not if you care about texture. The microwave works by exciting water molecules, which steams your food from the inside out. It will give you a hot, but inevitably soggy and rubbery, wing. In a true pinch, place wings on a paper towel, microwave on 50% power in 30-second bursts, and be prepared for disappointment.
Q: What if I don’t have an air fryer?
A: The oven-only method is your next best bet. Preheat your oven to 400°F (200°C). Place wings on a wire rack over a baking sheet (crucial for air flow). Bake for 10-15 minutes, flipping halfway, until hot and crisp. The results won’t be as fast or as perfect as the oven+air fryer method, but it’s far superior to the microwave.
Q: How do I reheat Wingstop fries?
A: Fries follow the same science! Re-crisp with dry, high heat. Spread cold fries in a single layer in your air fryer at 400°F for 3-4 minutes, shaking once. In an oven, use a 400°F oven on a wire rack/baking sheet for 5-8 minutes. Never microwave fries.
Q: Can I freeze leftover Wingstop wings?
A: Yes, for longer storage. Let them cool completely, then place in a single layer on a parchment-lined sheet to freeze solid (1-2 hours) before transferring to a heavy-duty freezer bag (squeeze out air). They’ll keep for 2-3 months. Reheat from frozen by following the main method: extend the low-oven warm-up stage to 20-25 minutes, then air fry at 400°F for 5-7 minutes.
Q: Do dry rubs reheat better than sauced wings?
A: Generally, yes. Dry rubs have less moisture to interfere with crisping, so they often come back with excellent texture. Sauced wings require more finesse (the wire rack trick is key) as the sauce can create a barrier to crisping. The trade-off is that the revived sauced wing has a more integrated, marinated flavor.
So, the next time you find yourself staring at that iconic Wingstop box in the fridge, don’t see a sad leftover. See an opportunity. A blank, crispy canvas. With about 20 minutes and this method, you’re not just reheating food—you’re conducting a little bit of culinary redemption. Tell me, which flavor are you bringing back to life first? Let me know your victory stories (or your saucy experiments) down below.
Marco covers the Reheat Pro category on TwiceTasty, focusing on reheating techniques and texture preservation. His articles help home cooks bring leftovers back to life with the right methods for every type of food — from crispy fried chicken to creamy pastas.

← Previous
How to Reheat Frozen Biscuits in the Air Fryer
Next →
Crispy Roast Duck Skin Hack: Juicy Breast, Perfect Crunch