Follow Me On Social Media!

From the Sea to Your Fridge: The Mussel Conundrum
Mussels, those delicious bivalve mollusks, are a beloved seafood staple across the United States, from the clam shacks of New England to the seafood boils of the South. But let’s face it, we’ve all been there – you’ve cooked up a storm with a big pot of mussels, only to be left with a hefty amount of leftovers.
Reheating mussels can be a tricky business. One wrong move, and you’re left with a rubbery, unappetizing mess. But fear not, fellow seafood enthusiasts! With a few simple tips and tricks, you can enjoy your leftover mussels without sacrificing texture or taste.
The Science Behind Mussel Reheating
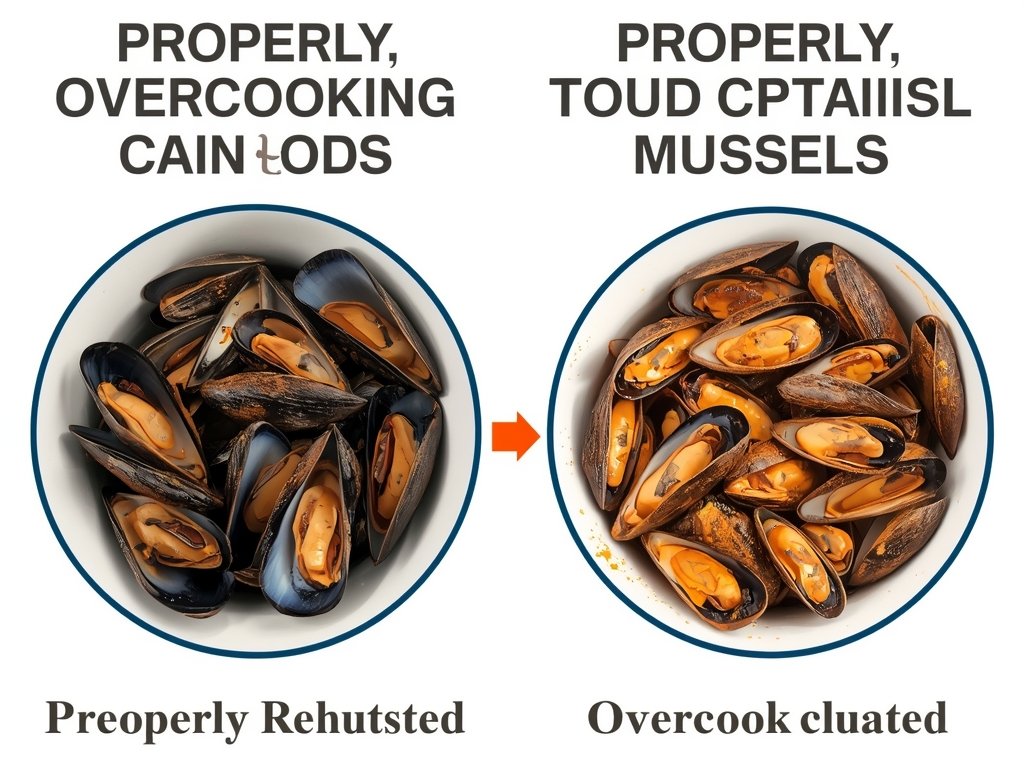
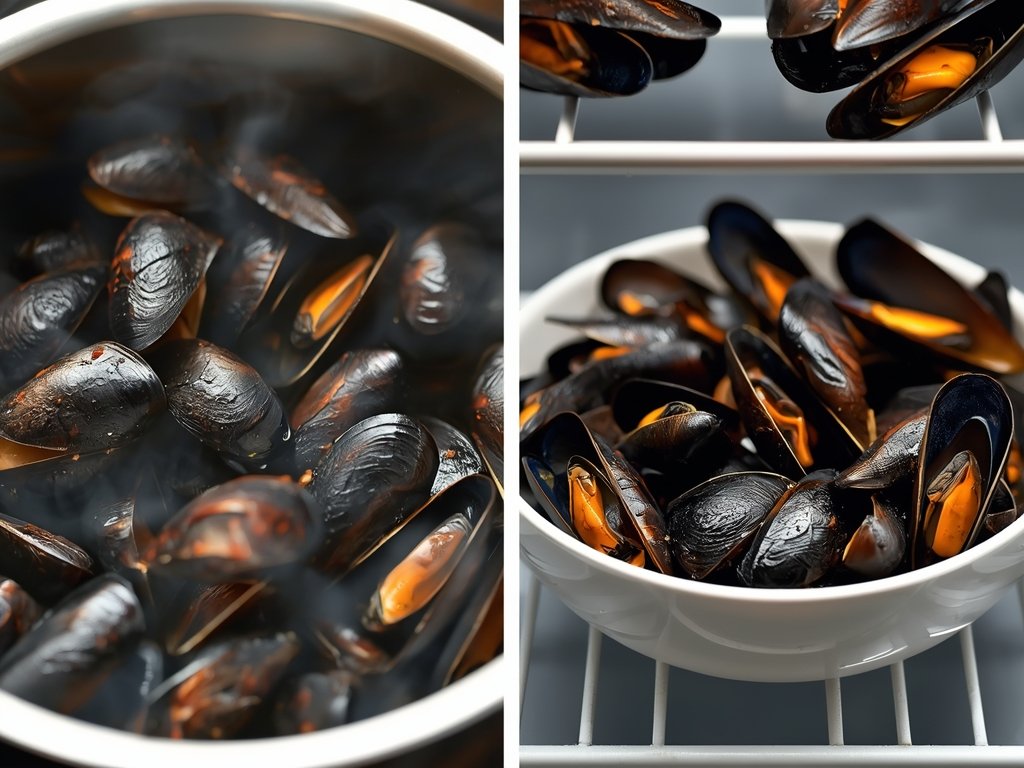
To understand how to reheat mussels properly, it’s essential to grasp the science behind their texture. Mussels are composed of protein fibers that can become tough and rubbery when overcooked or reheated incorrectly.
The key to maintaining their delicate texture lies in controlling the reheating process, ensuring that the proteins don’t tighten up and cause that undesirable rubberiness. This means avoiding high heat and prolonged cooking times, which can be a challenge when reheating.
The Role of Moisture
Moisture is crucial when reheating mussels. These shellfish are naturally quite moist, but when reheated, they can dry out quickly, leading to a tough texture. The goal is to reintroduce moisture without overcooking the mussels.
This can be achieved through various methods, such as steaming, simmering, or even microwaving with a splash of liquid. The choice of liquid can also enhance the flavor – think white wine, seafood stock, or even a squeeze of lemon juice.
Methods for Reheating Mussels Like a Pro
Now that we understand the science, let’s dive into the practical methods for reheating mussels. Each approach has its advantages, depending on your preferred texture, time constraints, and available equipment.
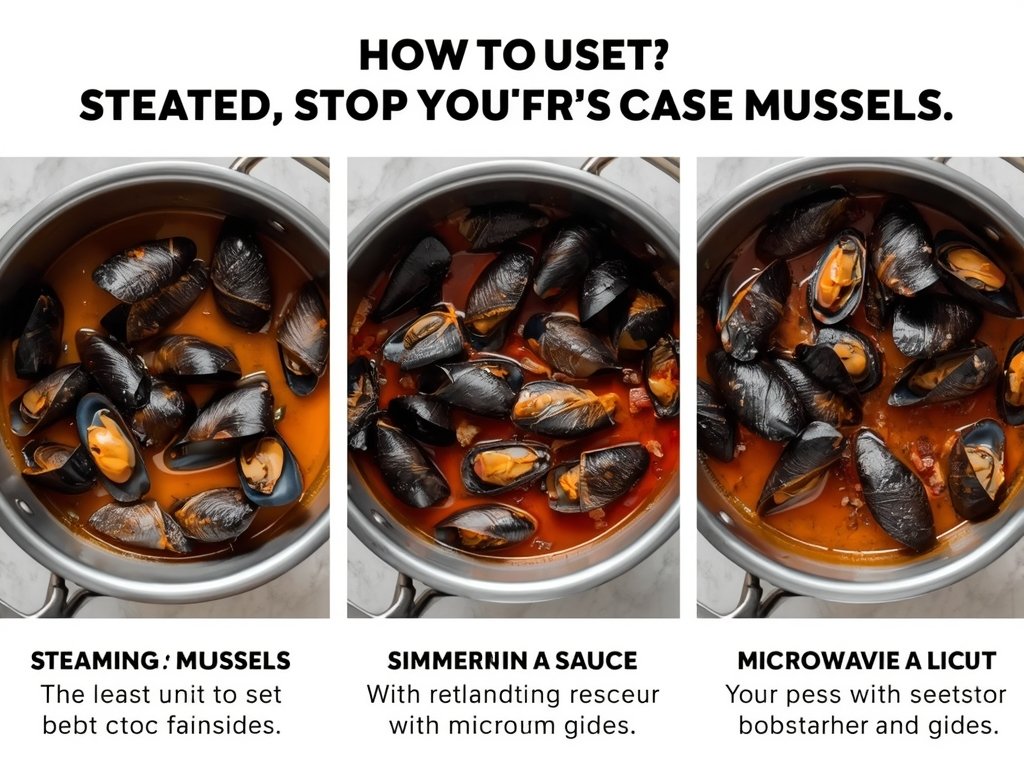
Steaming: The Gentle Approach
Steaming is an excellent method for reheating mussels as it’s gentle and helps retain moisture. Set up a steamer basket over a pot of simmering water, ensuring the mussels don’t touch the water directly.
Place the mussels in the basket, cover, and steam for 2-3 minutes. This method is ideal for maintaining the mussels’ natural texture and flavor. Serve with a side of garlic butter for a classic New England-style treat.
Simmering in Sauce: Flavorful and Tender
For a more flavorful approach, try simmering your leftover mussels in a sauce. This method is perfect for creating a one-pot meal, such as a hearty seafood stew or a flavorful pasta dish.
Gently heat your sauce of choice (think tomato-based marinara or a creamy garlic sauce) in a saucepan. Add the mussels and simmer for 3-4 minutes, allowing them to absorb the flavors. This technique ensures tender mussels and a delicious, saucy dish.
Microwaving: Quick and Efficient
When time is of the essence, microwaving can be a lifesaver. Place your mussels in a microwave-safe dish, adding a splash of liquid (water, wine, or stock) to create steam and prevent drying.
Cover the dish with a microwave-safe lid or vented plastic wrap, and heat on high for 1-2 minutes, depending on the quantity. Be cautious not to overcook, as microwaves can quickly turn mussels rubbery. This method is best for small portions and quick meals.
Creative Recipes for Leftover Mussels

Reheated mussels don’t have to be a side dish or an afterthought. With a bit of creativity, they can take center stage in a variety of delicious recipes. Here are some ideas to inspire your culinary adventures:
- Mussel and Chorizo Paella: Add reheated mussels to a traditional Spanish paella for a seafood twist. The mussels’ briny flavor complements the smoky chorizo and saffron-infused rice.
- Seafood Fettuccine Alfredo: Toss reheated mussels into a creamy fettuccine alfredo for a luxurious seafood pasta. The mussels add a unique texture and flavor to this classic Italian-American dish.
- Mussel-Topped Flatbread: Create a gourmet flatbread by topping it with reheated mussels, arugula, and a squeeze of lemon. Drizzle with garlic oil and sprinkle with chili flakes for a flavorful, Mediterranean-inspired meal.
Tips and Tricks for Mussel Mastery
To truly master the art of reheating mussels, consider these additional tips and tricks. From storage to presentation, these insights will elevate your seafood game:
- Store Properly: Always store leftover mussels in an airtight container in the fridge, preferably with their cooking liquid to maintain moisture. Consume within 2-3 days for optimal freshness.
- Avoid Overcrowding: When reheating, ensure mussels have enough space in the pan or dish. Overcrowding can lead to uneven heating and a rubbery texture.
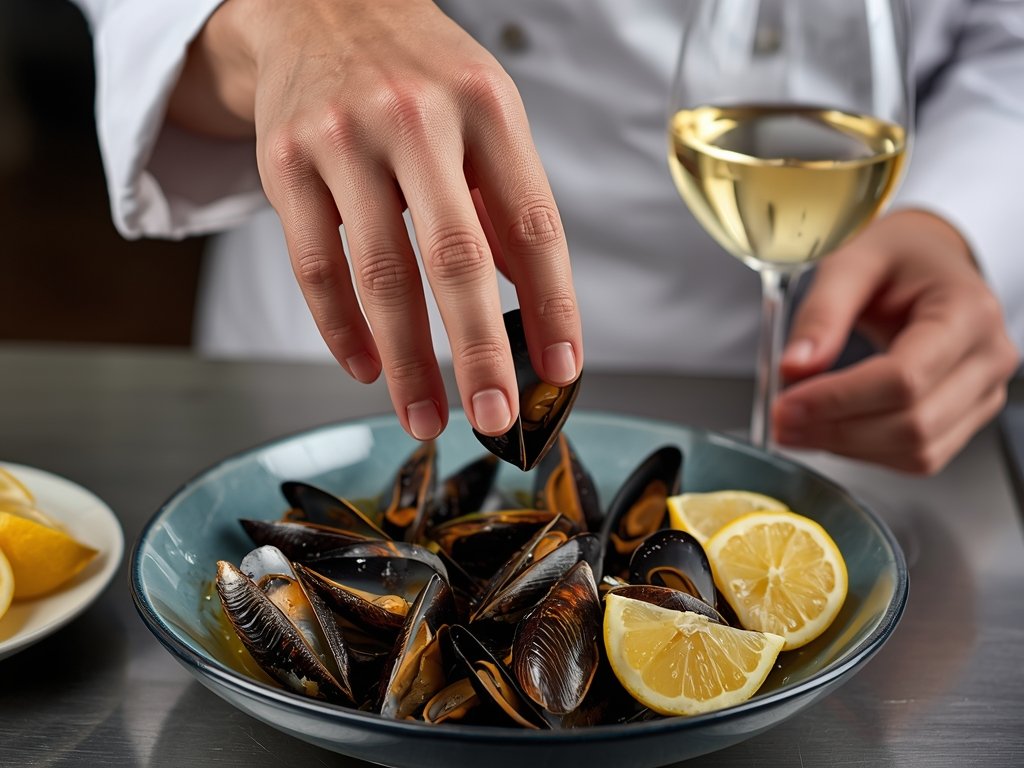
- Garnish and Serve: Presentation is key. Garnish your reheated mussels with fresh herbs, lemon wedges, or a drizzle of high-quality olive oil. Serve with crusty bread for a complete, restaurant-worthy experience.
FAQ: Your Mussel Reheating Queries Answered
Can I reheat mussels more than once?
It’s not recommended to reheat mussels multiple times, as this can lead to a significant loss of texture and flavor. Always reheat only the amount you plan to consume.
How long can I keep leftover mussels in the fridge?
Leftover mussels should be consumed within 2-3 days when stored properly in the fridge. Beyond this, the risk of foodborne illness increases, and the quality deteriorates.
Can I freeze cooked mussels for later use?
Yes, you can freeze cooked mussels for up to 2-3 months. Thaw them in the fridge overnight before reheating, and ensure they’re properly sealed to prevent freezer burn.
What’s the best way to reheat mussels for a crowd?
For larger quantities, steaming or simmering in a sauce are ideal methods. These techniques allow for more control and even heating, ensuring a consistent texture for all your guests.
Can I use the same liquid for reheating that I used for cooking?
Absolutely! Reusing the cooking liquid can enhance the flavor of your reheated mussels. However, ensure the liquid is fresh and hasn’t been sitting at room temperature for too long to prevent bacterial growth.
Marco covers the Reheat Pro category on TwiceTasty, focusing on reheating techniques and texture preservation. His articles help home cooks bring leftovers back to life with the right methods for every type of food — from crispy fried chicken to creamy pastas.

← Previous
How to Reheat Mashed Potatoes So They Stay Creamy
Next →
Perfect Churros Every Time: Crunchy, Sweet, Never Burnt