Follow Me On Social Media!

Keep Kale and Spinach Fresh for 7 Days with This Simple Hack
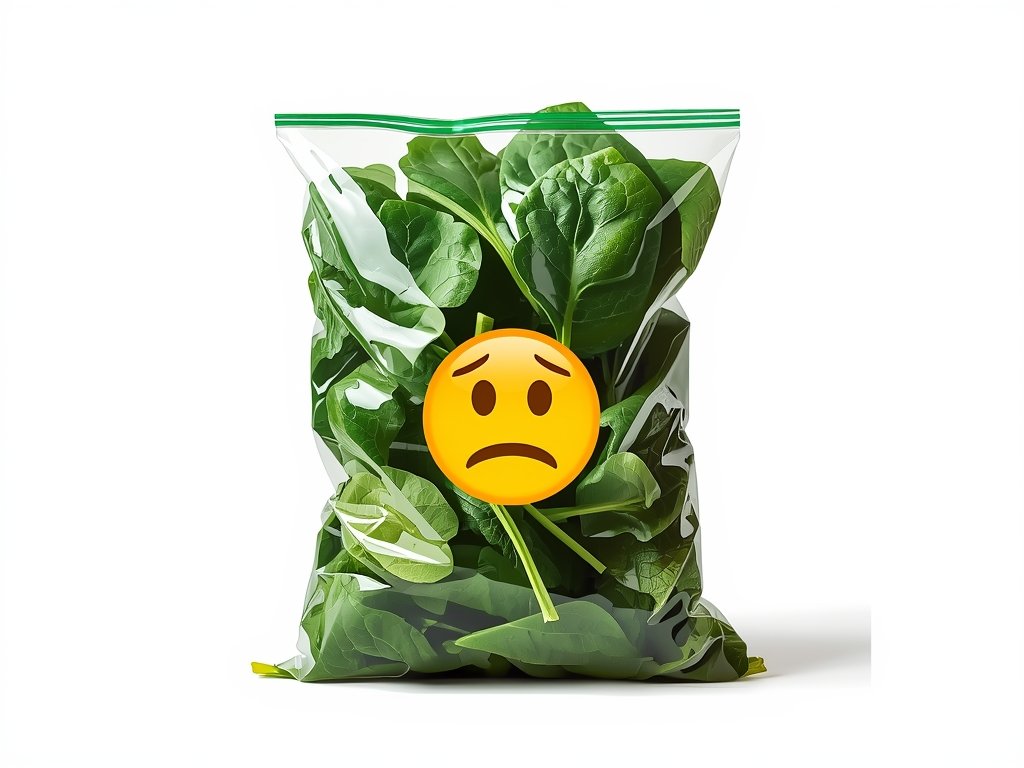
The Pre-Washed Greens Predicament
We’ve all been there – you buy a bag of pre-washed kale or spinach with the best intentions, only to find it wilted and slimy a few days later. It’s a common frustration for health-conscious Americans trying to incorporate more greens into their diets.
With our busy lifestyles, it’s no wonder pre-washed greens are a popular choice. But keeping them fresh can feel like a never-ending battle. Fear not – we’ve got a game-changing hack that’ll keep your greens crisp and delicious for a full week.
Why Pre-Washed Greens Go Bad So Quickly
Before we dive into the solution, let’s understand the problem. Pre-washed greens are convenient, but they’re also delicate. The washing and packaging process can damage their cell structure, making them more susceptible to decay.
Add to that the fact that greens are often shipped long distances, and you’ve got a recipe for a short shelf life. By the time they reach your local grocery store in New York, Los Angeles, or Chicago, they’ve already started to deteriorate.
The Role of Moisture and Oxygen
Moisture and oxygen are the two main culprits behind wilted greens. When greens are exposed to moisture, they start to break down and release enzymes that accelerate decay. Oxygen, on the other hand, promotes the growth of bacteria and mold.
Most pre-washed greens come in plastic containers or bags, which trap moisture and oxygen inside. This creates the perfect environment for greens to spoil quickly, often within 3-4 days.
The 7-Day Freshness Hack: A Step-by-Step Guide
Now for the good news: with a few simple steps, you can extend the life of your pre-washed greens by up to 7 days. This hack works for kale, spinach, arugula, and most other delicate greens. Here’s what you’ll need:
- A clean kitchen towel or paper towels
- A large bowl or container with a lid
- A few minutes of your time
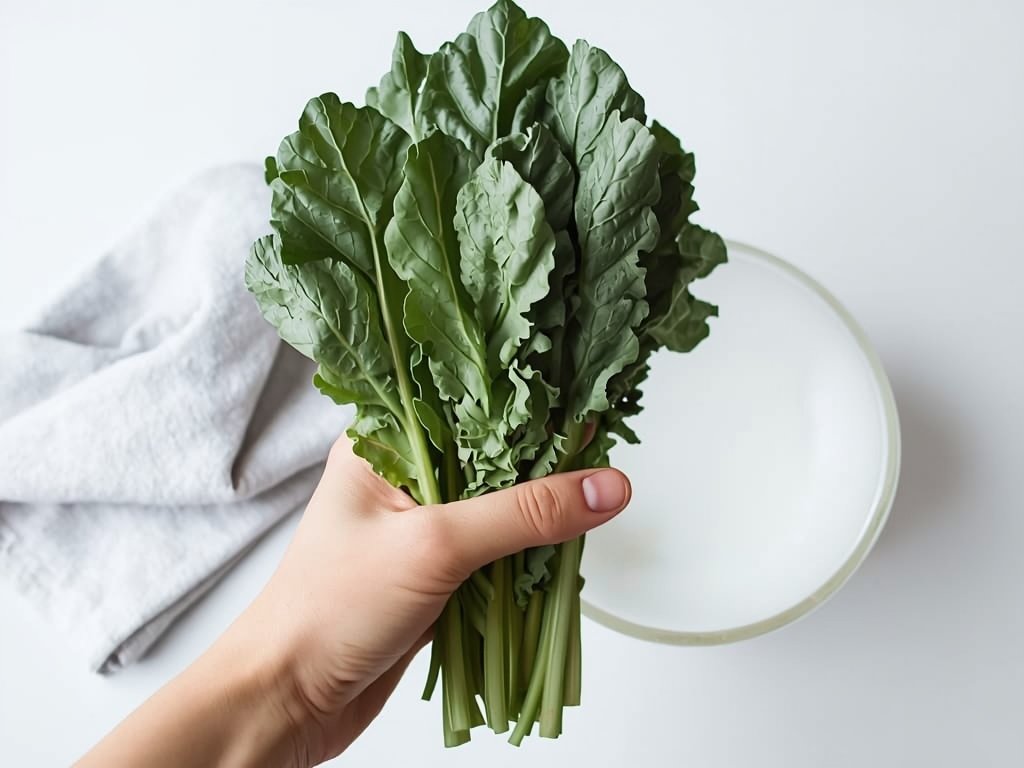
Step 1: Unpack and Inspect Your Greens
Start by removing your greens from their original packaging. Give them a quick inspection, discarding any wilted or discolored leaves. This step is crucial, as one bad leaf can spoil the entire bunch.
If you’re using kale, consider removing the tough stems, as they can release moisture and accelerate decay. For spinach and other delicate greens, leave them whole.
Step 2: Give Them a Gentle Bath
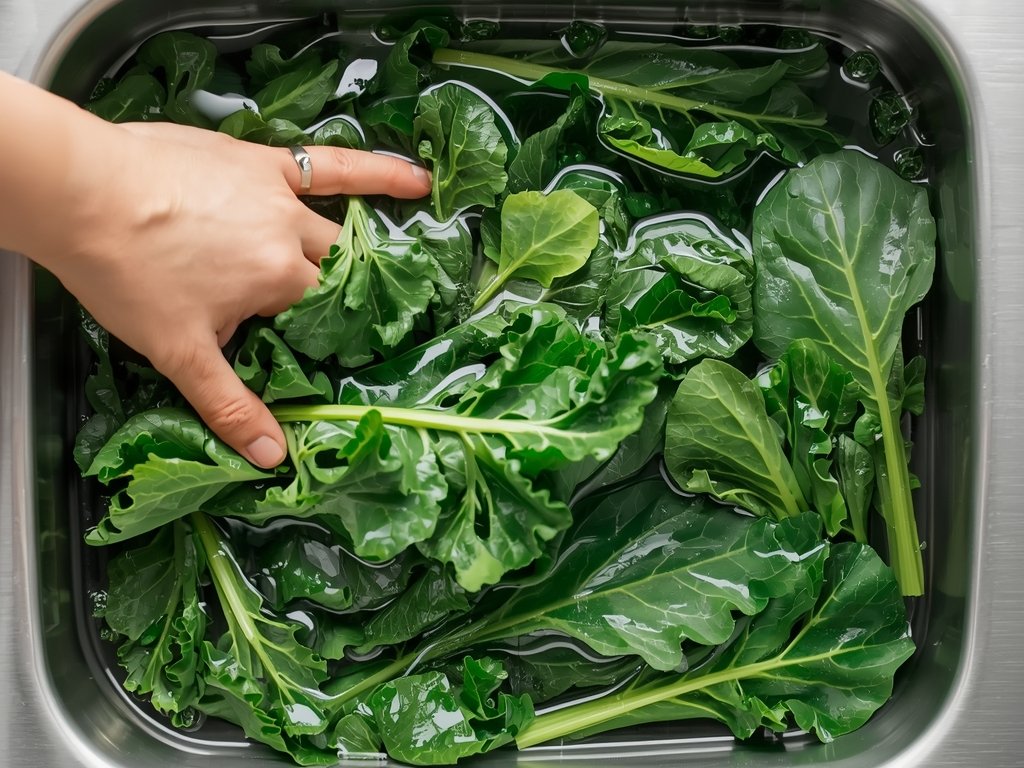
Fill a large bowl or your sink with cold water. Gently submerge your greens, swishing them around to remove any dirt or debris. Be careful not to bruise the leaves, as this can cause them to deteriorate faster.
For kale, let it soak for 2-3 minutes to help remove any grit. Spinach and other delicate greens only need a quick rinse. After soaking, gently lift the greens out of the water, allowing the dirt to settle at the bottom.
Step 3: Dry Them Like a Pro
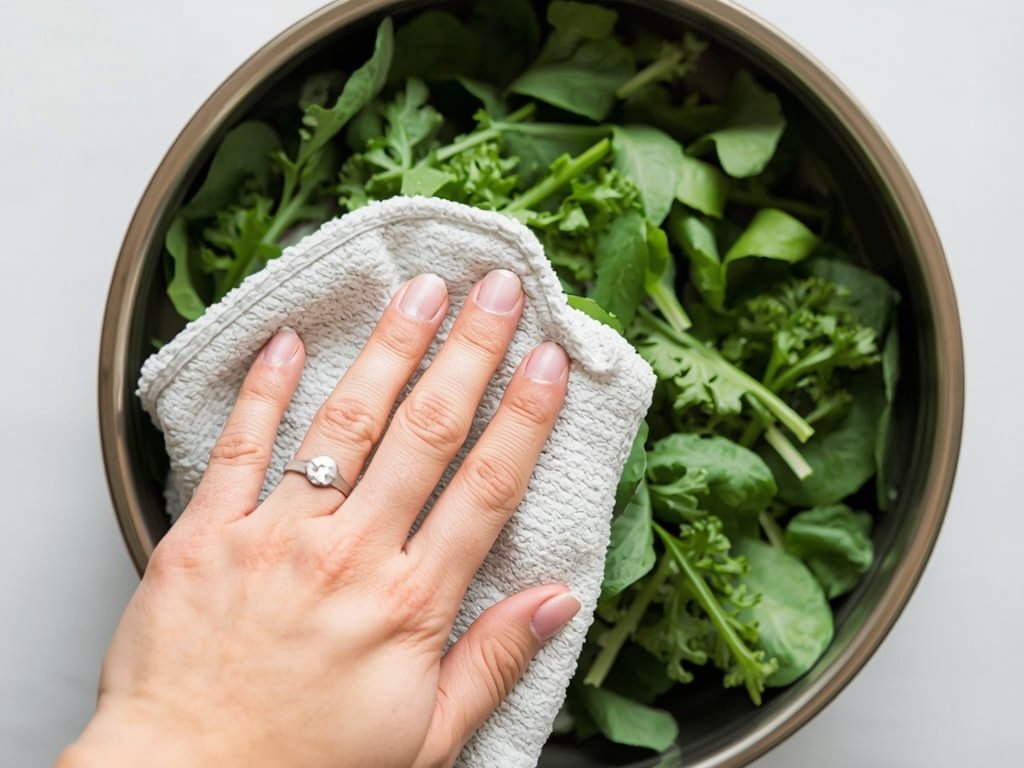
Moisture is the enemy of fresh greens, so drying them thoroughly is key. Lay a clean kitchen towel or paper towels on your counter. Gently place your greens on top, spreading them out in a single layer.
Use another towel to gently pat the greens dry. Be careful not to rub or wring them, as this can damage the leaves. For kale, you can also use a salad spinner to remove excess water, but be gentle to avoid bruising.
Step 4: Store Them in a Cozy Environment
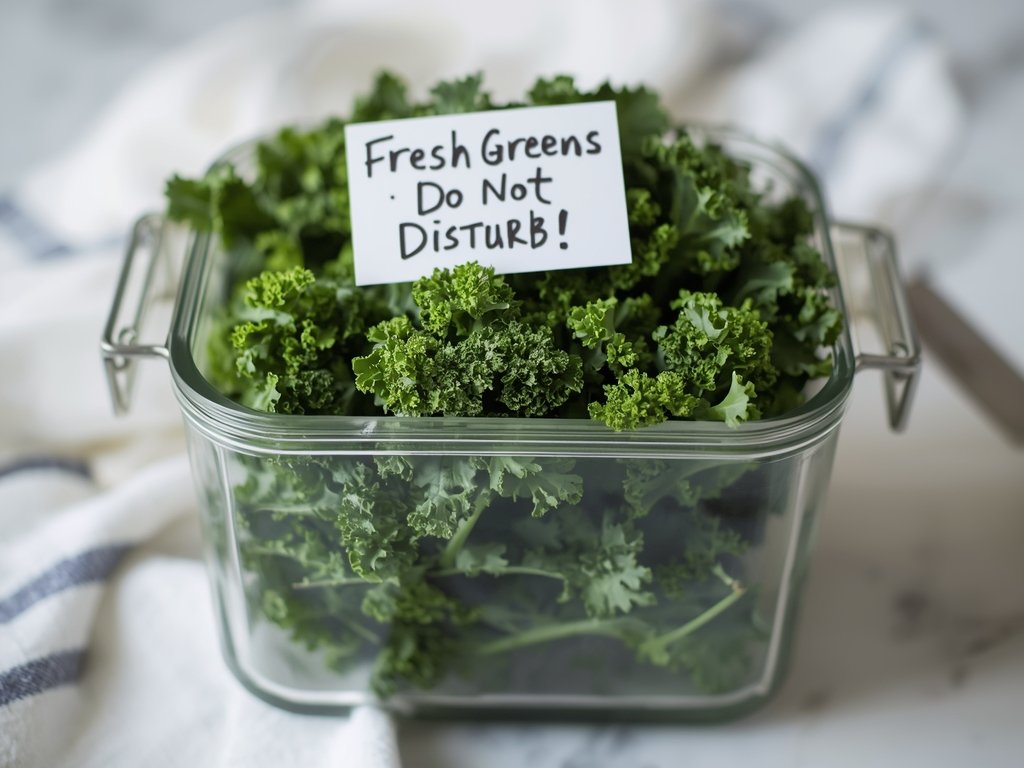
Now it’s time to create the perfect storage environment. Line your container with a clean kitchen towel or paper towels. Place your dried greens inside, making sure they’re not overcrowded.
Wrap the greens loosely with the towel, creating a cozy, absorbent layer. This will help wick away any remaining moisture. Secure the lid on your container, but don’t seal it airtight – greens need a little airflow to stay fresh.
Step 5: Find the Perfect Spot in Your Fridge
The location of your greens in the fridge can make a big difference. Avoid storing them in the coldest spots, like the back or the bottom shelf, as this can cause them to freeze and wilt.
Instead, designate a “greens zone” on a middle shelf, away from the fridge’s walls. This area should be consistently cool but not too cold. If your fridge has a humidity-controlled drawer, that’s an even better option.
Real-Life Success Stories: From Coast to Coast

This freshness hack has been a game-changer for health-conscious Americans across the country. From busy moms in Texas to fitness enthusiasts in California, people are raving about the results.
Take Sarah, a working mom from Houston, who used to struggle with keeping greens fresh for her family’s meals. “Now I can buy a big bag of spinach on Monday and it’s still crisp by Friday,” she says. “It’s made meal prep so much easier!”
A New York Chef’s Secret Weapon
Even professional chefs are jumping on the bandwagon. Chef Mike, who runs a popular farm-to-table restaurant in Brooklyn, swears by this method for keeping his greens fresh.
“In a high-volume kitchen, every day counts,” he says. “This hack has saved us so much time and money. Our kale and spinach stay fresh for a full week, which means less waste and more delicious dishes for our customers.”
Troubleshooting Common Issues
Even with the best intentions, sometimes things don’t go as planned. If your greens aren’t staying fresh for the full 7 days, don’t worry – we’ve got some troubleshooting tips to help.
First, make sure you’re using clean towels and containers. Any bacteria or dirt can accelerate decay. Also, check the temperature of your fridge – it should be between 35-40°F (2-4°C) for optimal freshness.
What to Do with Slightly Wilted Greens
If your greens start to wilt before the 7-day mark, don’t toss them just yet. Try giving them a quick refresh by trimming the stems and soaking them in ice-cold water for 5-10 minutes.
You can also use slightly wilted greens in cooked dishes, like soups, stir-fries, or smoothies. They may not be ideal for salads, but they’re still packed with nutrients and flavor.
FAQ
Can I use this method for all types of greens?
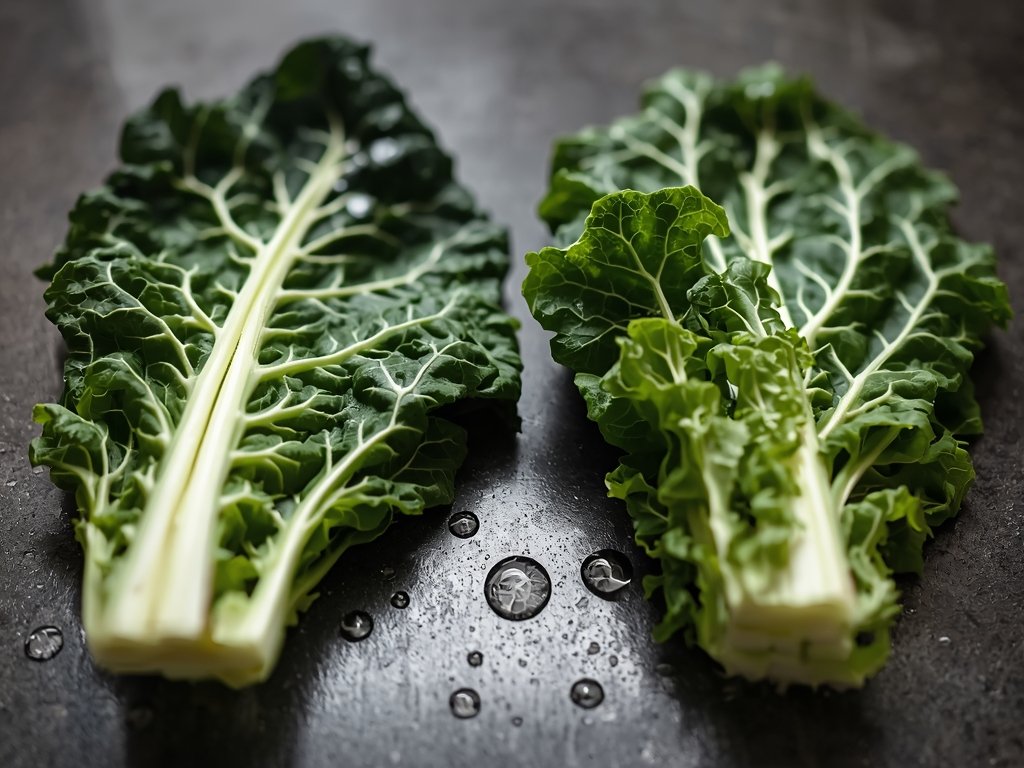
This method works best for delicate greens like kale, spinach, arugula, and Swiss chard. Heartier greens like collards or mustard greens may not need the same level of care.
How often should I change the kitchen towel in the container?
For best results, change the towel every 2-3 days, or whenever it feels damp. This will help prevent moisture buildup and keep your greens fresh.
Can I store different types of greens together?
It’s best to store each type of green separately, as they have different moisture levels and can affect each other’s freshness. If you must store them together, make sure they’re both dry and well-wrapped.
Is it necessary to remove the stems from kale?
Removing the stems from kale can help prevent moisture buildup and extend its freshness. However, if you’re short on time, you can leave them on – just make sure to dry the kale thoroughly.
Can I freeze my greens using this method?
Unfortunately, this method is designed for refrigerator storage only. Freezing can damage the cell structure of greens, causing them to wilt and lose their texture when thawed.