Follow Me On Social Media!

The Cheesy Dilemma: Why Freeze Cheese Sticks?
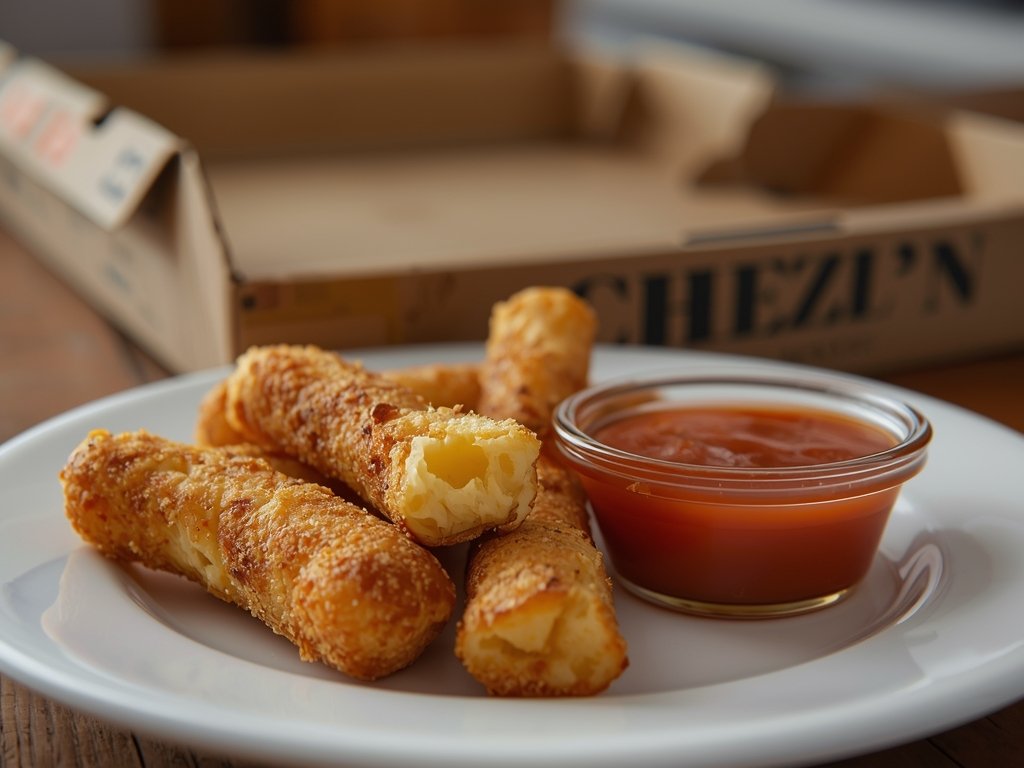
We’ve all been there – a night of indulging in mozzarella sticks or a game day feast leaves you with a handful of uneaten cheese sticks. You hate to waste them, but can you really reheat them to that perfect, gooey perfection again? The answer is a resounding yes, but only if you freeze them the right way.
Freezing cheese sticks isn’t just about preserving them; it’s about capturing that melt-in-your-mouth magic for a future craving. Whether you’re a busy parent meal-prepping for the week or a college student stretching your grocery budget, mastering the art of freezing cheese sticks is a game-changer.
From Fryer to Freezer: Prepping Your Cheese Sticks
Cool Down Before You Freeze
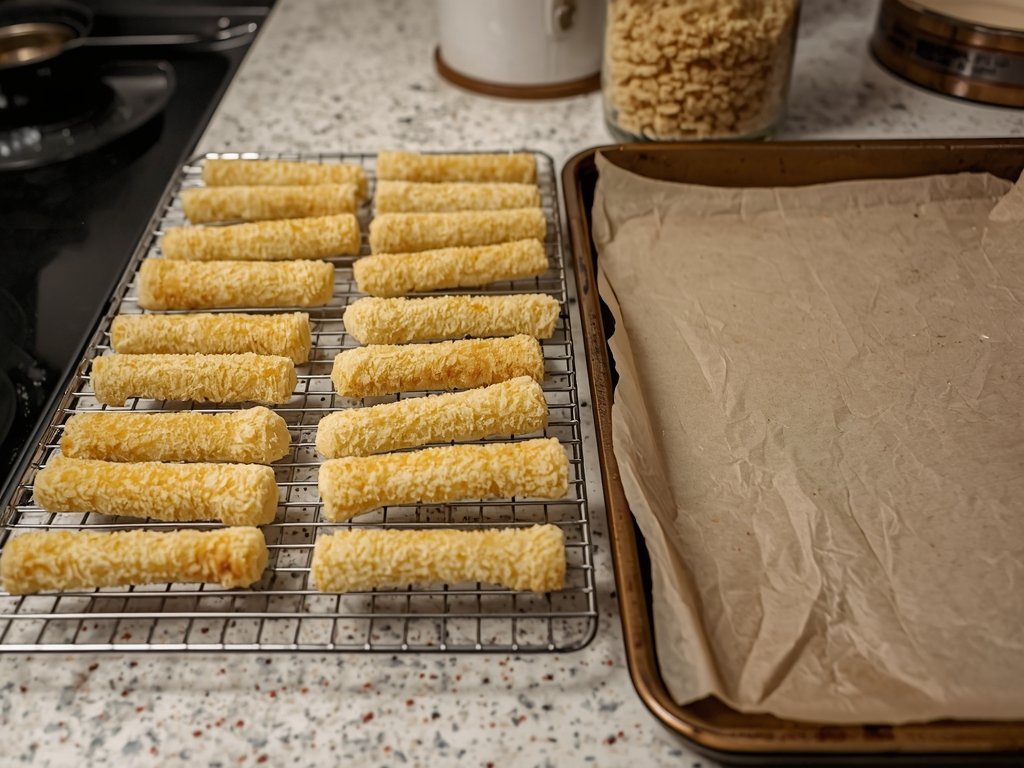
Before you even think about freezing, let your cheese sticks cool down to room temperature. This might test your patience, but it’s crucial. Putting hot cheese sticks in the freezer can raise the appliance’s temperature, potentially affecting other foods.
Spread them out on a wire rack to cool evenly. This also helps maintain their crispy exterior, which is key to that perfect reheat.
The Breadcrumb Barrier
Cheese sticks are all about that crispy, golden exterior. To preserve this, consider giving them a quick refresh in breadcrumbs before freezing. It’s like giving them a suit of armor against freezer burn.
Simply dip them in a beaten egg, then roll them in breadcrumbs. You can use the same breadcrumbs from the original batch or experiment with panko for extra crunch.
Freezer-Friendly Packaging: The Right Way to Wrap
Wrap it Up: Layering for Success
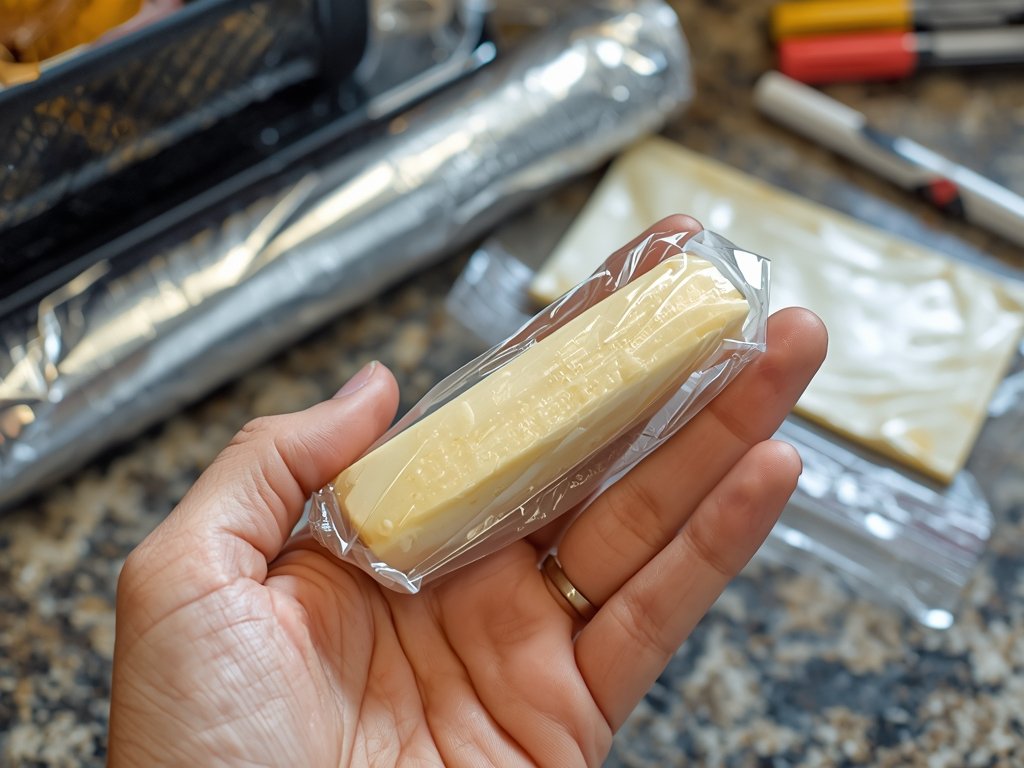
Proper wrapping is the secret to maintaining quality. Start by wrapping each cheese stick individually in plastic wrap. This first layer prevents them from sticking together and protects against air exposure.
Next, wrap them in aluminum foil. This adds an extra barrier against moisture and odors. For the final touch, place them in a freezer-safe bag or container.
Labeling: Your Future Self Will Thank You
Don’t skip this step! Label your package with the date and contents. You might think you’ll remember, but months from now, a mysterious frozen package could lead to an unpleasant surprise.
Use a permanent marker on the freezer bag or tape a labeled piece of paper to the container. Include the date and a brief description, like “Mozzarella Sticks – 03/15/24.”
Thawing and Reheating: The Melty Revival

The Slow Thaw: Patience is a Virtue
When you’re ready to enjoy your frozen cheese sticks, resist the urge to thaw them quickly. The best method is a slow thaw in the refrigerator. This preserves their texture and ensures even reheating.
Plan ahead and move them from the freezer to the fridge the night before you want to eat them. This gradual process takes time but delivers the best results.
Reheating: Crispiness is Key
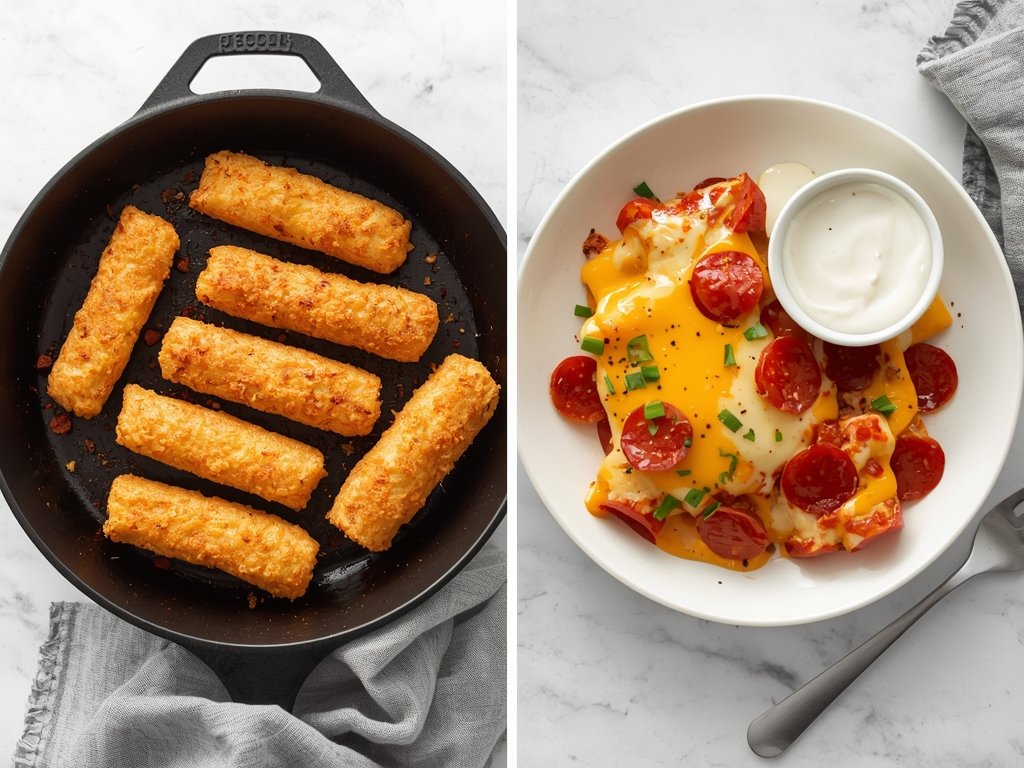
The oven is your best friend for reheating. Preheat it to 375°F (190°C) and place the thawed cheese sticks on a baking sheet lined with parchment paper. This setup ensures even heating and prevents sticking.
Bake for about 10-15 minutes, flipping them halfway through. Keep a close eye on them – you’re aiming for that golden, crispy exterior without overcooking the cheese inside.
Creative Comeback: Beyond the Basic Reheat
Pan-Fried Perfection
For a quick, crispy fix, try pan-frying your thawed cheese sticks. Heat a tablespoon of oil in a non-stick skillet over medium heat. Cook them for 2-3 minutes on each side until golden brown.
This method is perfect for a last-minute snack or when you’re short on time but still want that satisfying crunch.
Cheesy Creations: Think Outside the Stick
Frozen cheese sticks can be more than just a reheated snack. Chop them up and add them to casseroles, pasta bakes, or even as a topping for salads. Their melty goodness can elevate any dish.
For a fun appetizer, try making cheese stick nachos. Layer tortilla chips with sliced cheese sticks, jalapeños, and your favorite toppings, then bake until melted and bubbly.
FAQ: Your Cheesy Queries Answered
Can I freeze homemade cheese sticks?
Absolutely! Homemade cheese sticks freeze just as well as store-bought ones. Follow the same cooling, wrapping, and labeling process for best results.
How long do frozen cheese sticks last?
Properly stored, frozen cheese sticks can last up to 3 months. After that, they may start to lose their texture and flavor, though they’ll still be safe to eat.
Can I reheat cheese sticks in the microwave?
While you can microwave them, it’s not the ideal method. The microwave can make the exterior soggy. If you must, place them on a microwave-safe plate lined with a paper towel and heat in short intervals, checking frequently.
What’s the best cheese for making cheese sticks?
Mozzarella is the classic choice due to its melting qualities, but you can experiment with other cheeses like cheddar or Monterey Jack for a twist on the traditional.
Can I freeze cheese sticks with the sauce?
It’s best to freeze them separately. Sauces can become watery when thawed, affecting the texture of the cheese sticks. Freeze your favorite dipping sauce in a separate container and reheat it when you’re ready to enjoy your cheesy treat.
Lina leads the Fresh Hacks category, covering food storage tips, freshness preservation, and smart ways to extend the life of your groceries. Her guides help readers keep ingredients at peak quality for longer.

← Previous
Keep Guacamole Green: Water Barrier Trick Revealed
Next →
Cooked Seafood Shelf Life: A Visual Freshness Guide